Column Types Explained: Media
This tutorial explains how to configure media column types within the 23degrees application.
You will learn to insert and customize media columns to enhance your data presentation effectively.
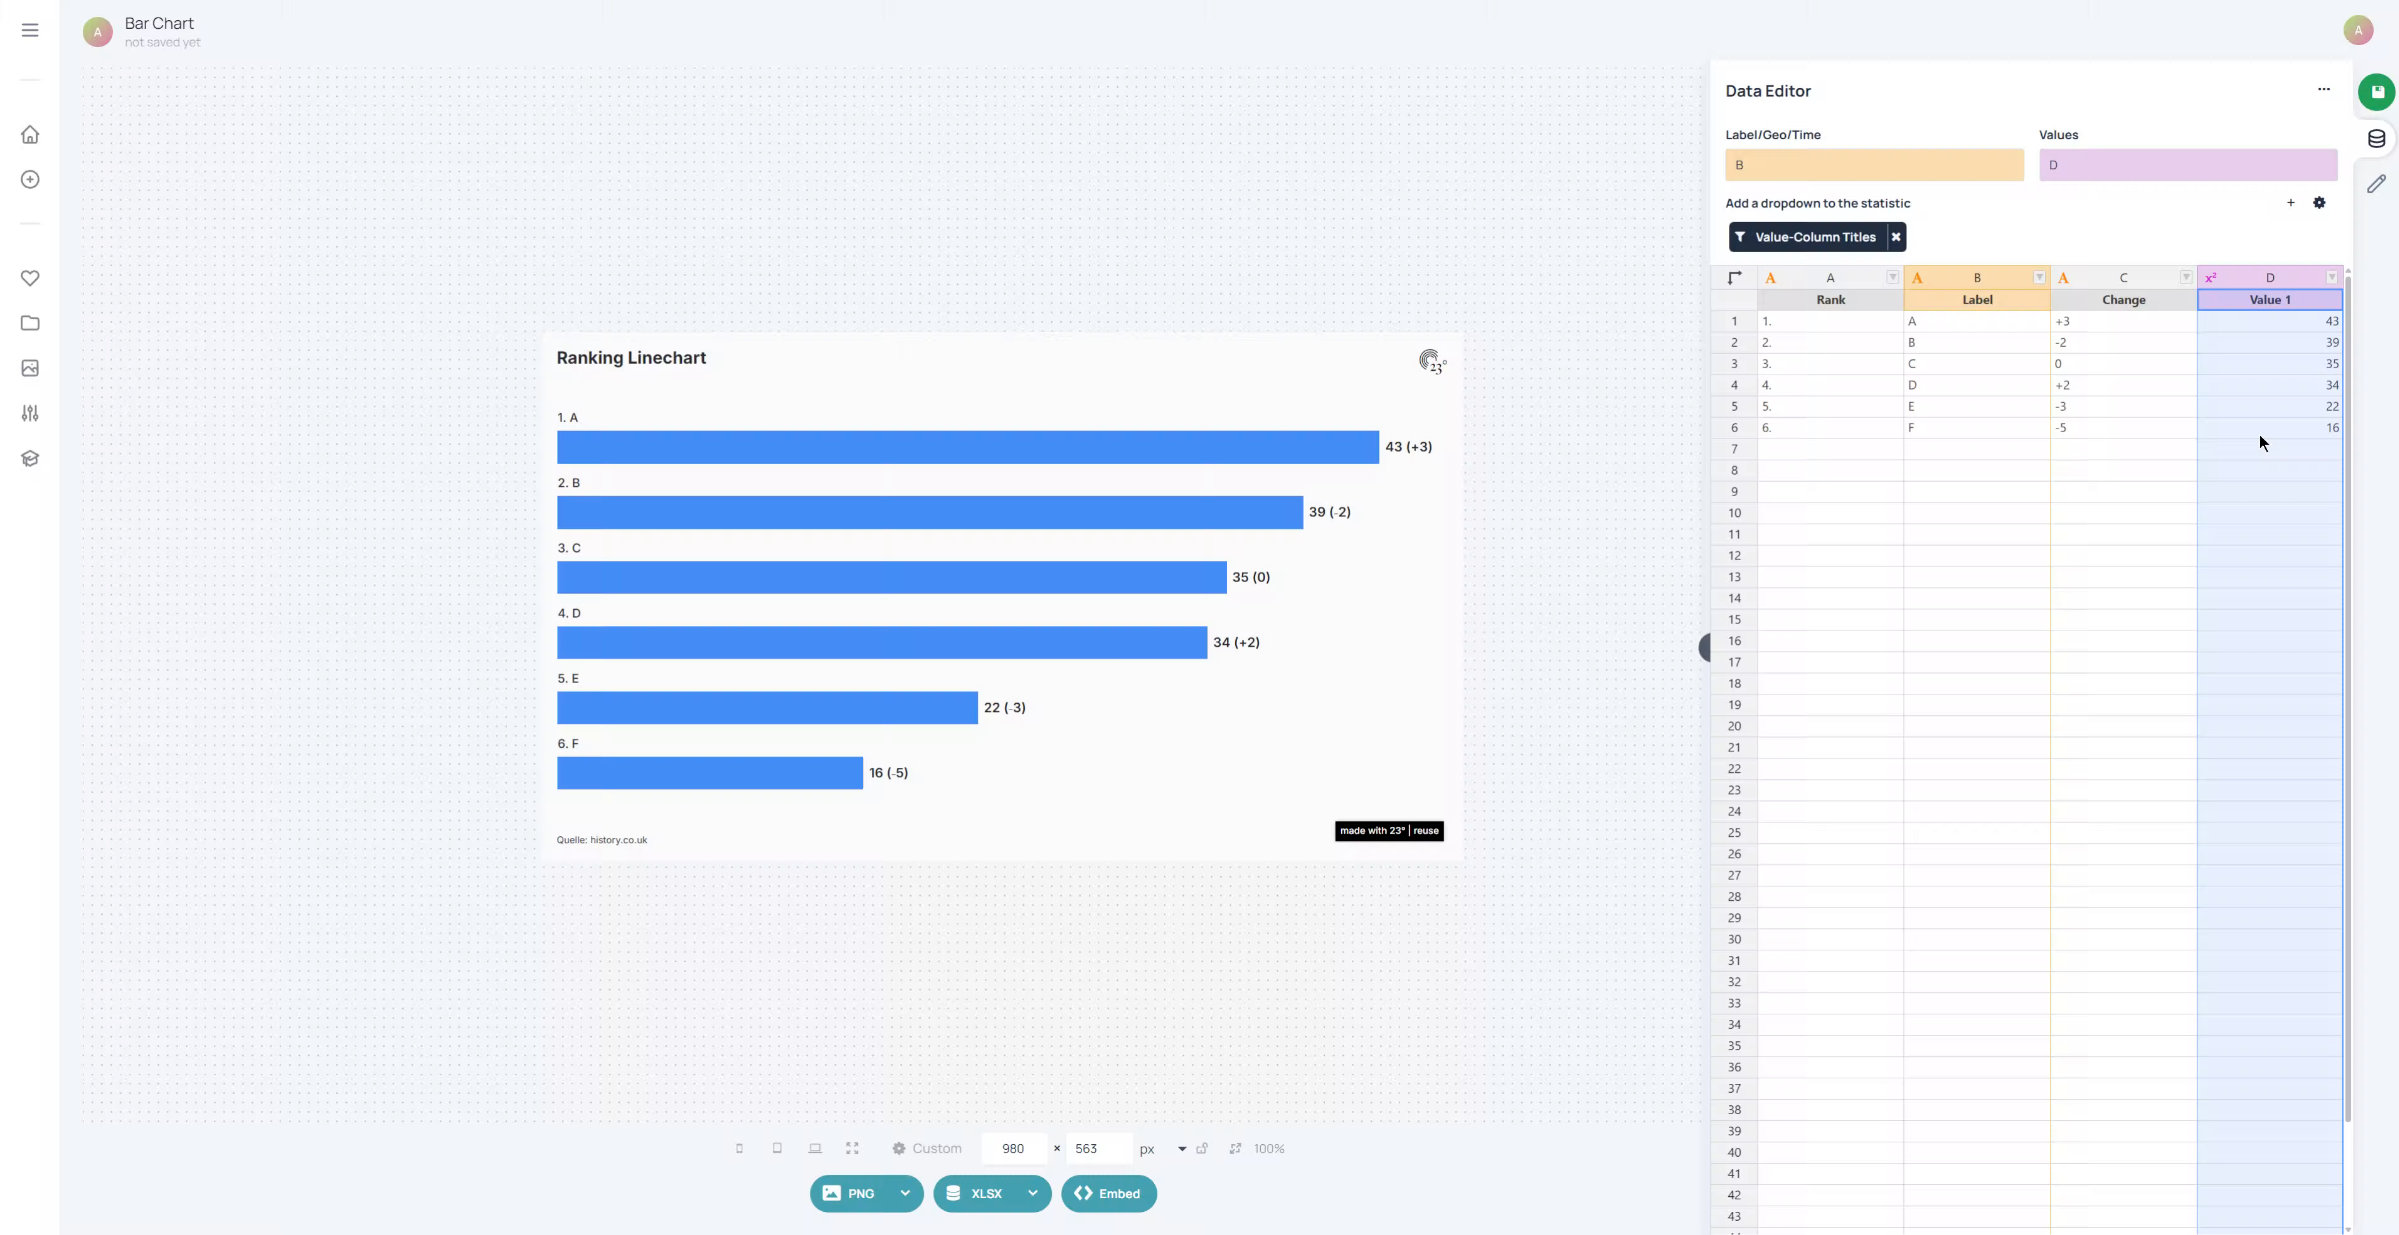
To access the media column we first have to create a new column by right clicking on existing column and selecting "instert column right or left".
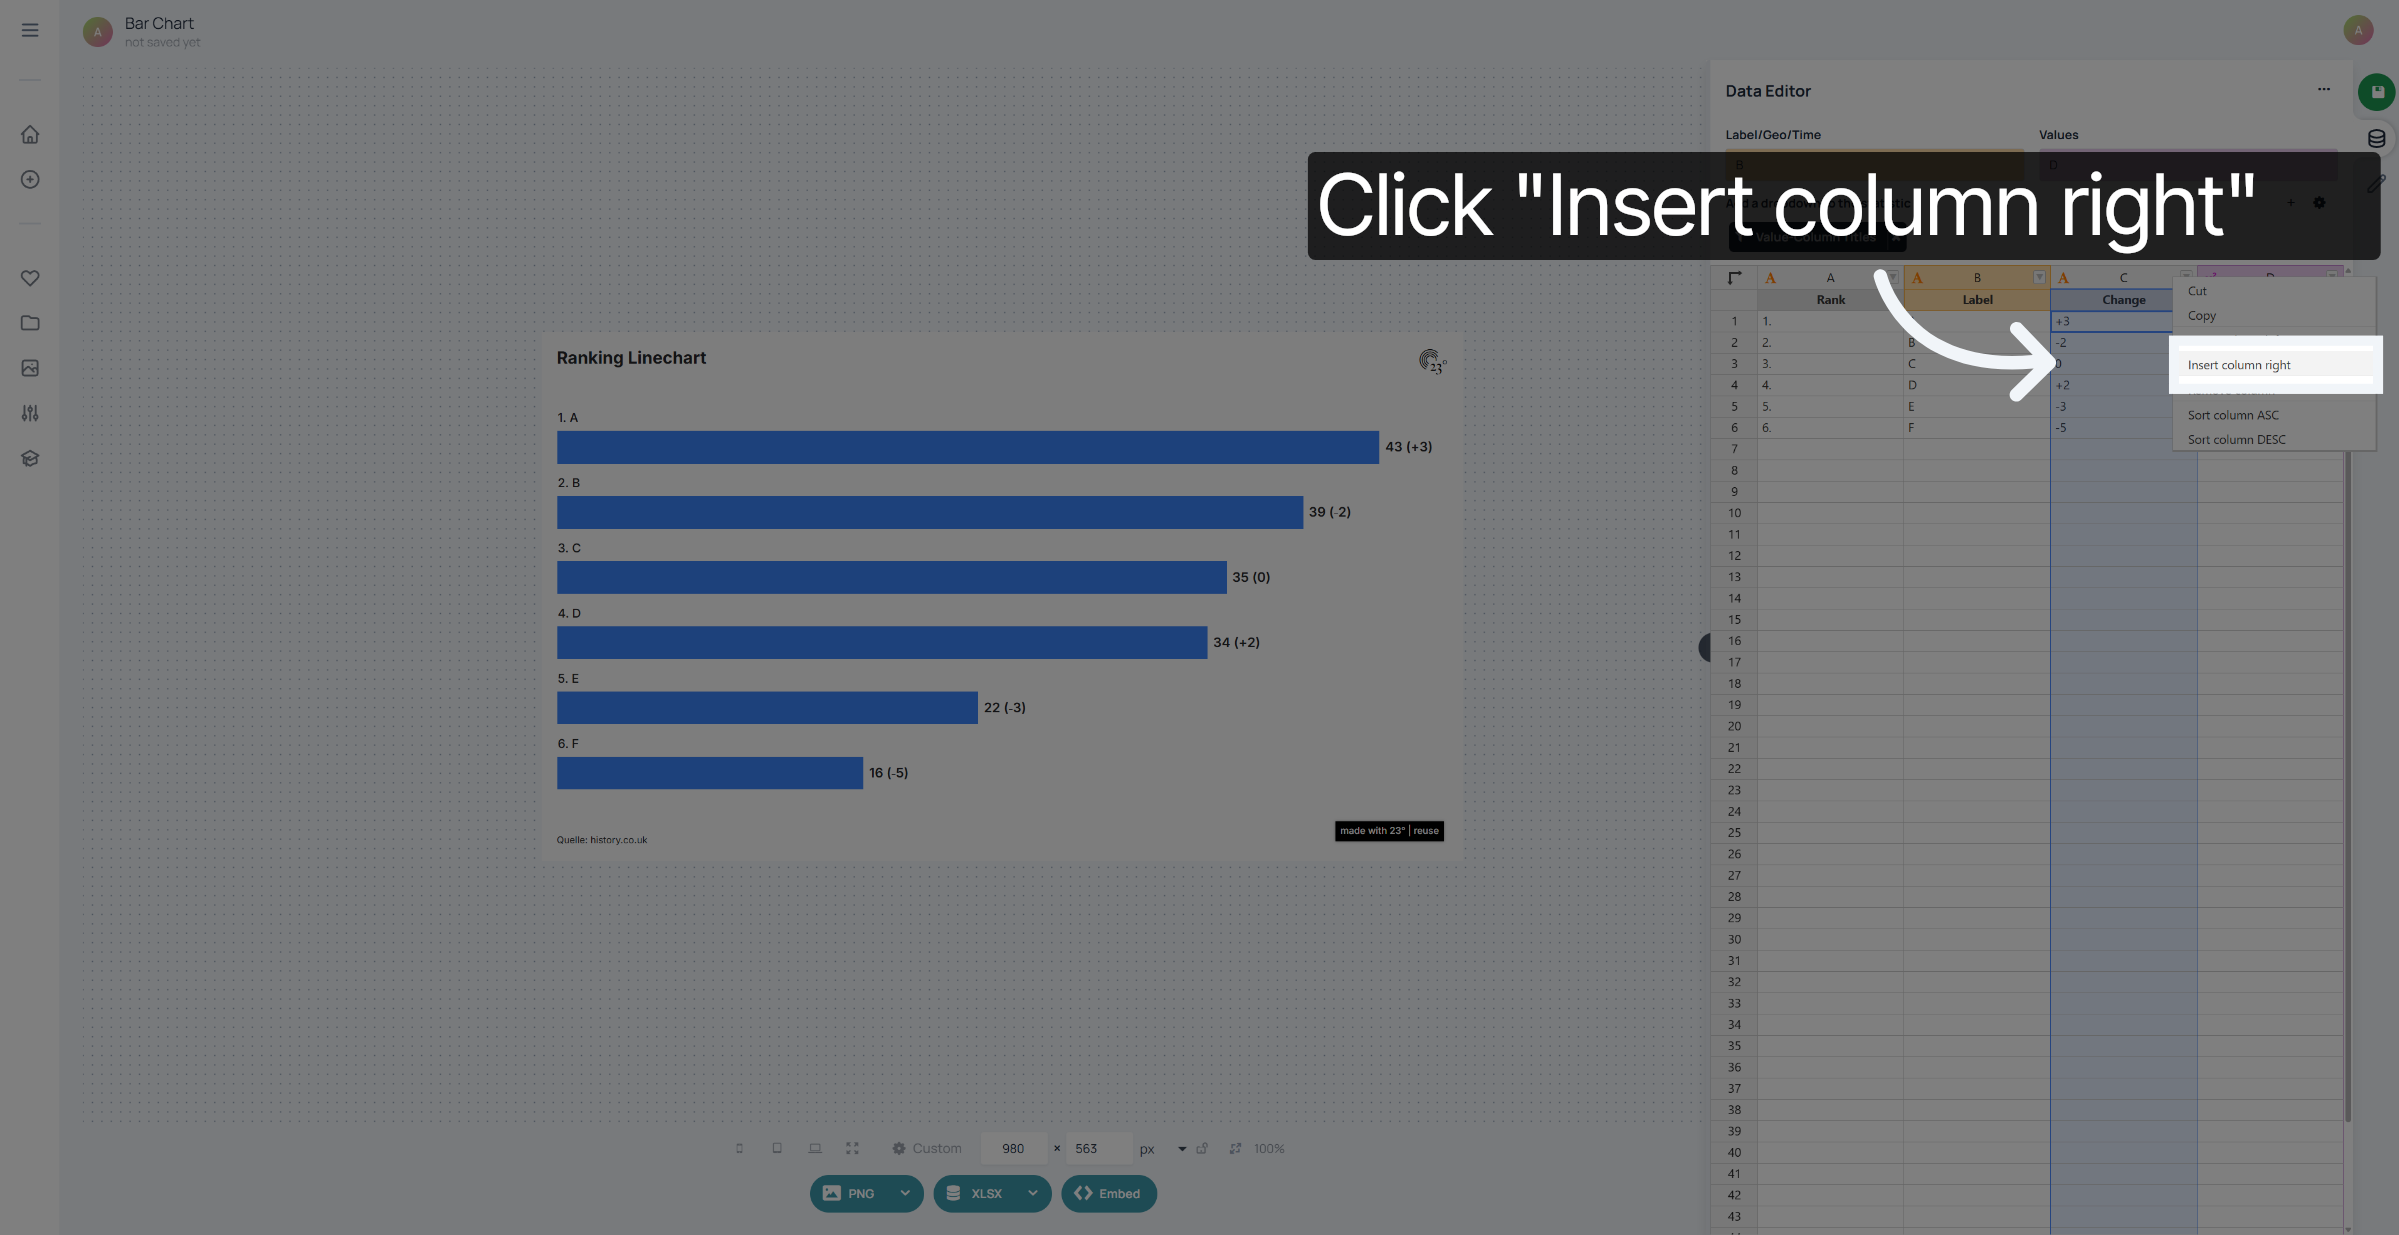
Now that we have created the new column, we can select the column settings by clicking on the column icon.
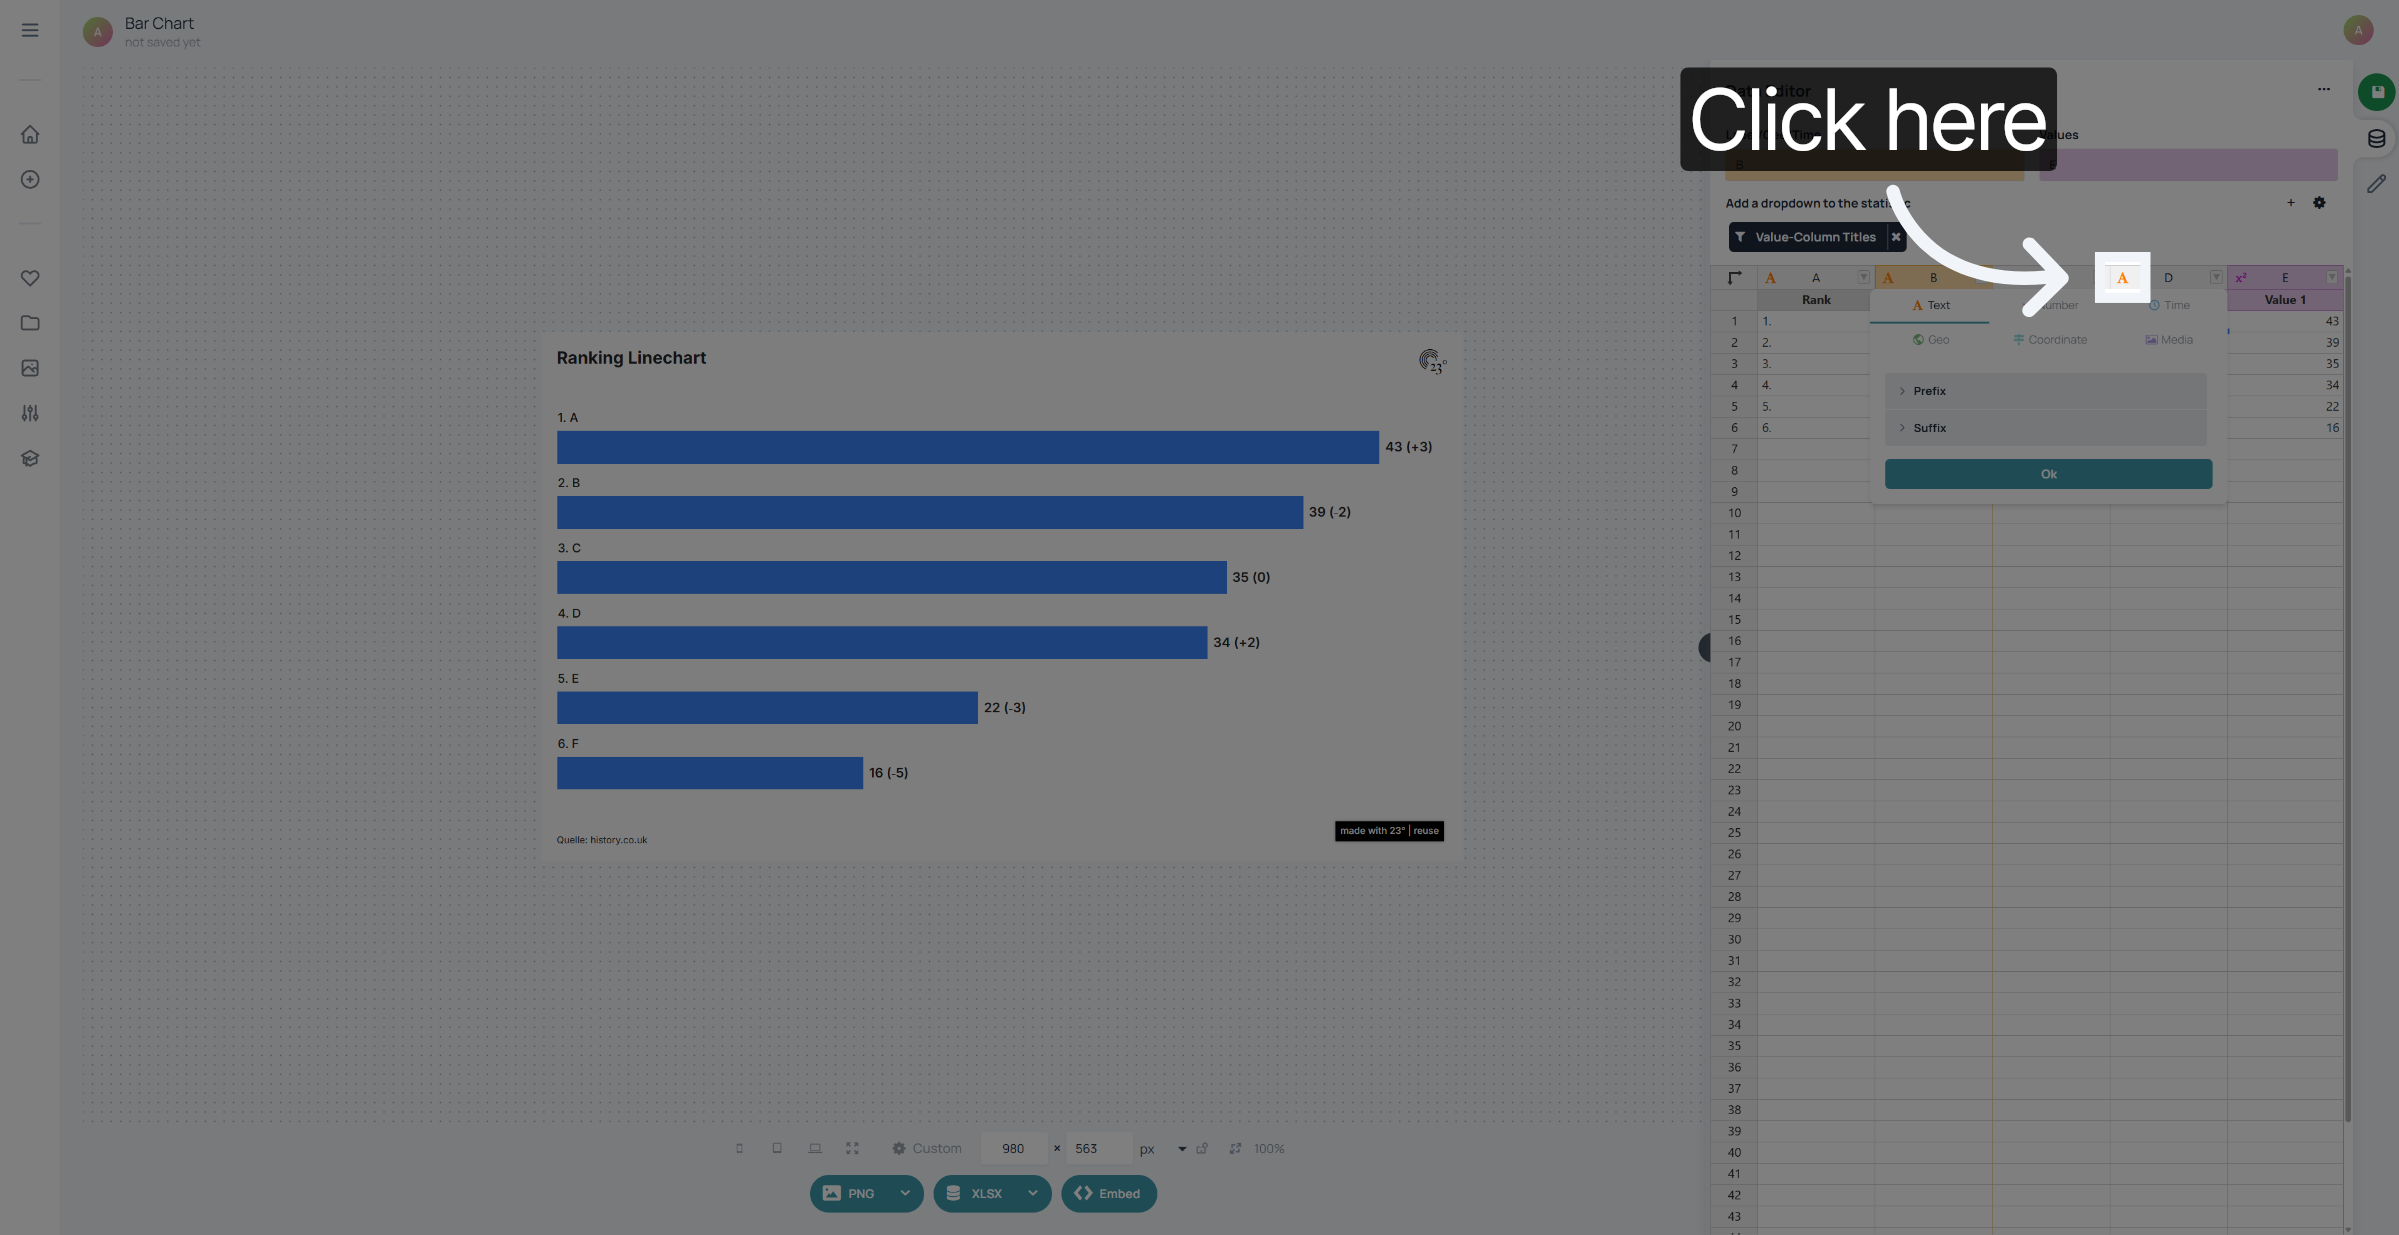
Next lick the Media option to set the column type to media.
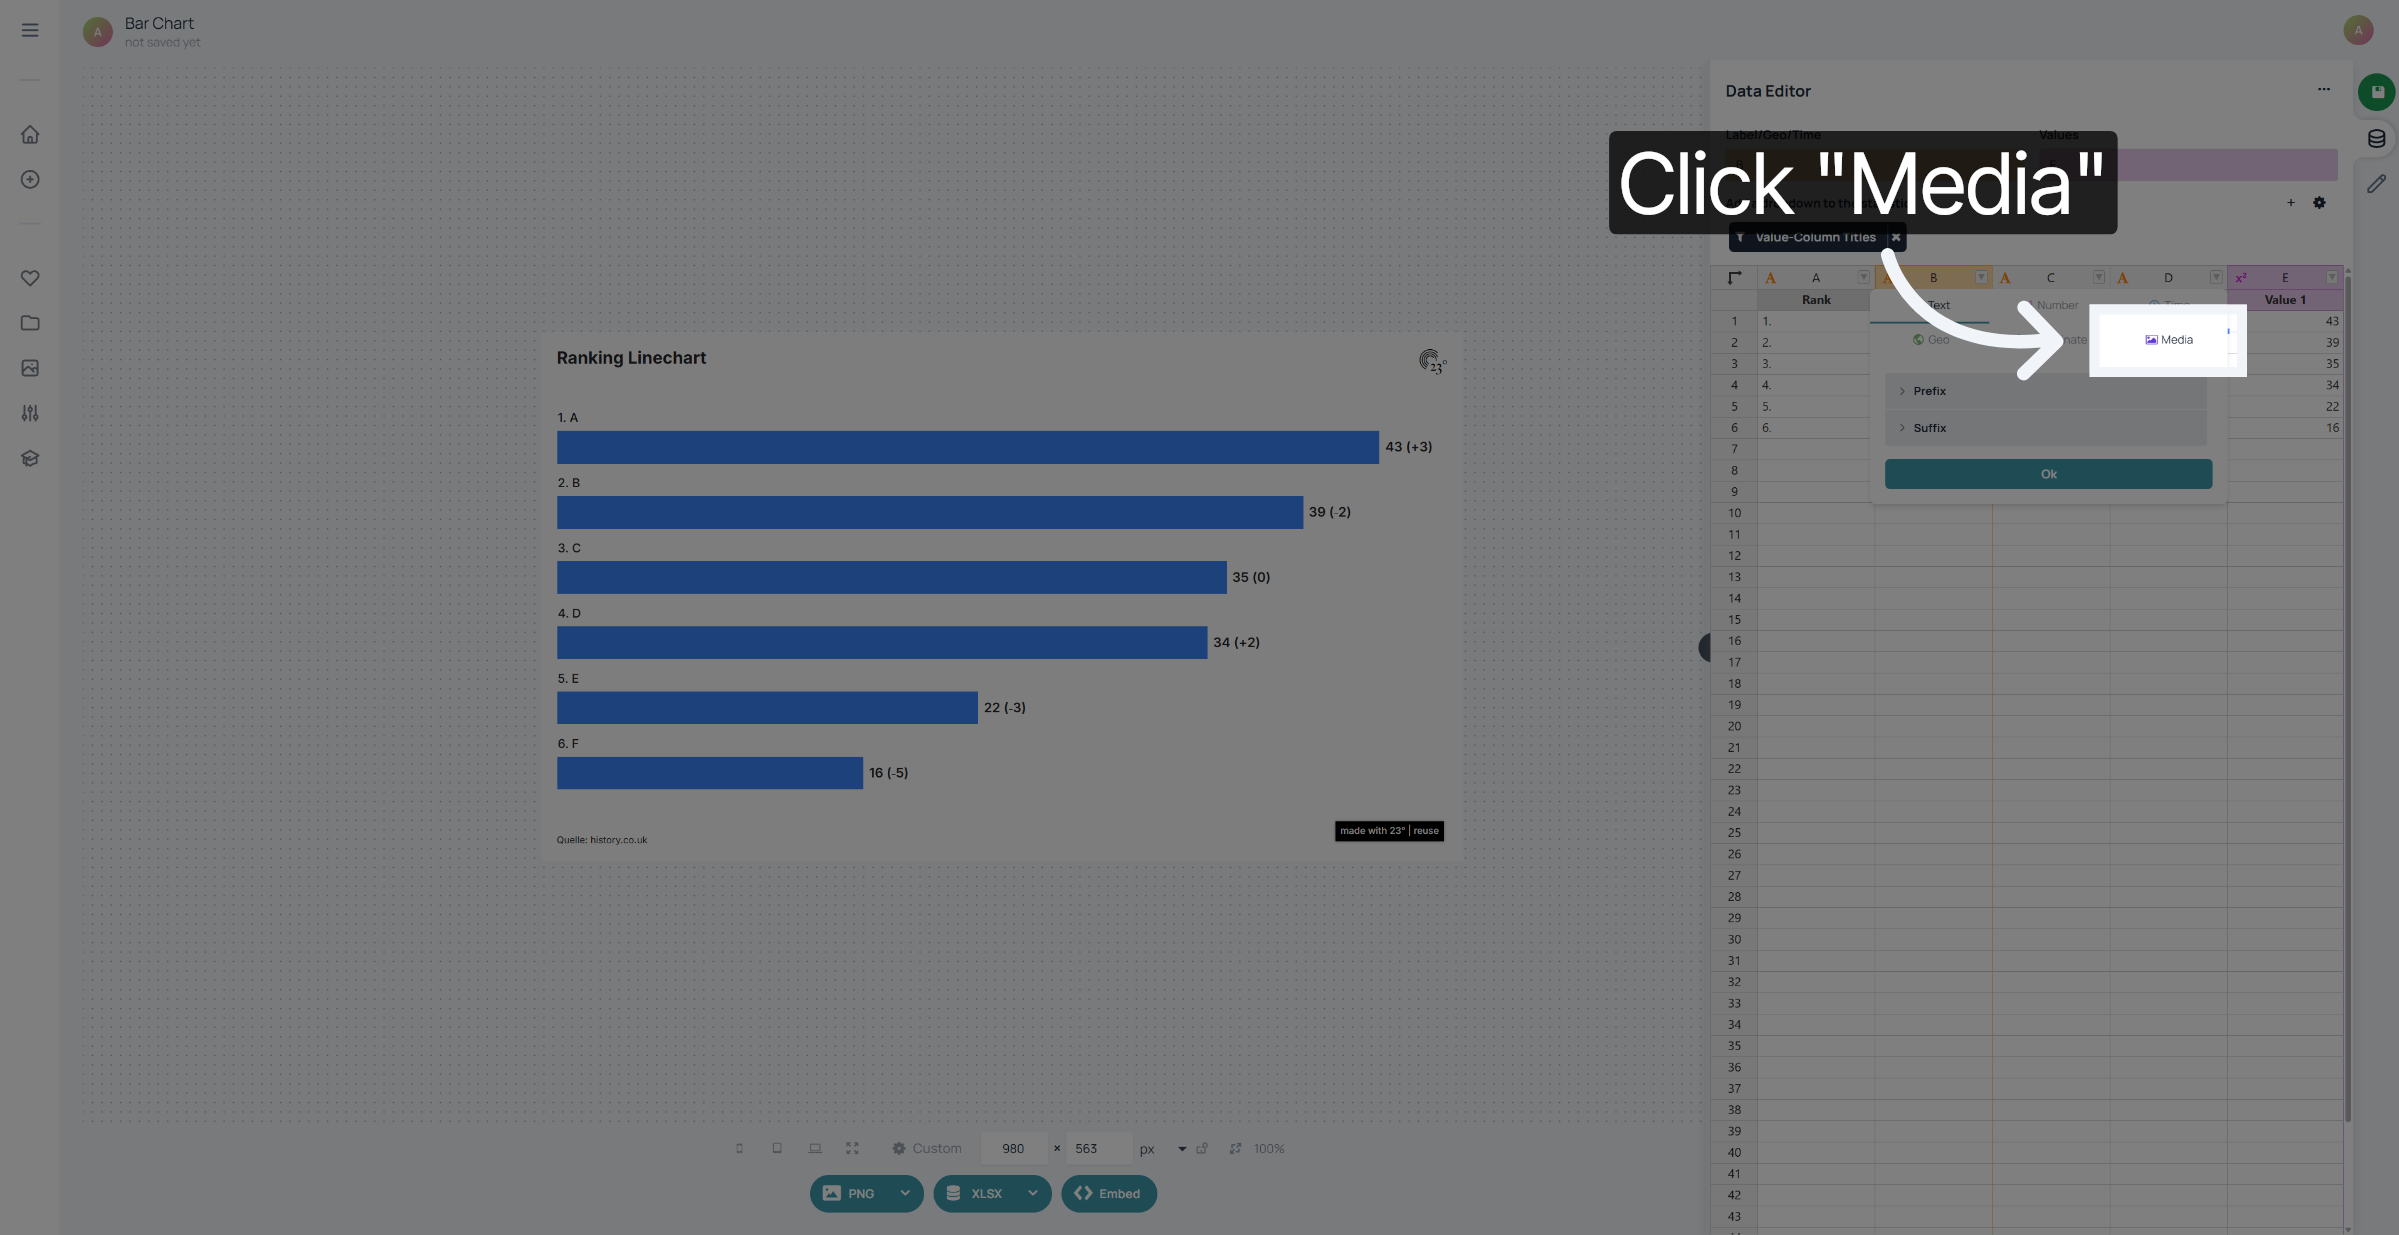
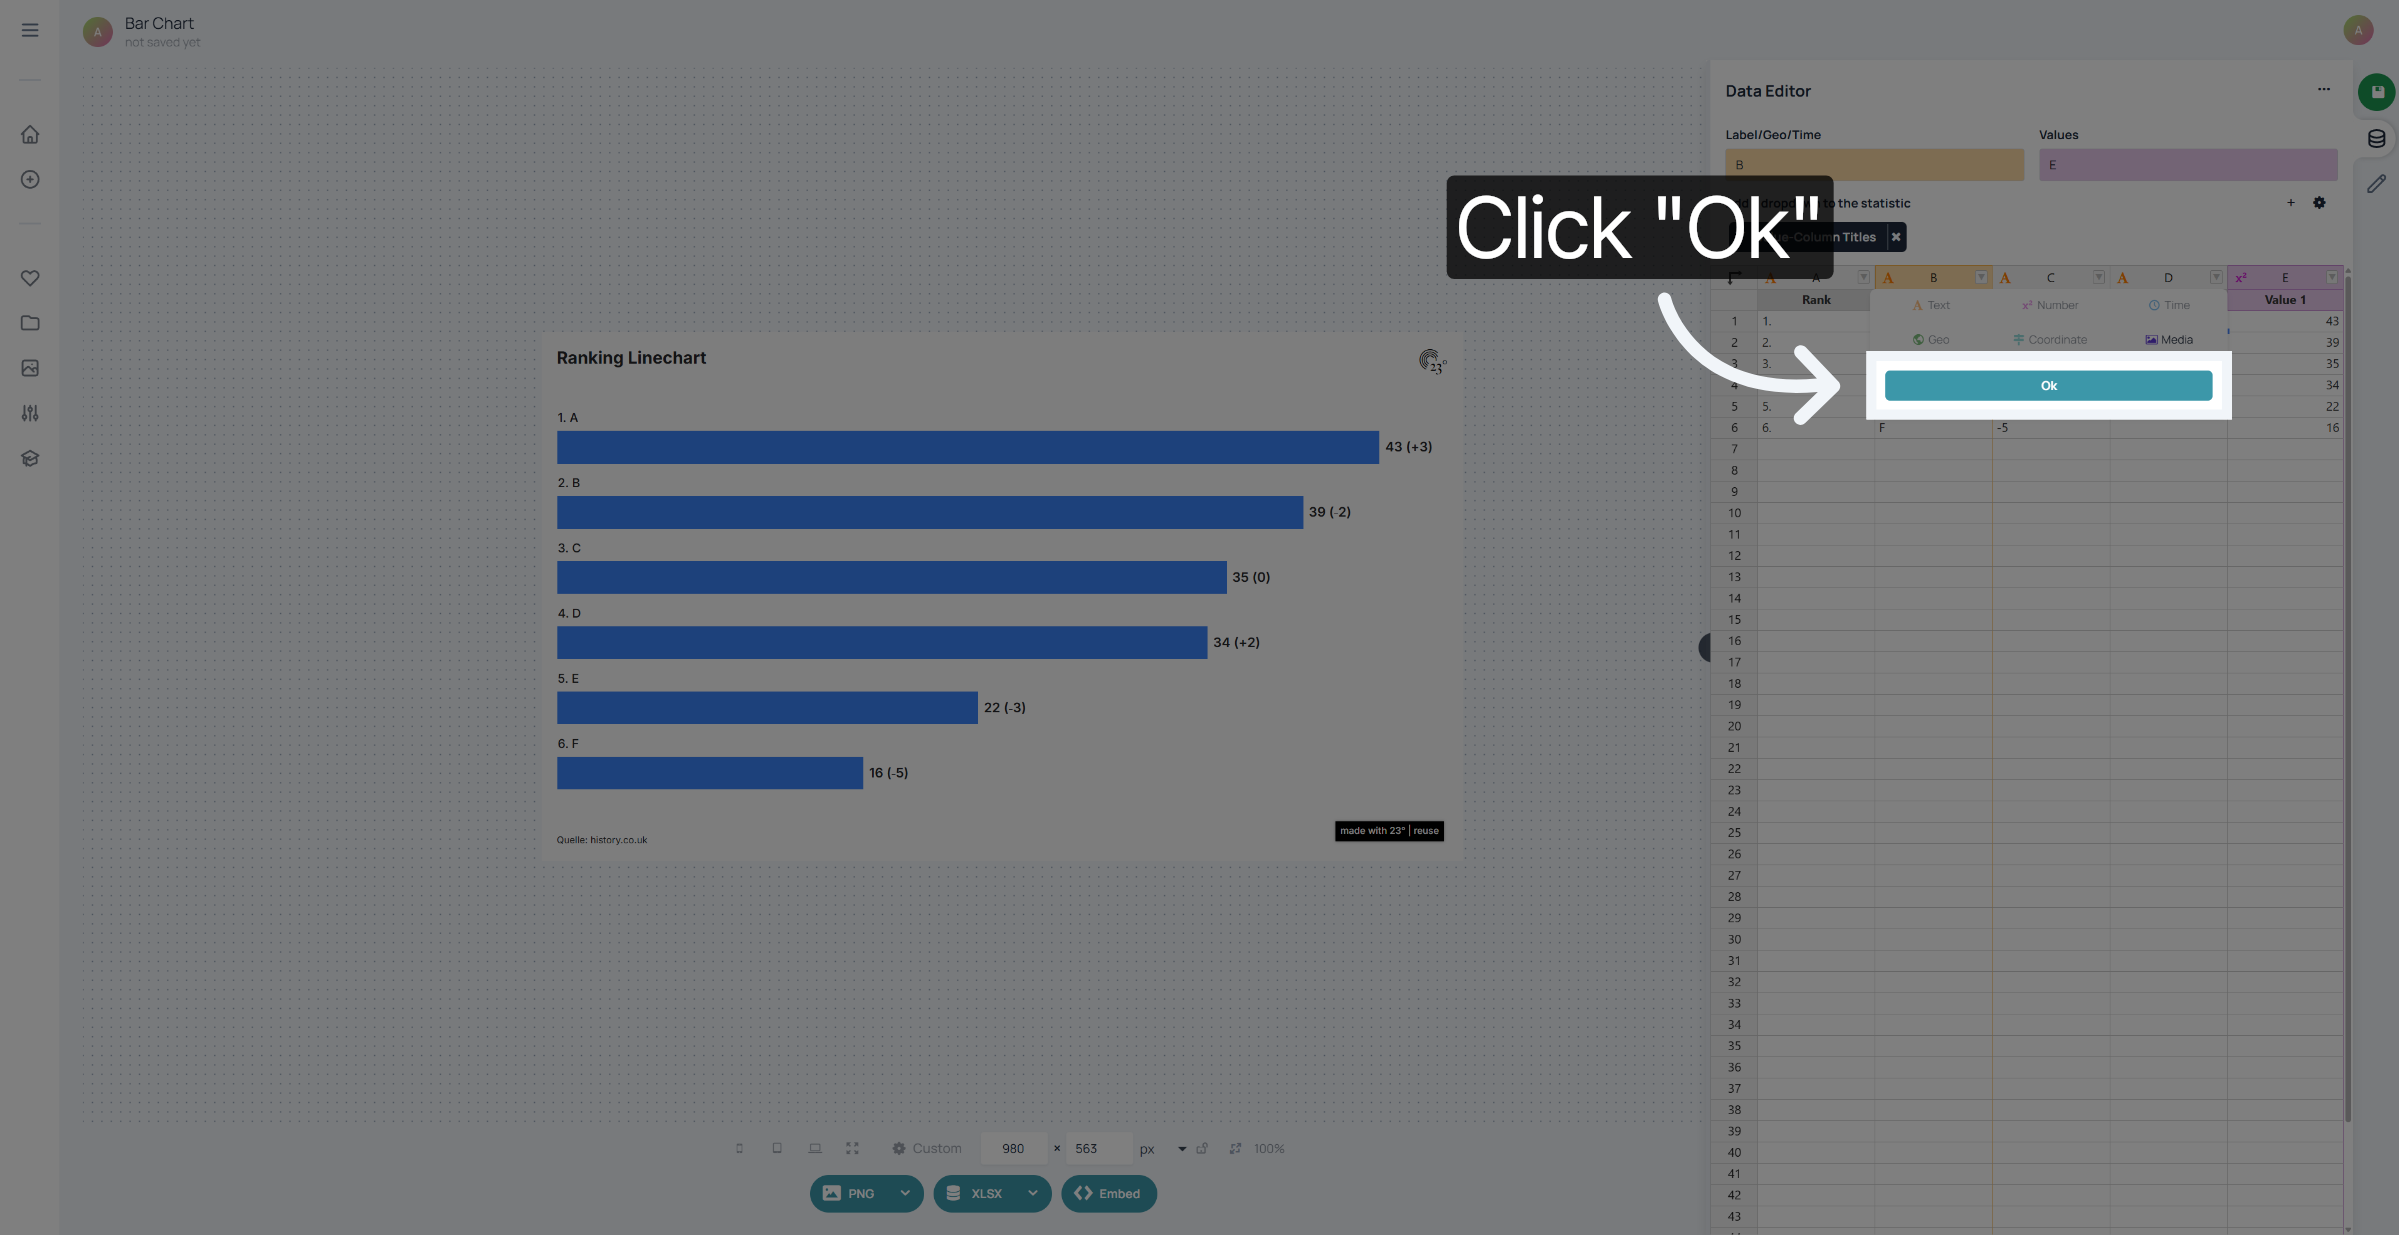
Click the Ok button to confirm your selection of the media column type.
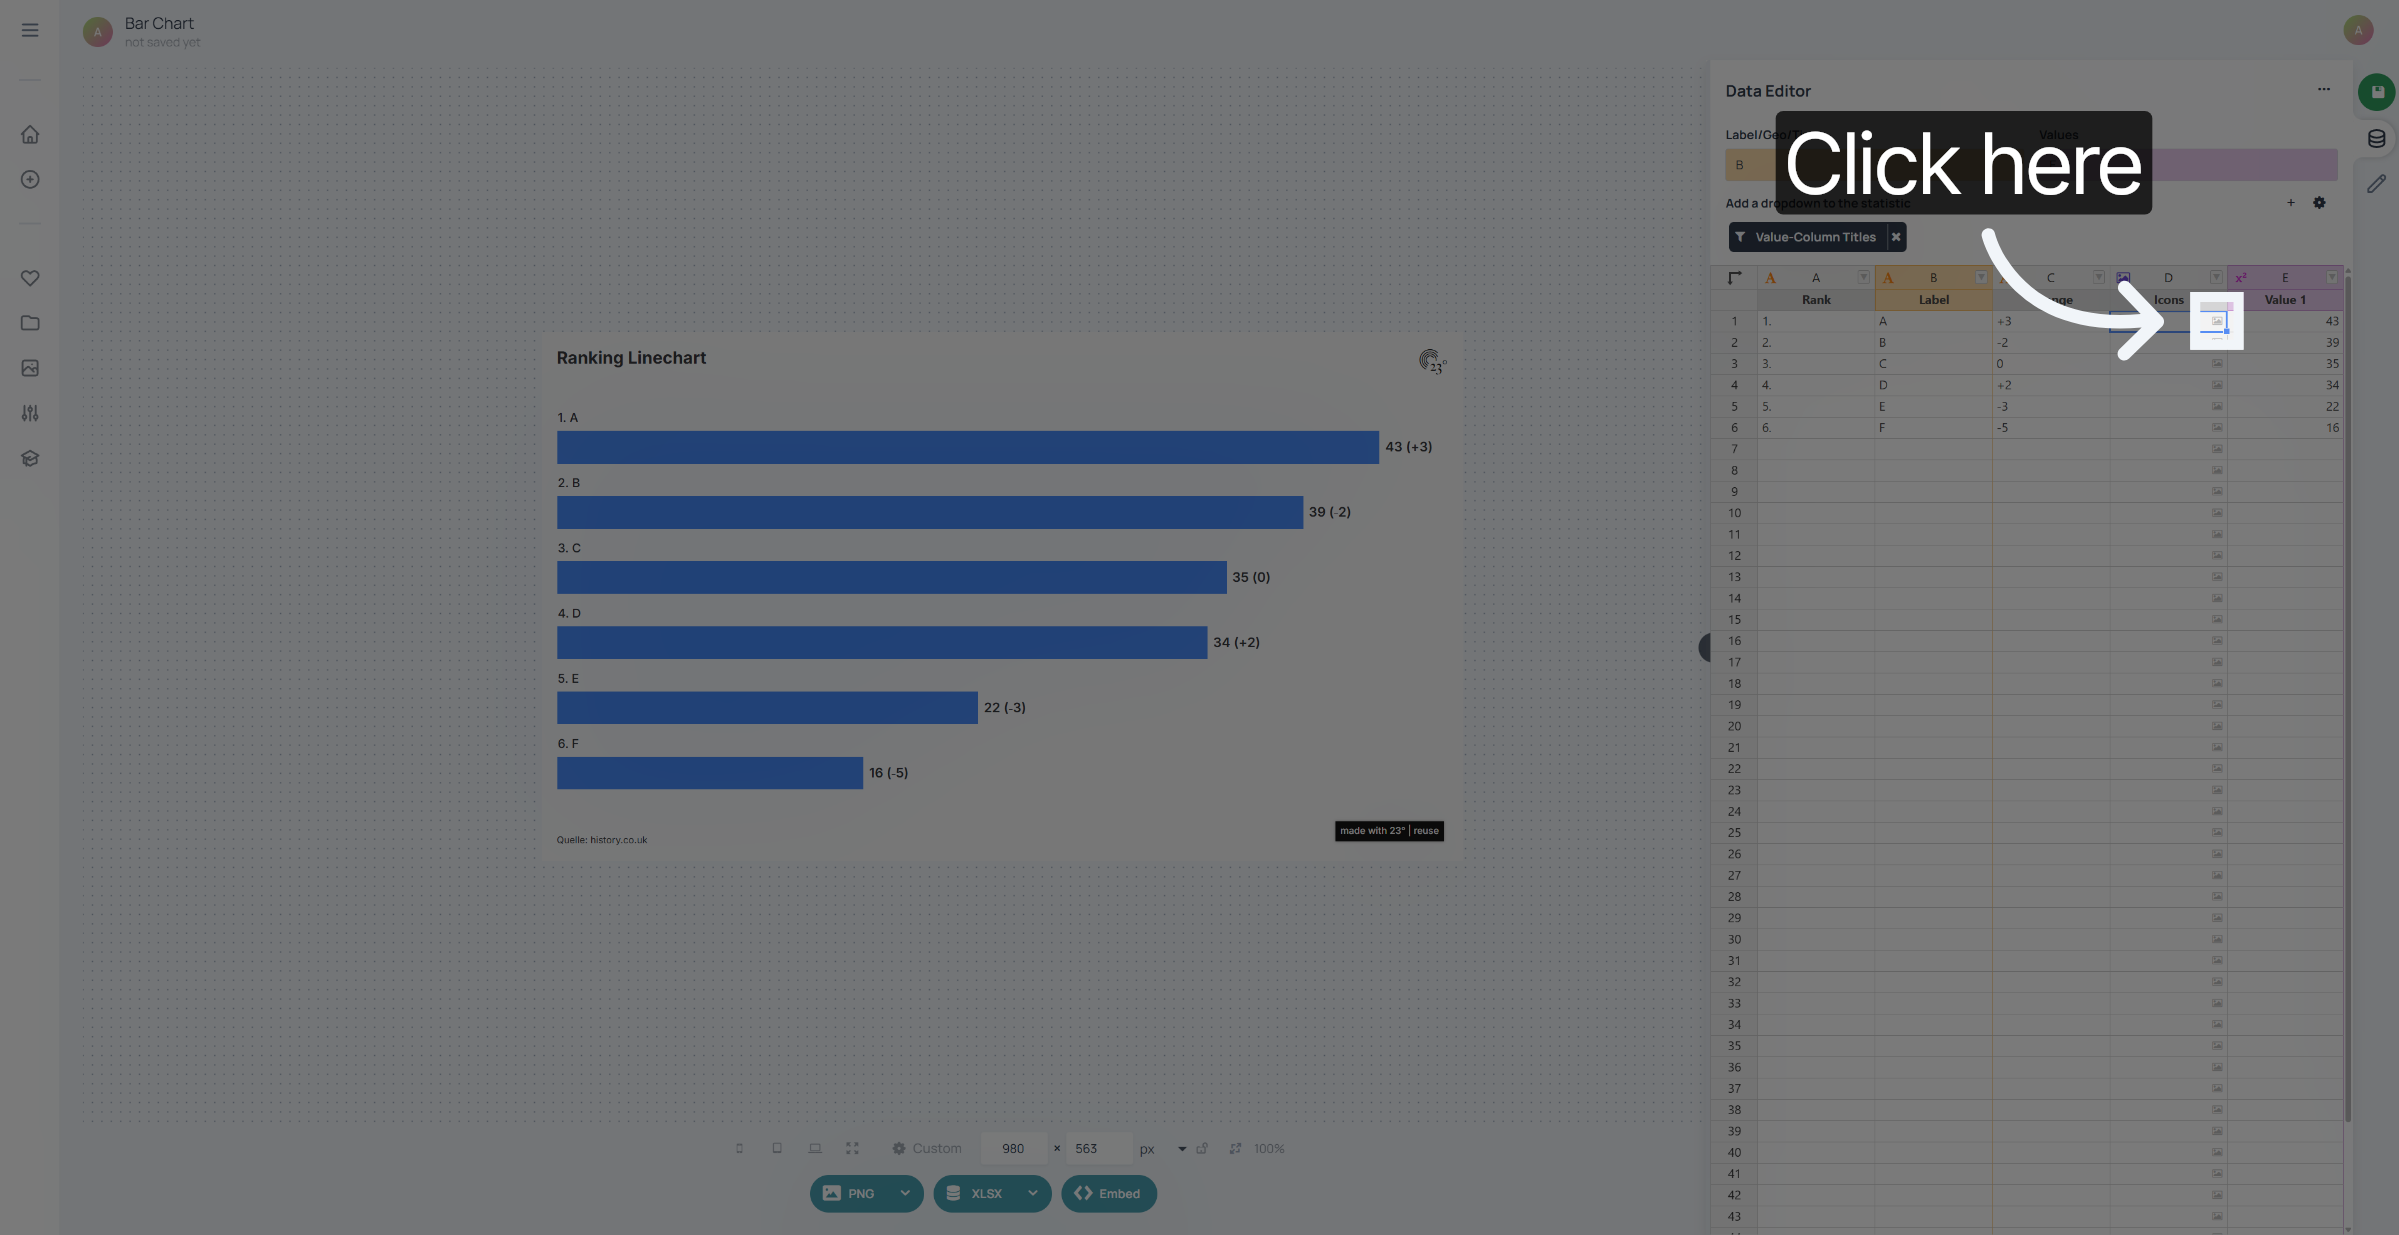
Now that we have the column defined as a media column we can click on each cells image icon to upload a logo or image from our media library.
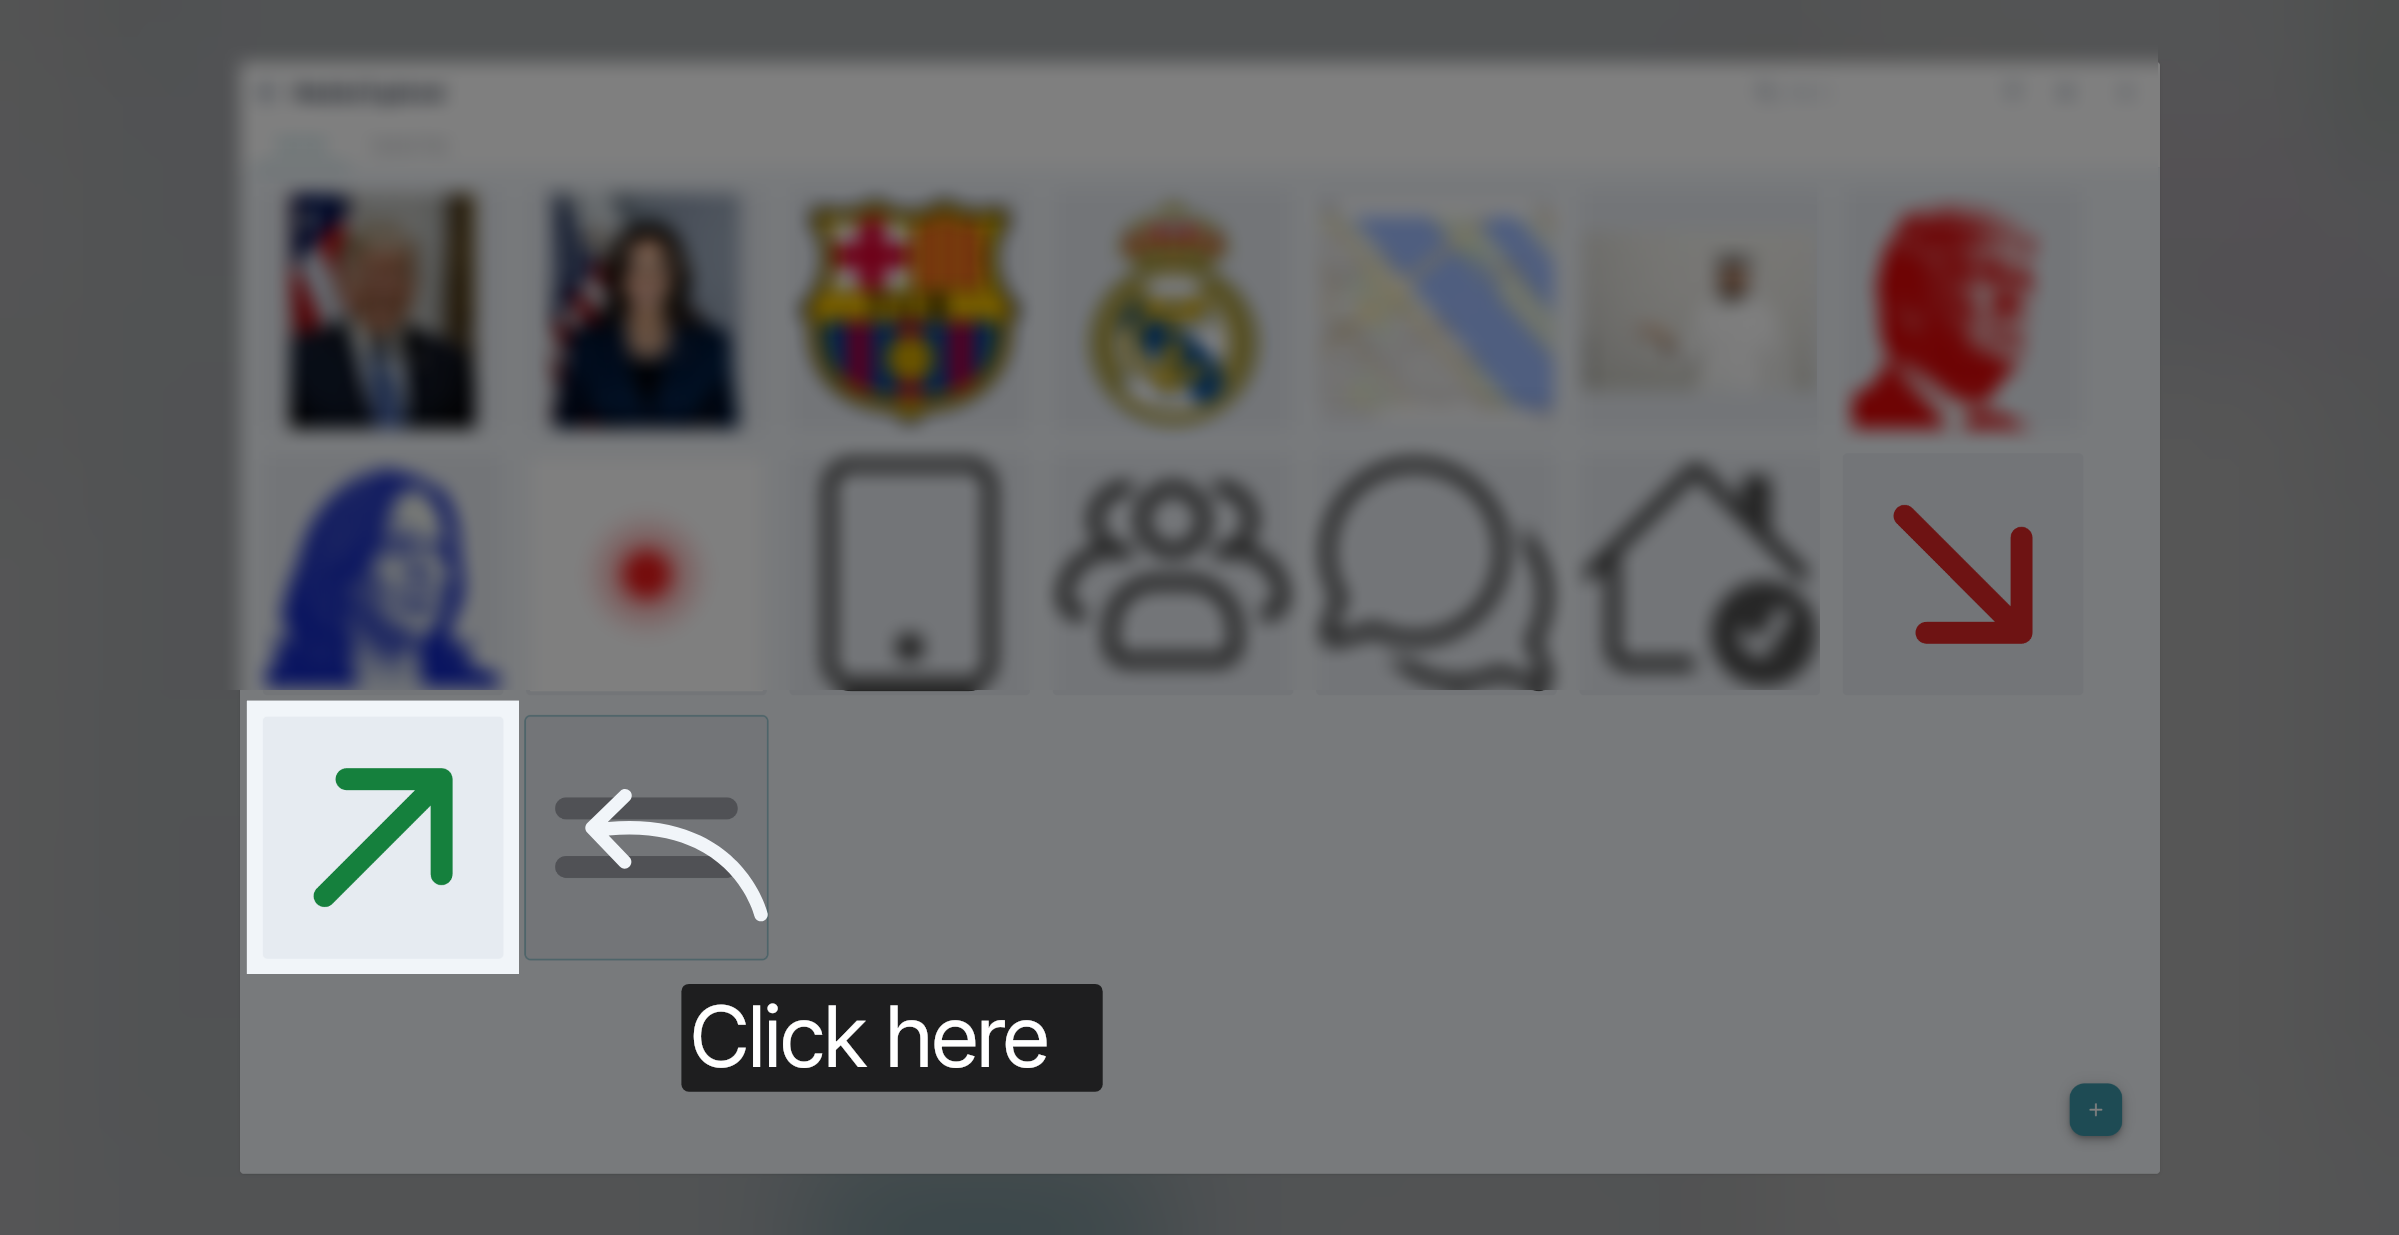
In this case we want to upload a symbol depicting the change in score compared to the previous edition.
If you need your inserted icon in other places you can also copy and paste it in another cell.
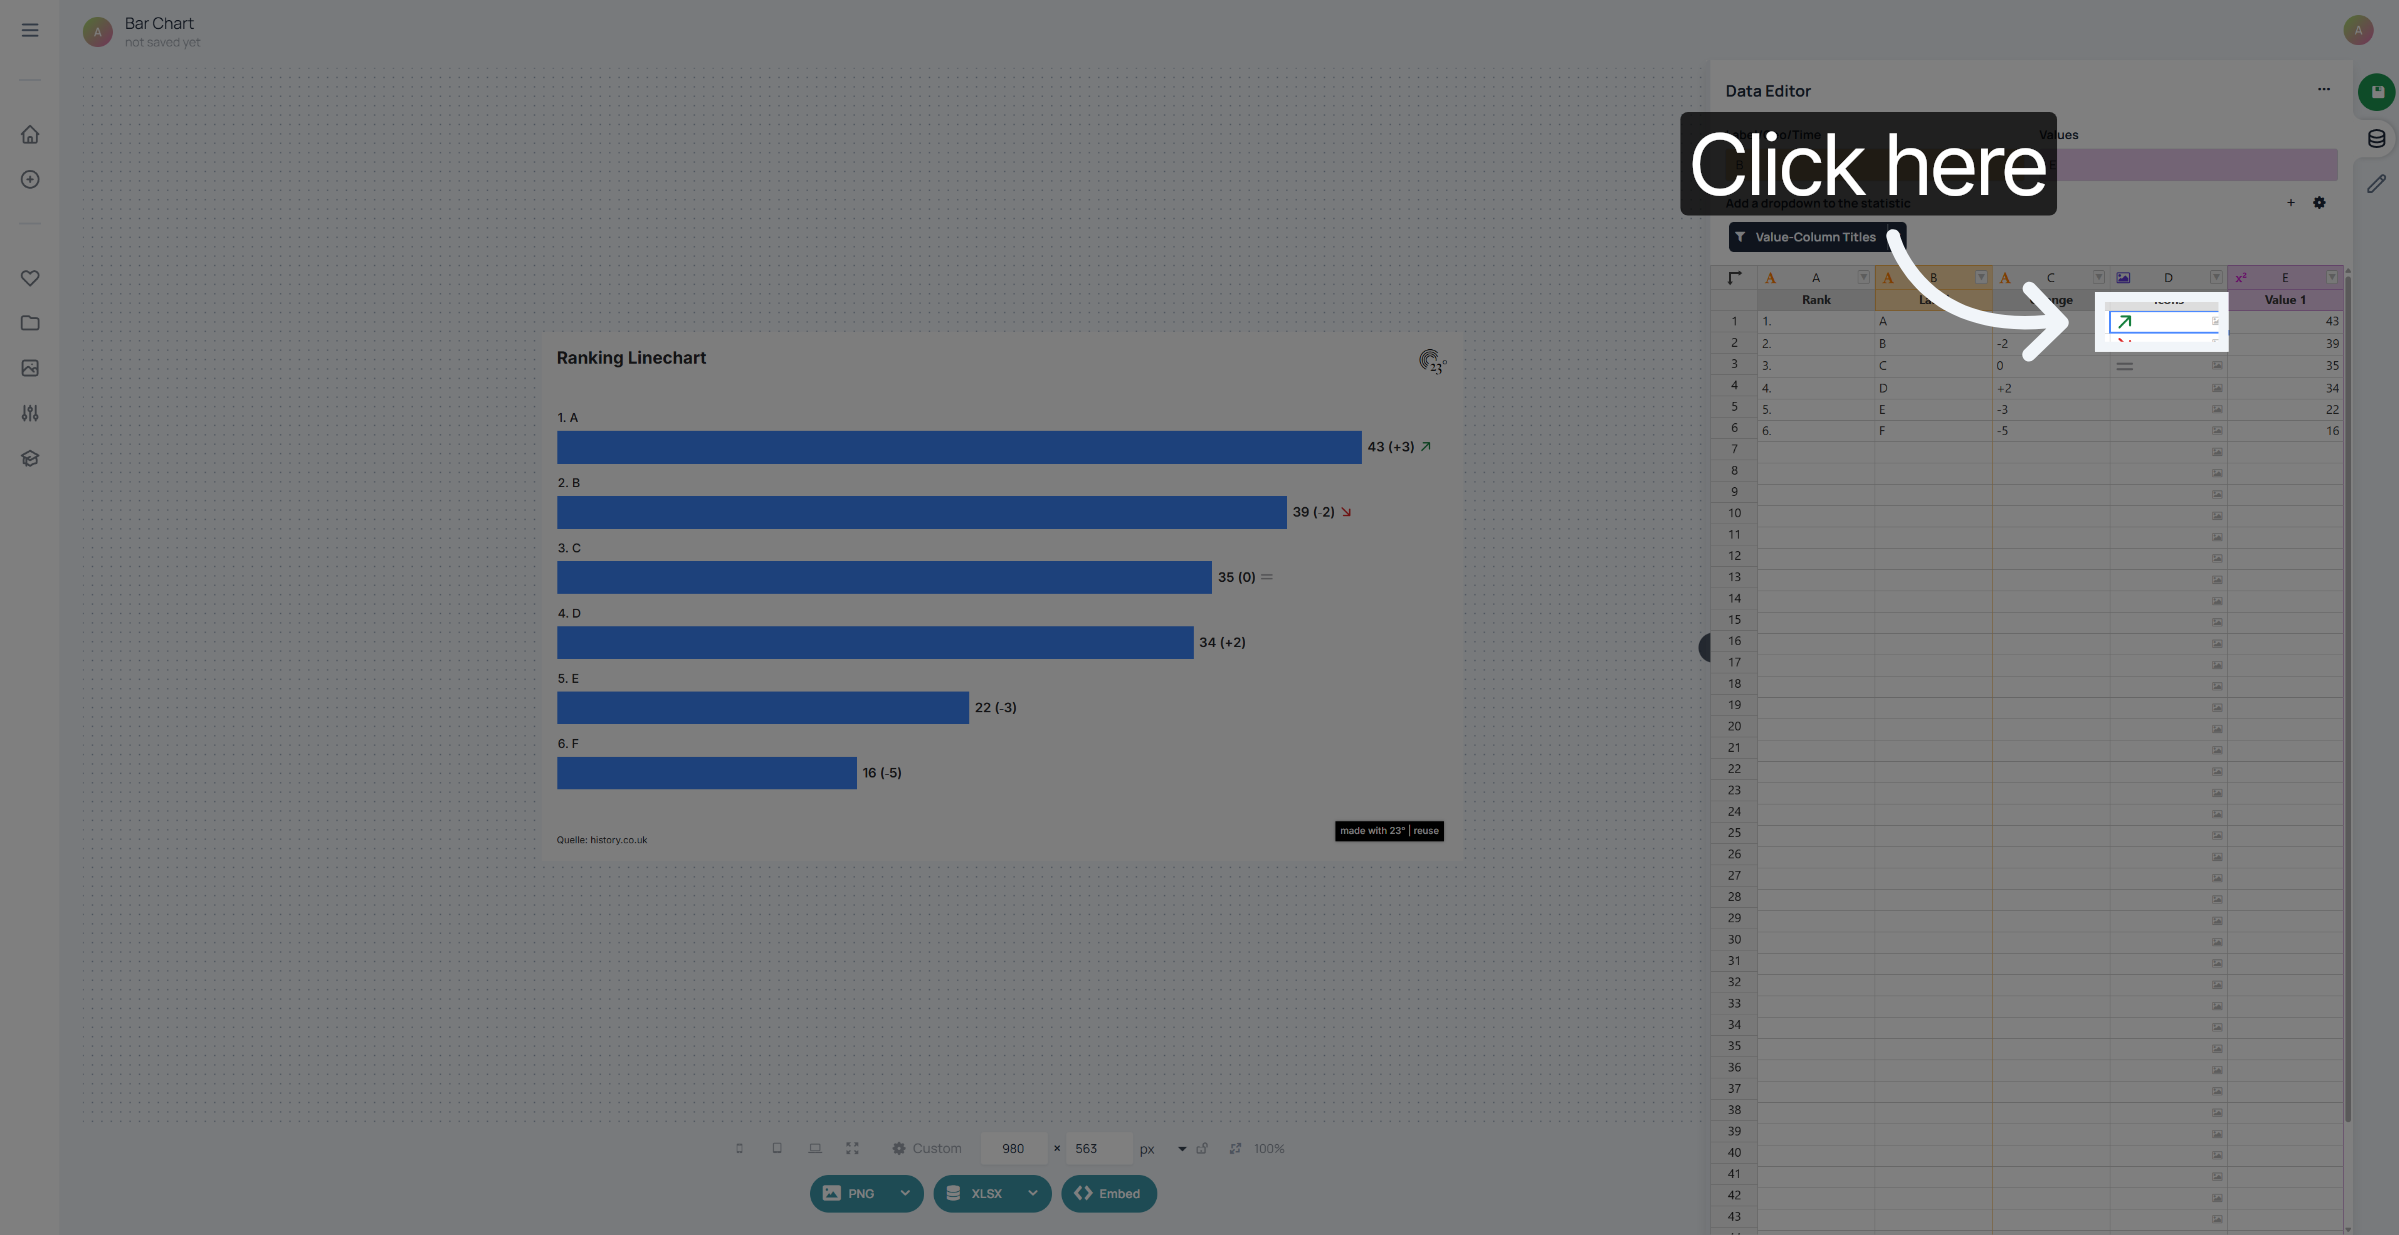
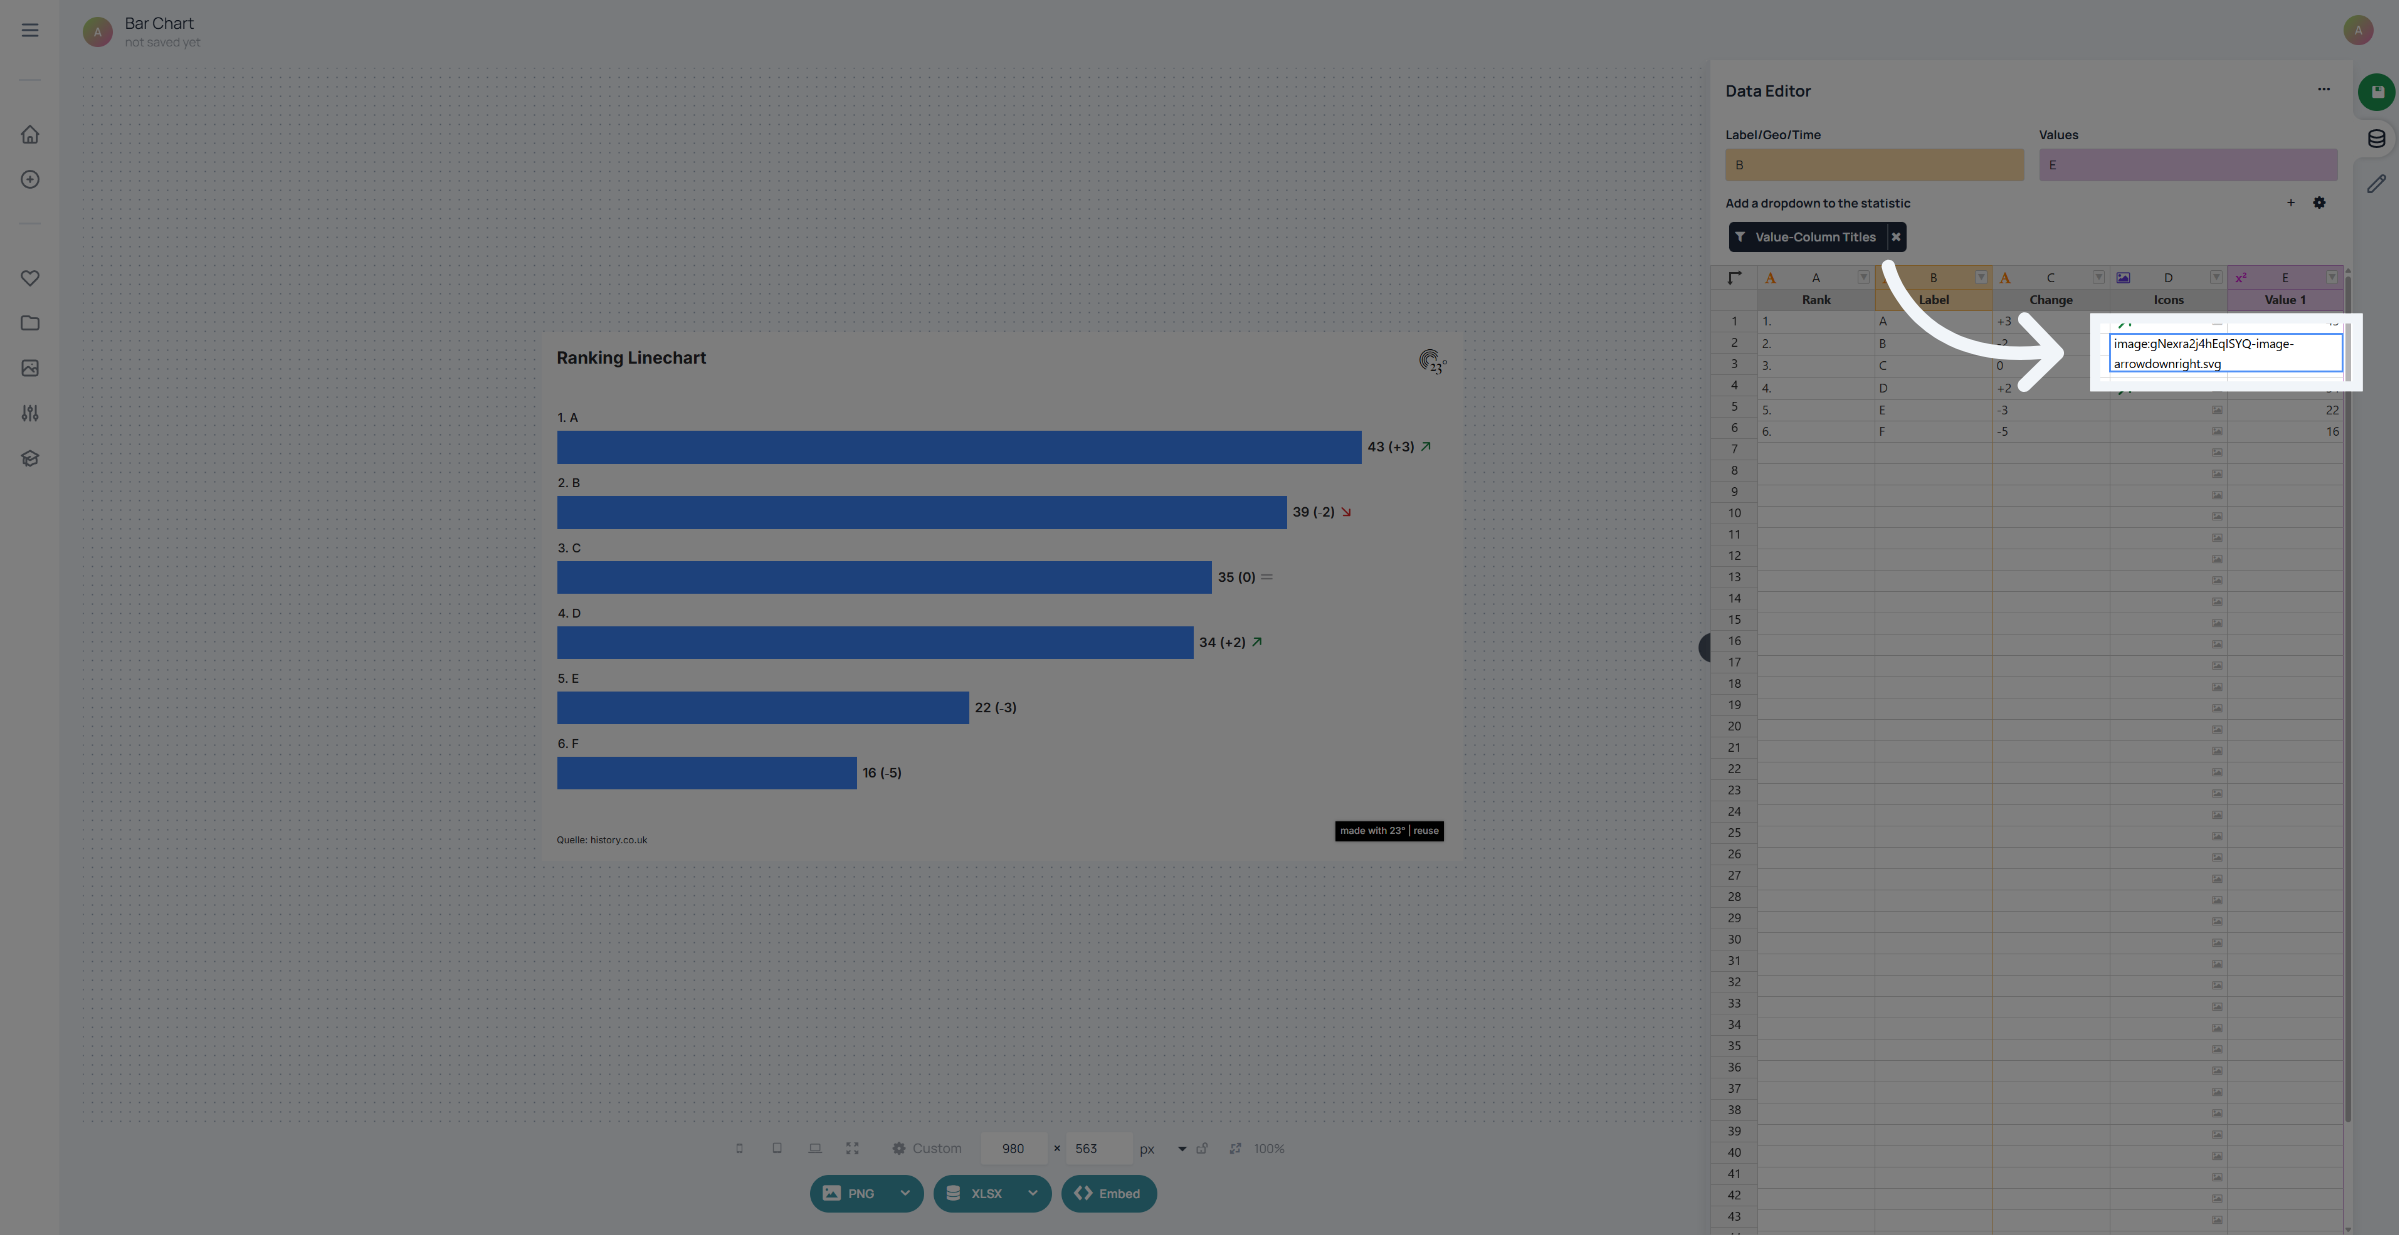
Or if you are working with paths, you can just paste the path into your media cell
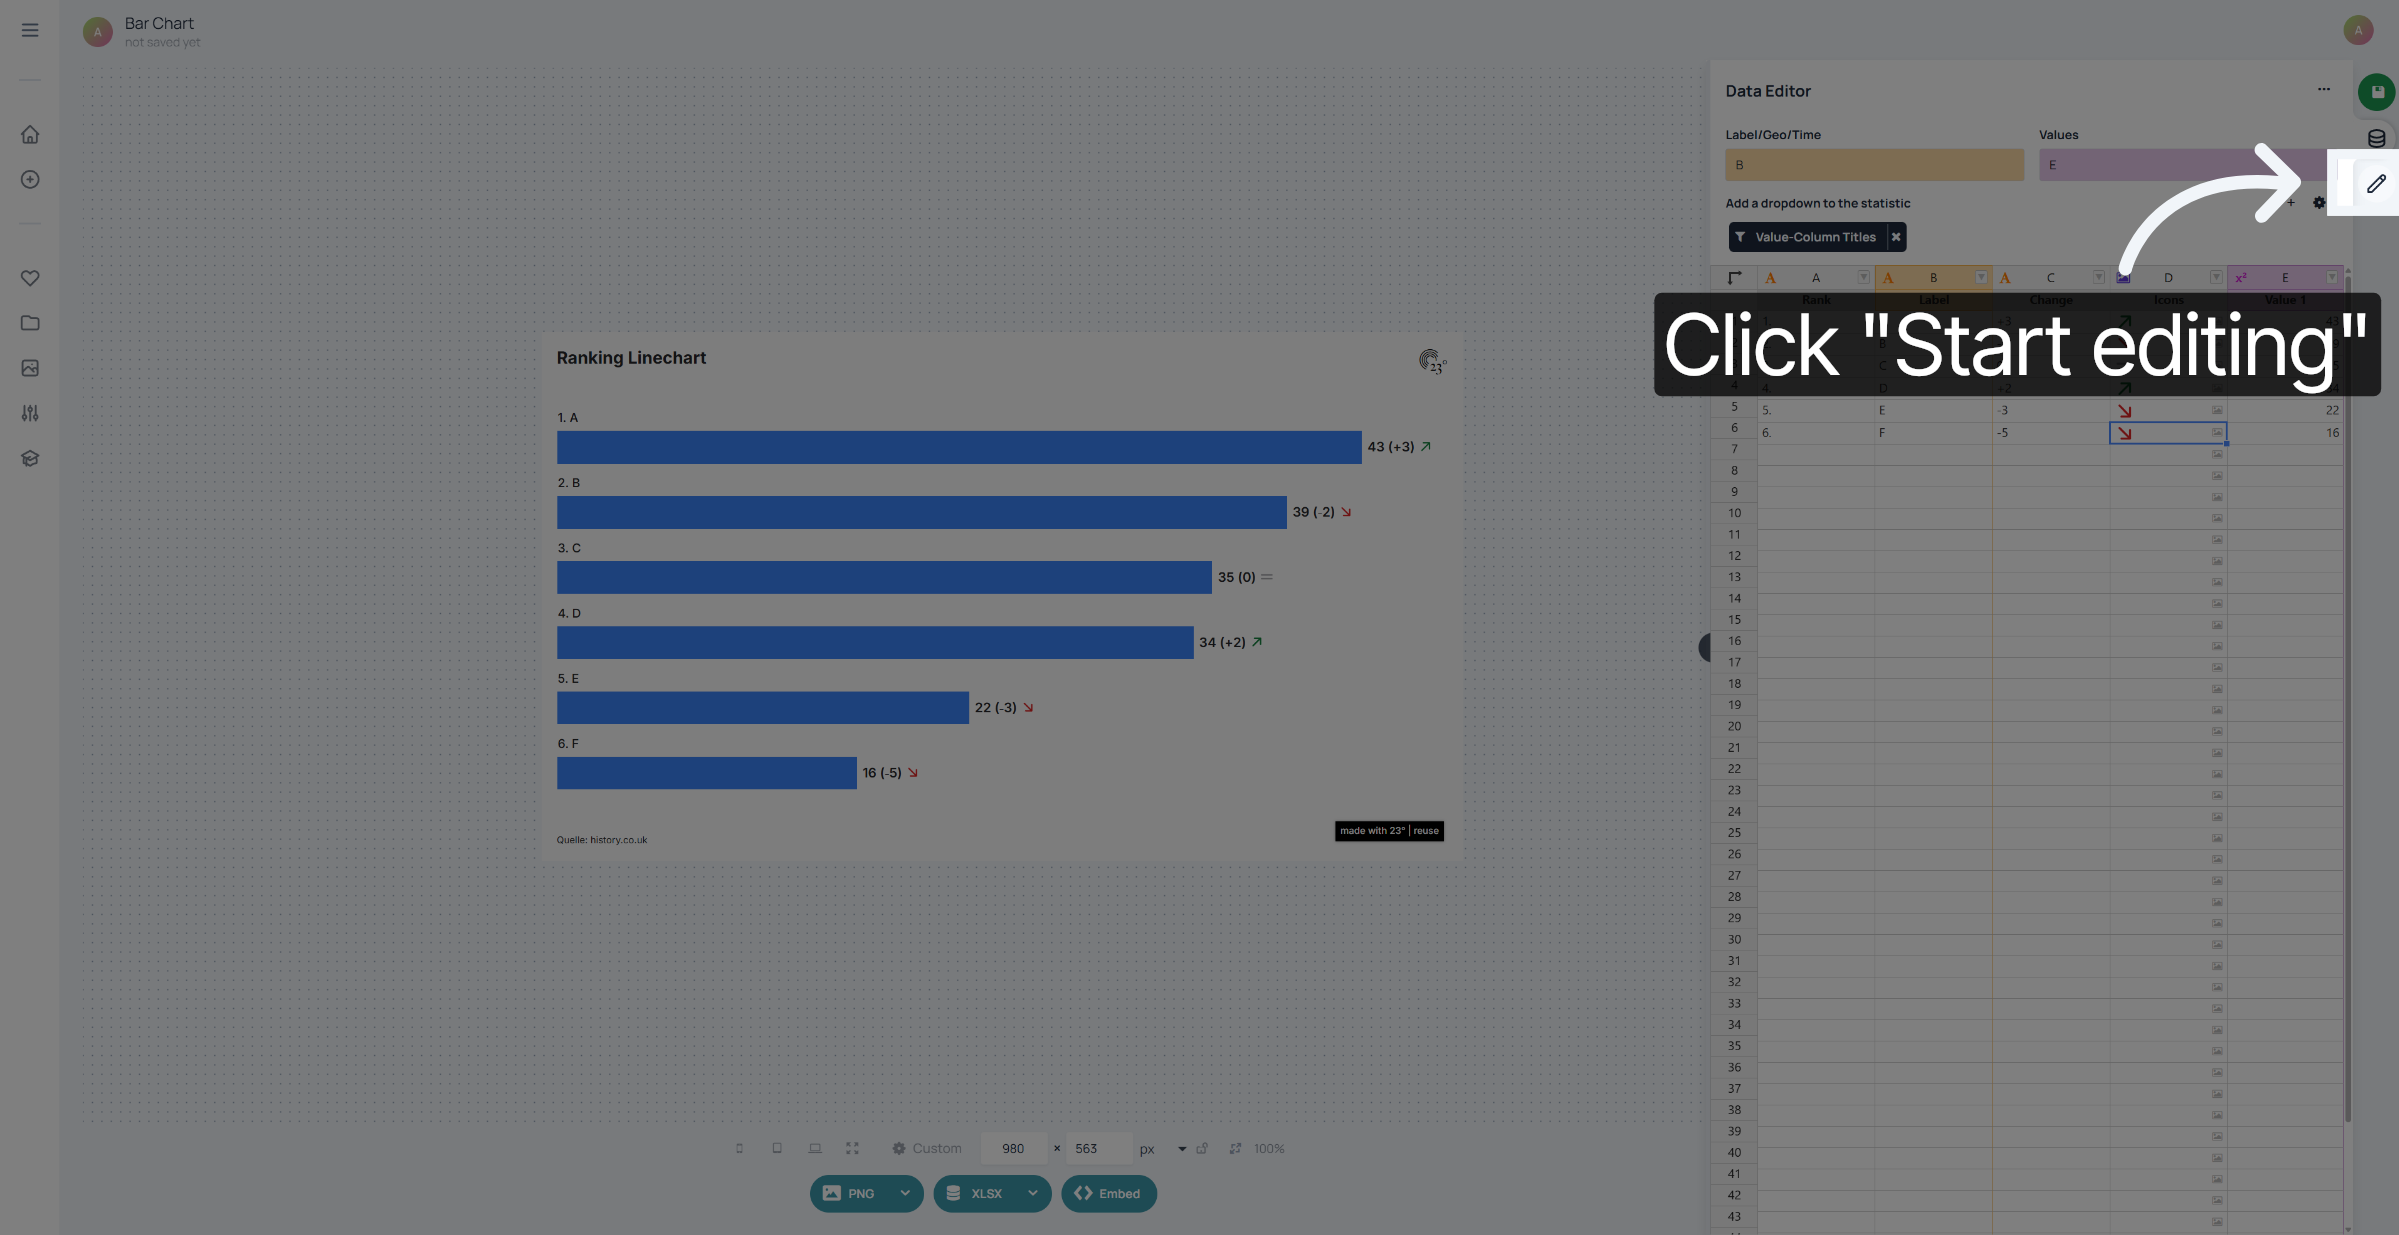
In the next step i am going to show you how to insert your media into your visualisation. First click on "Start Editing".
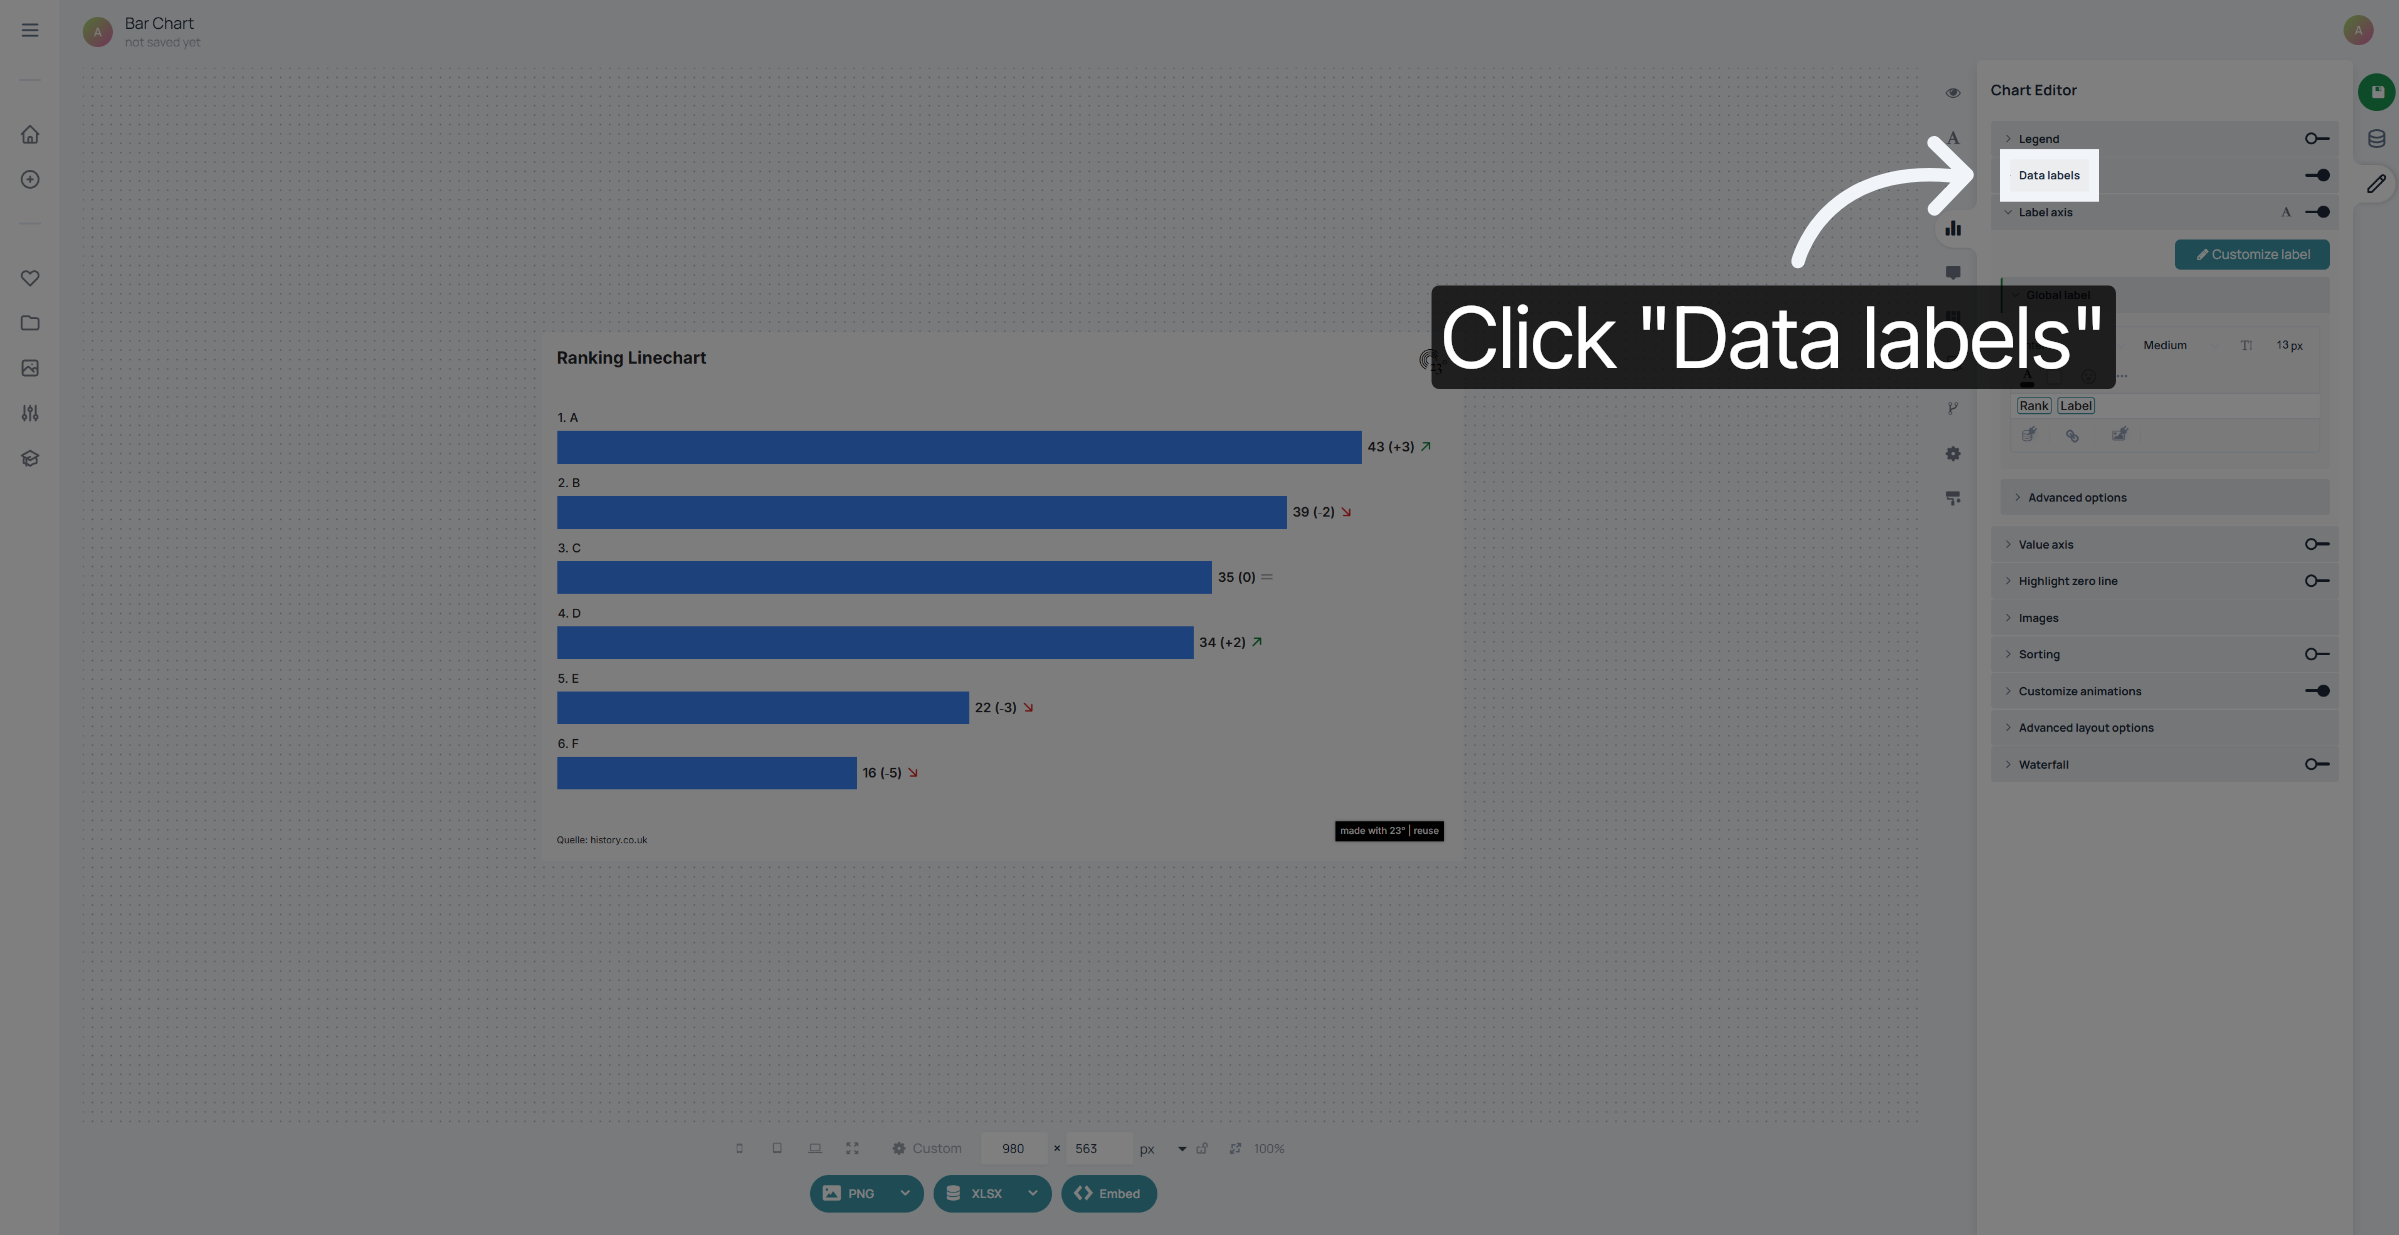
Click on Data Labels
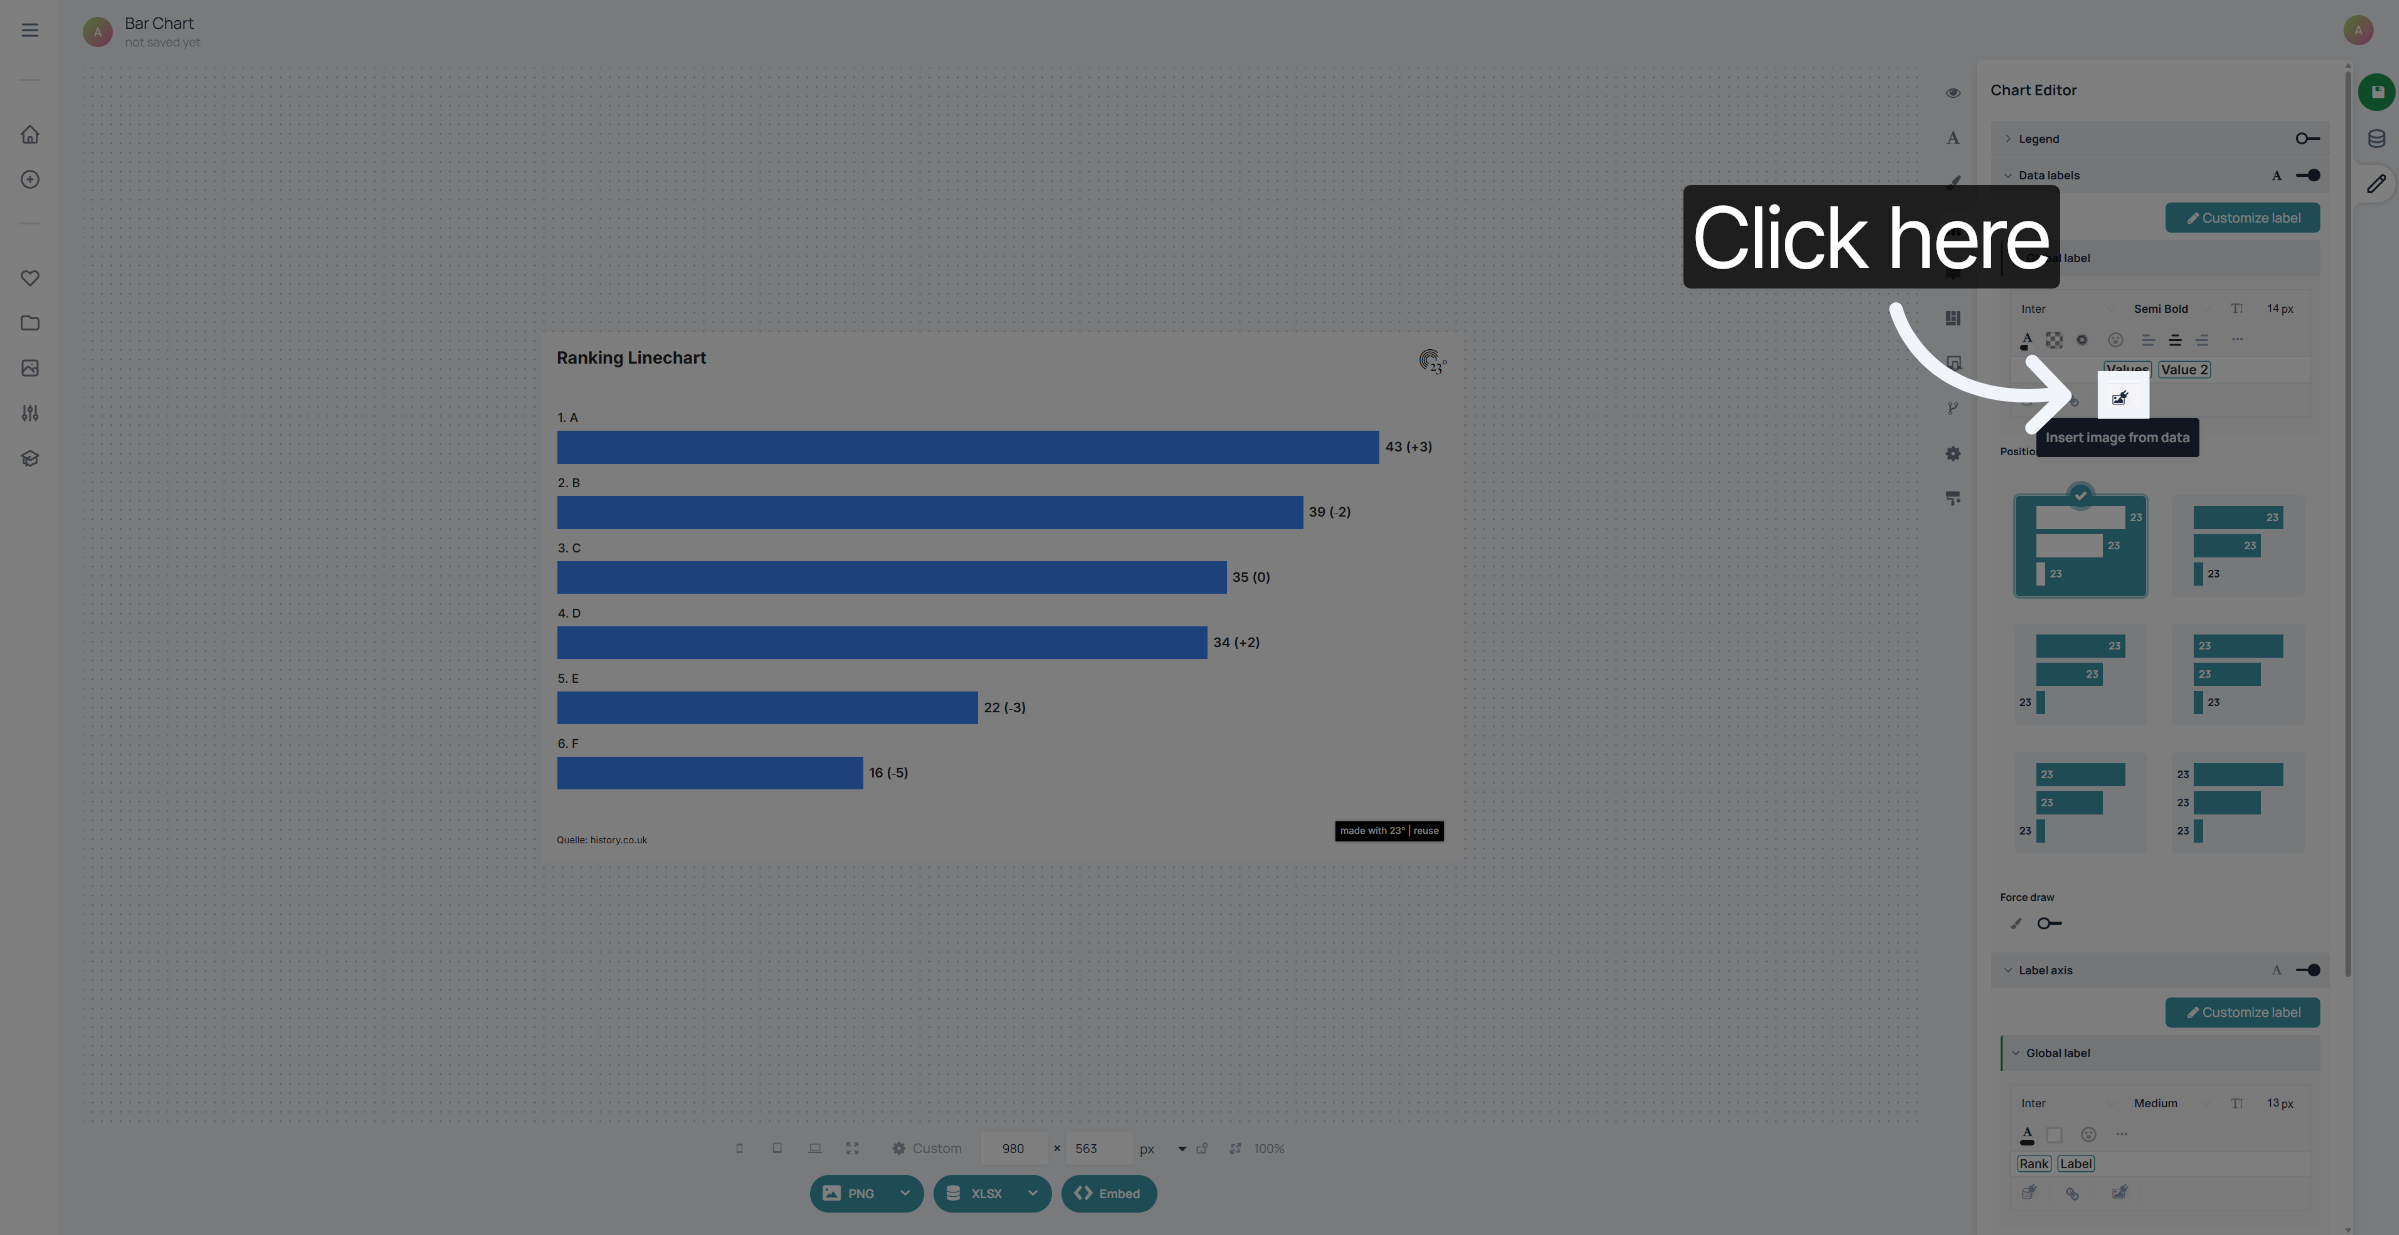
Go to Insert Image from Data.
Select your Media column.
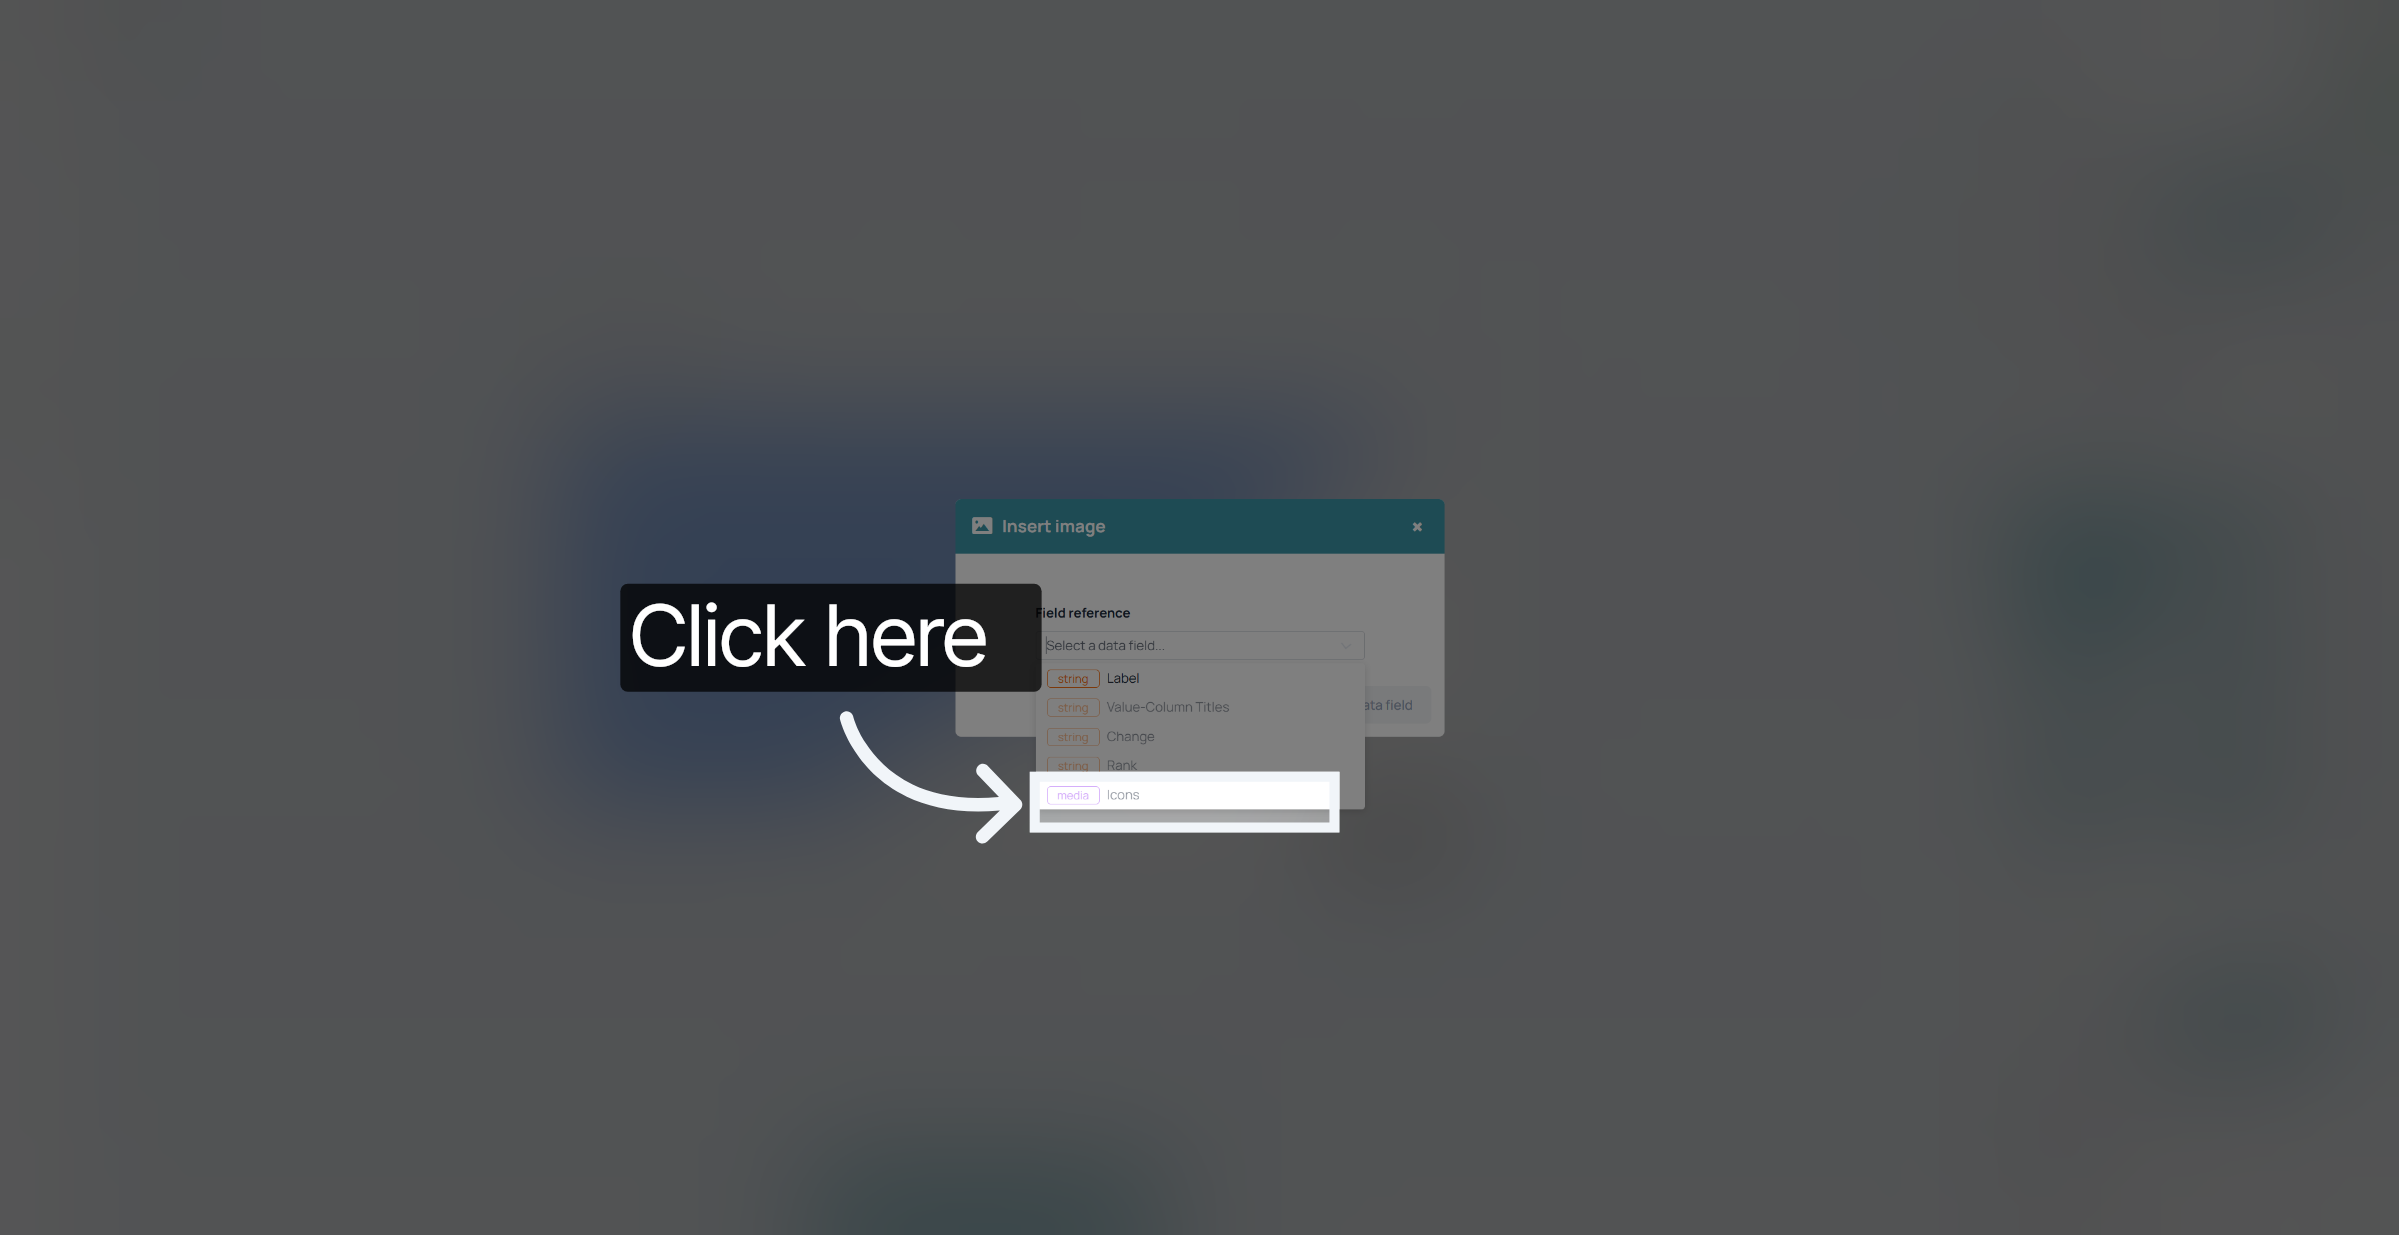
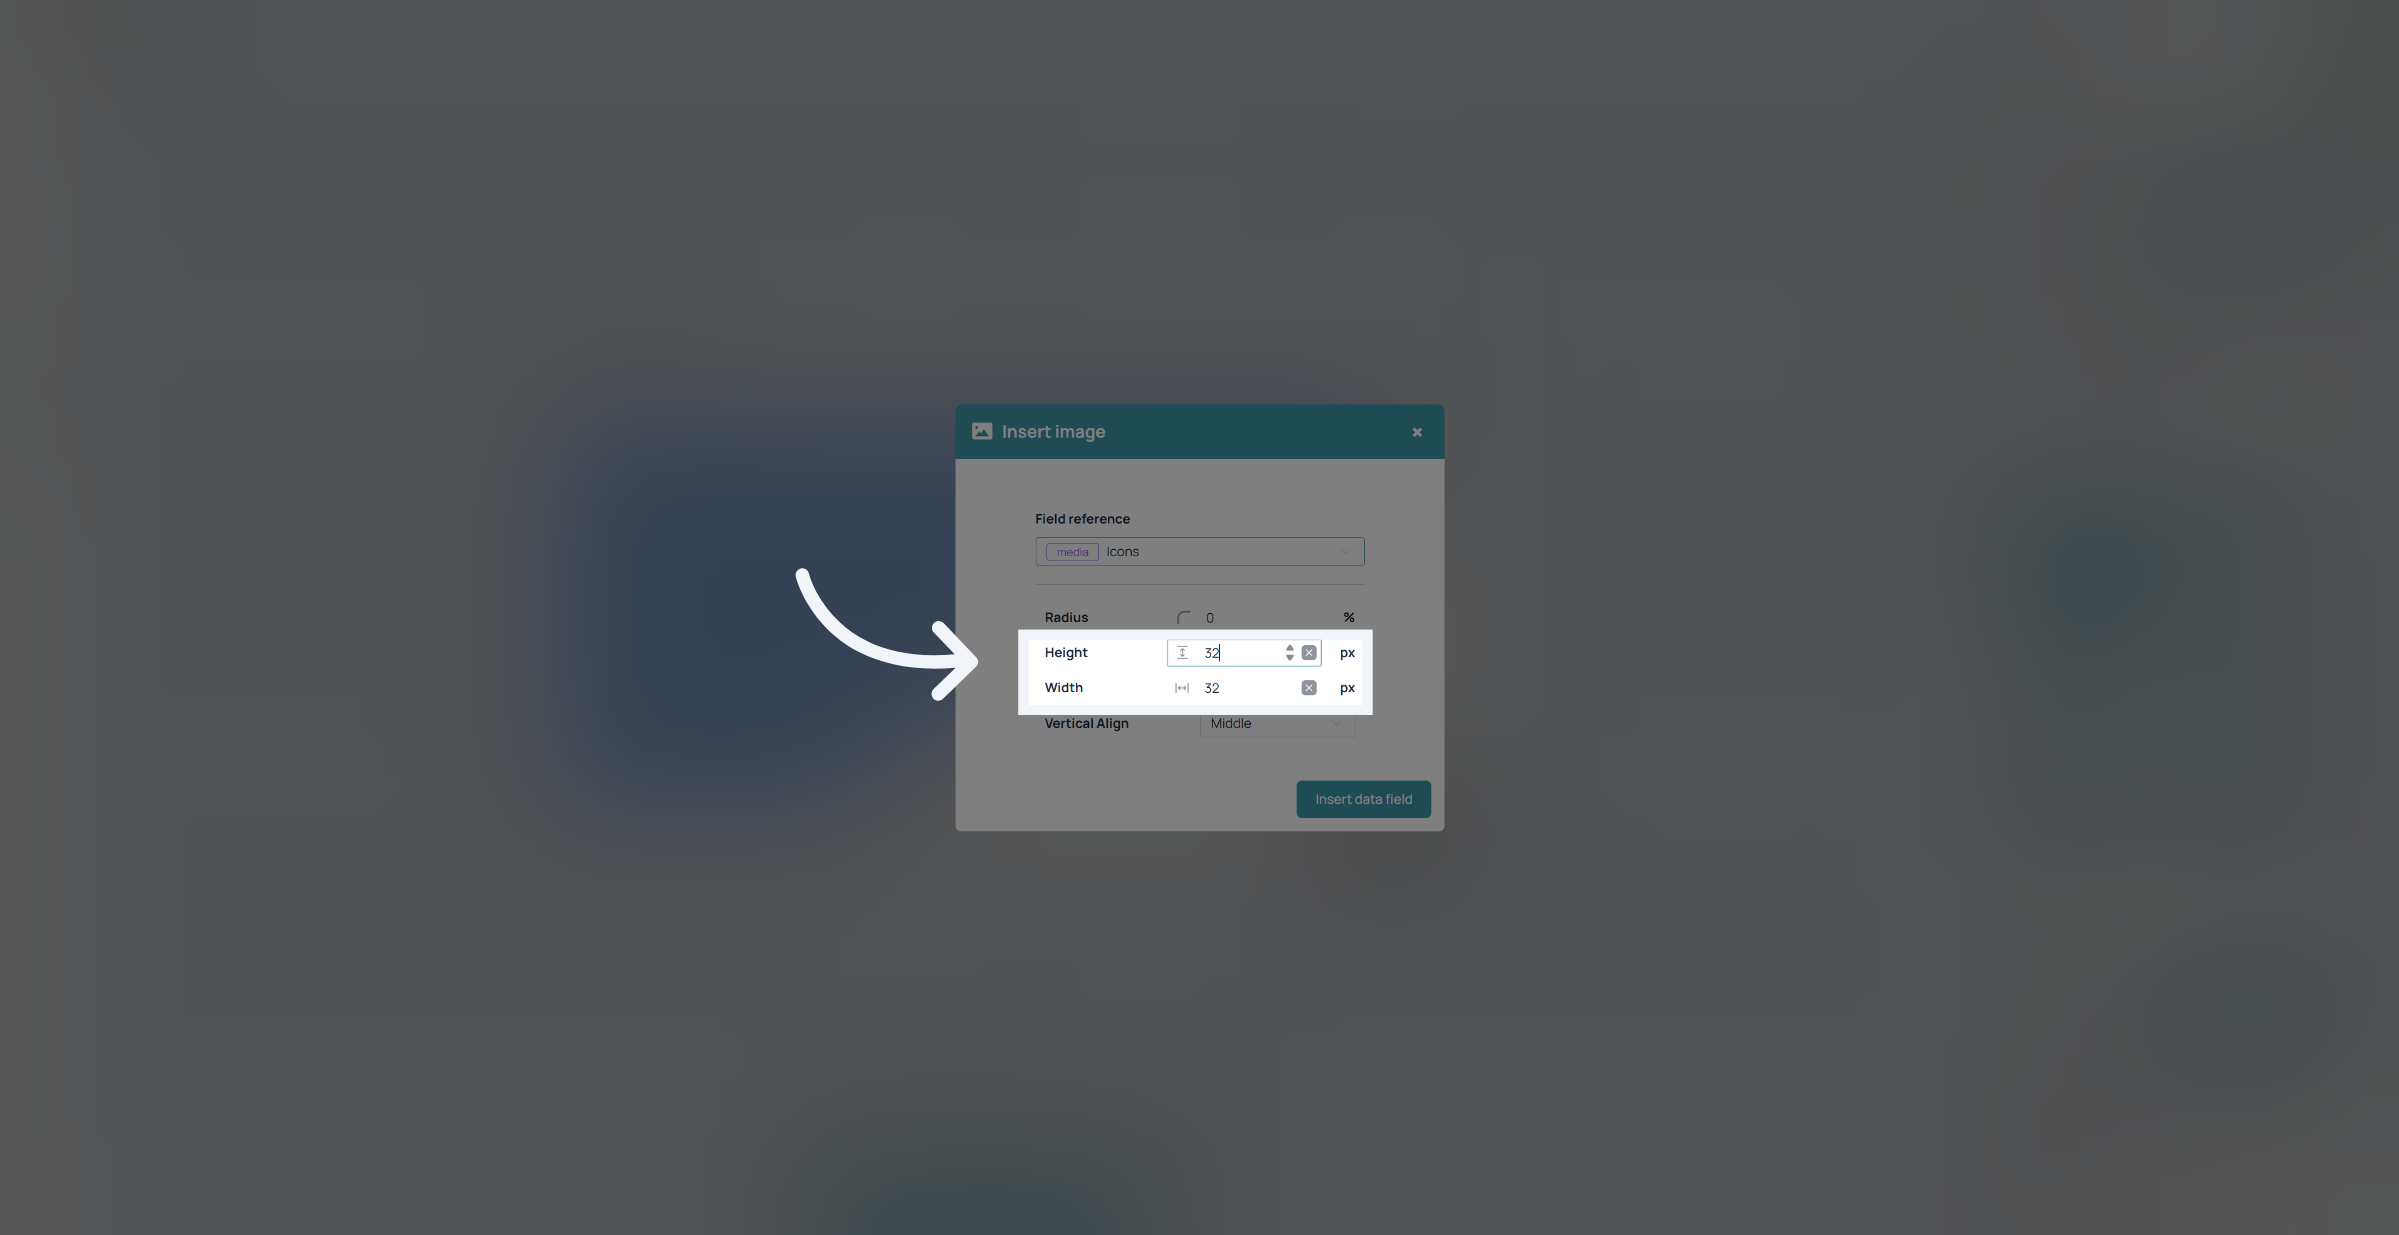
Define the height and width of your image.
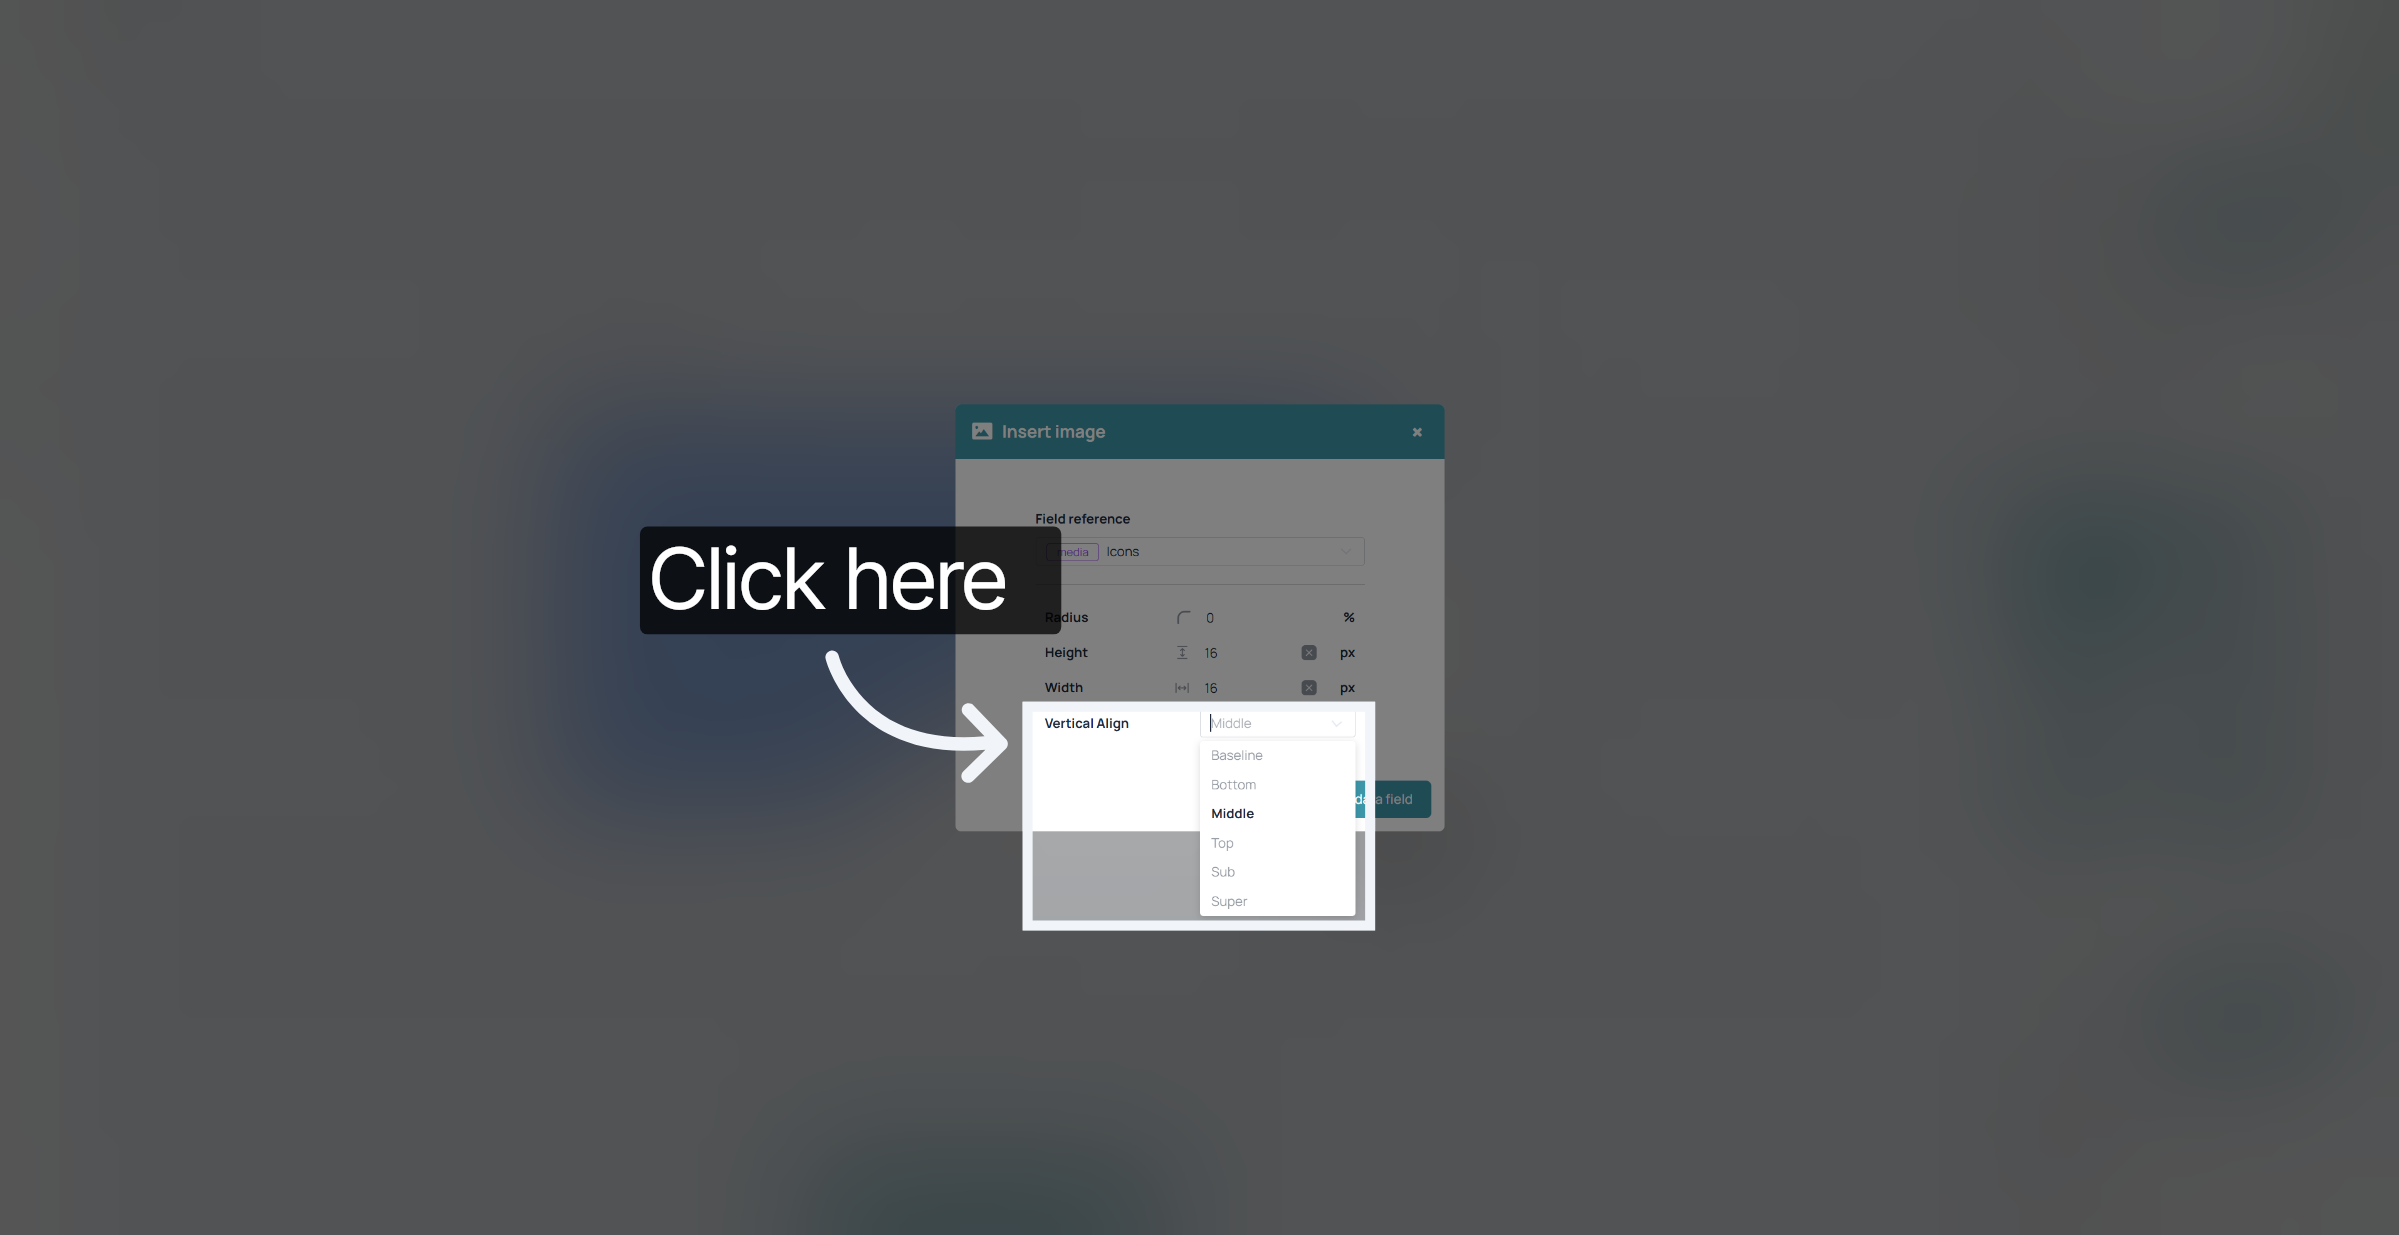
Choose a vertical allignment option
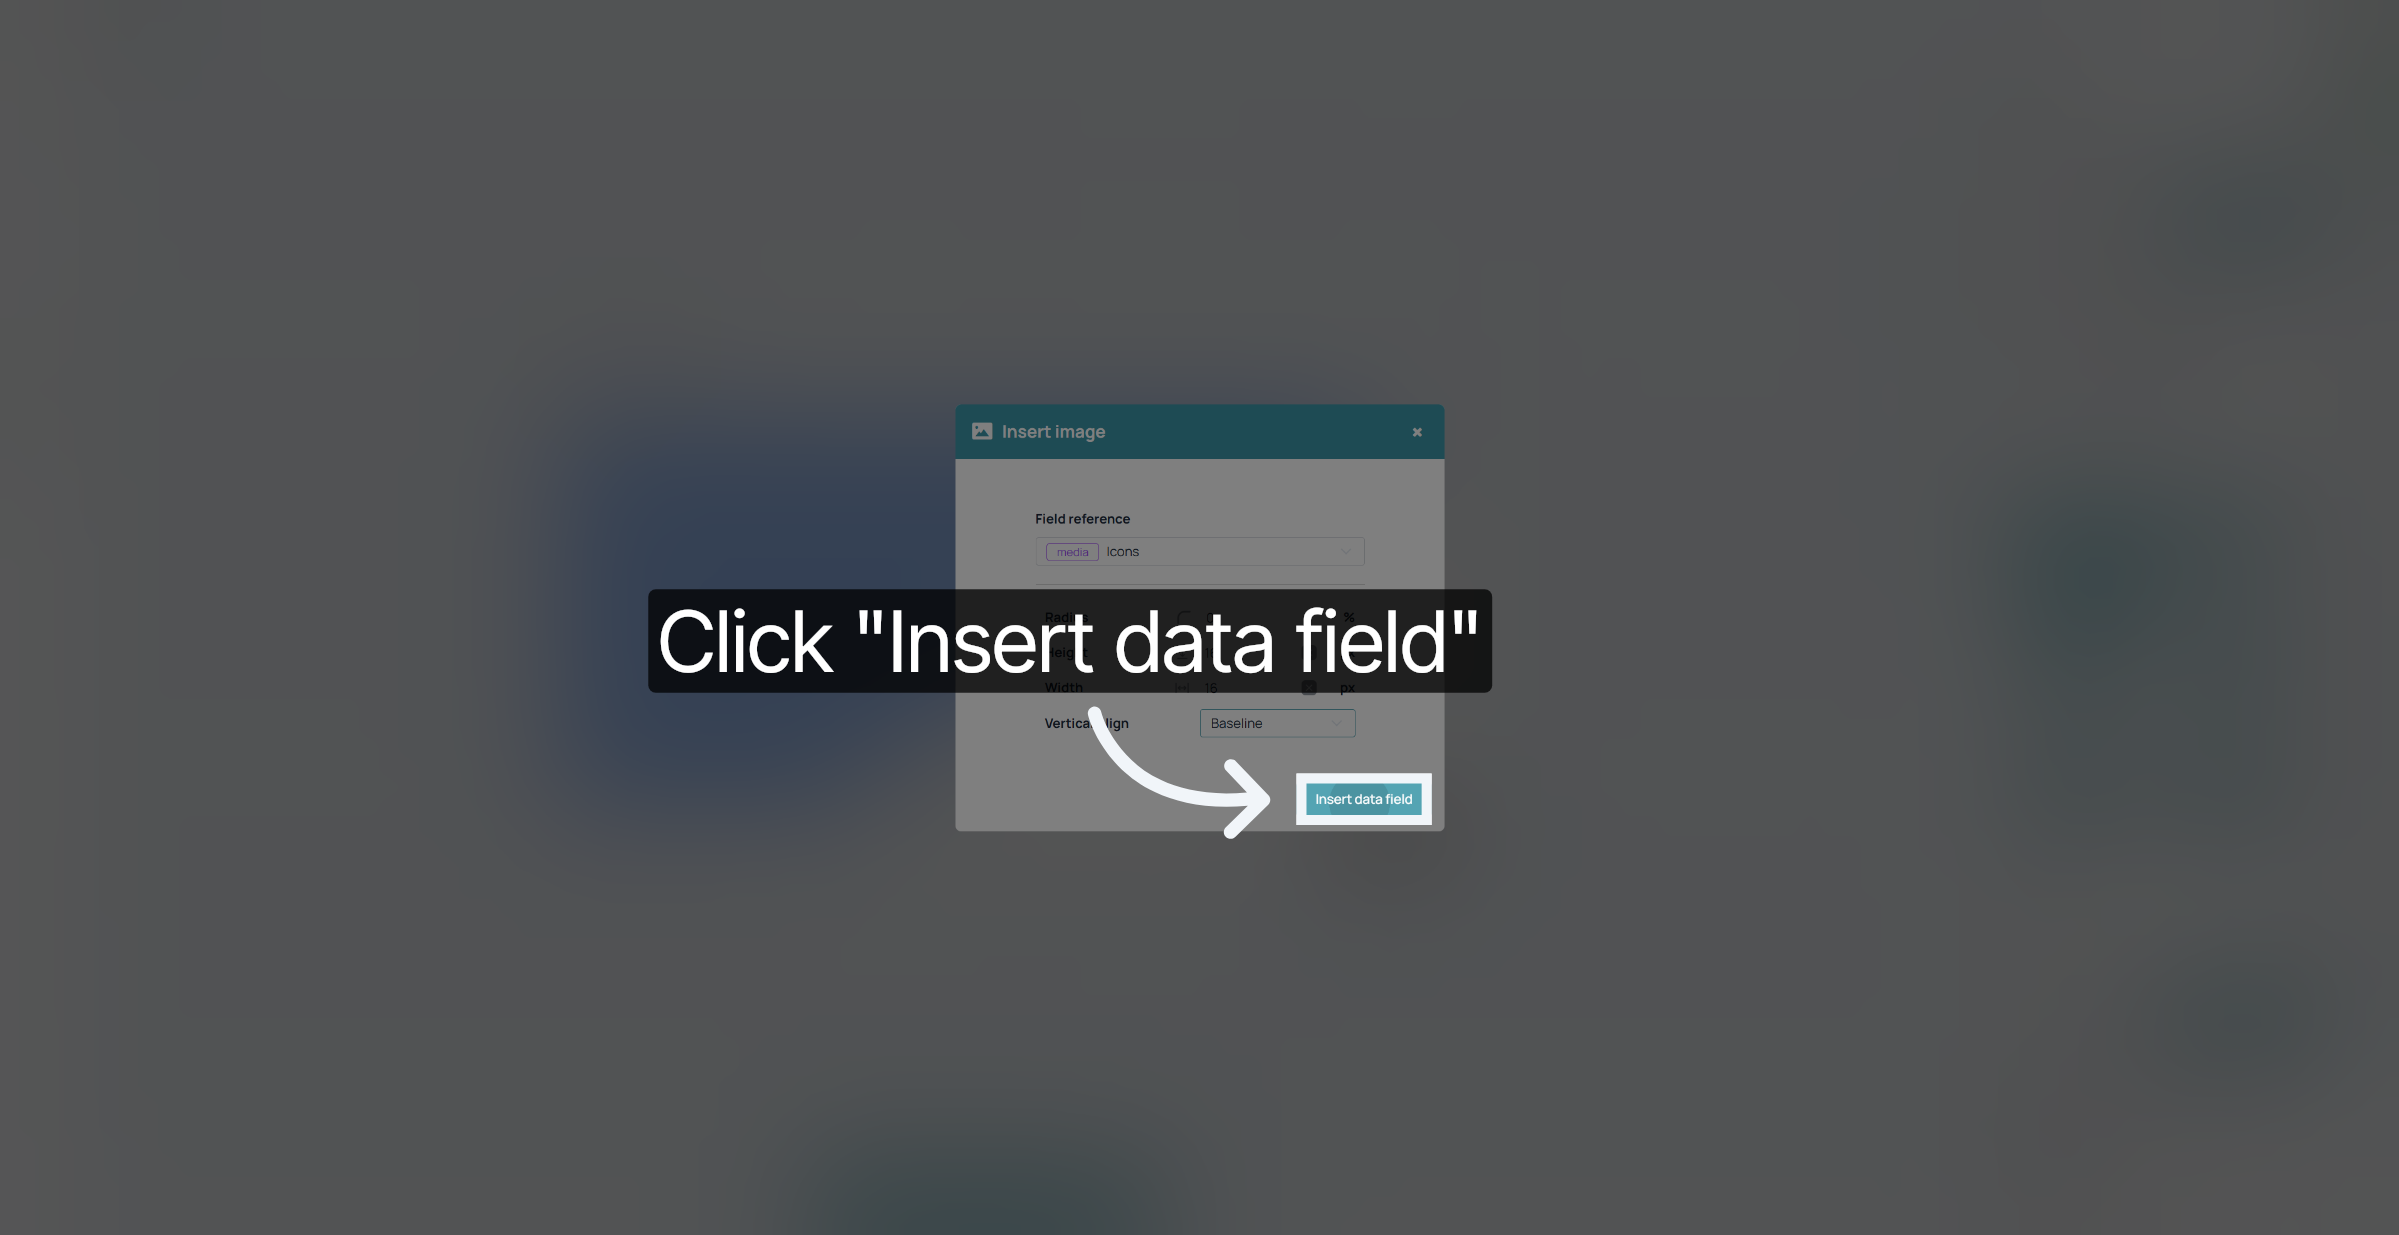
Insert the Data field.
And that's about it. your chart is now displaying the corresponding images that you selected from the media library.
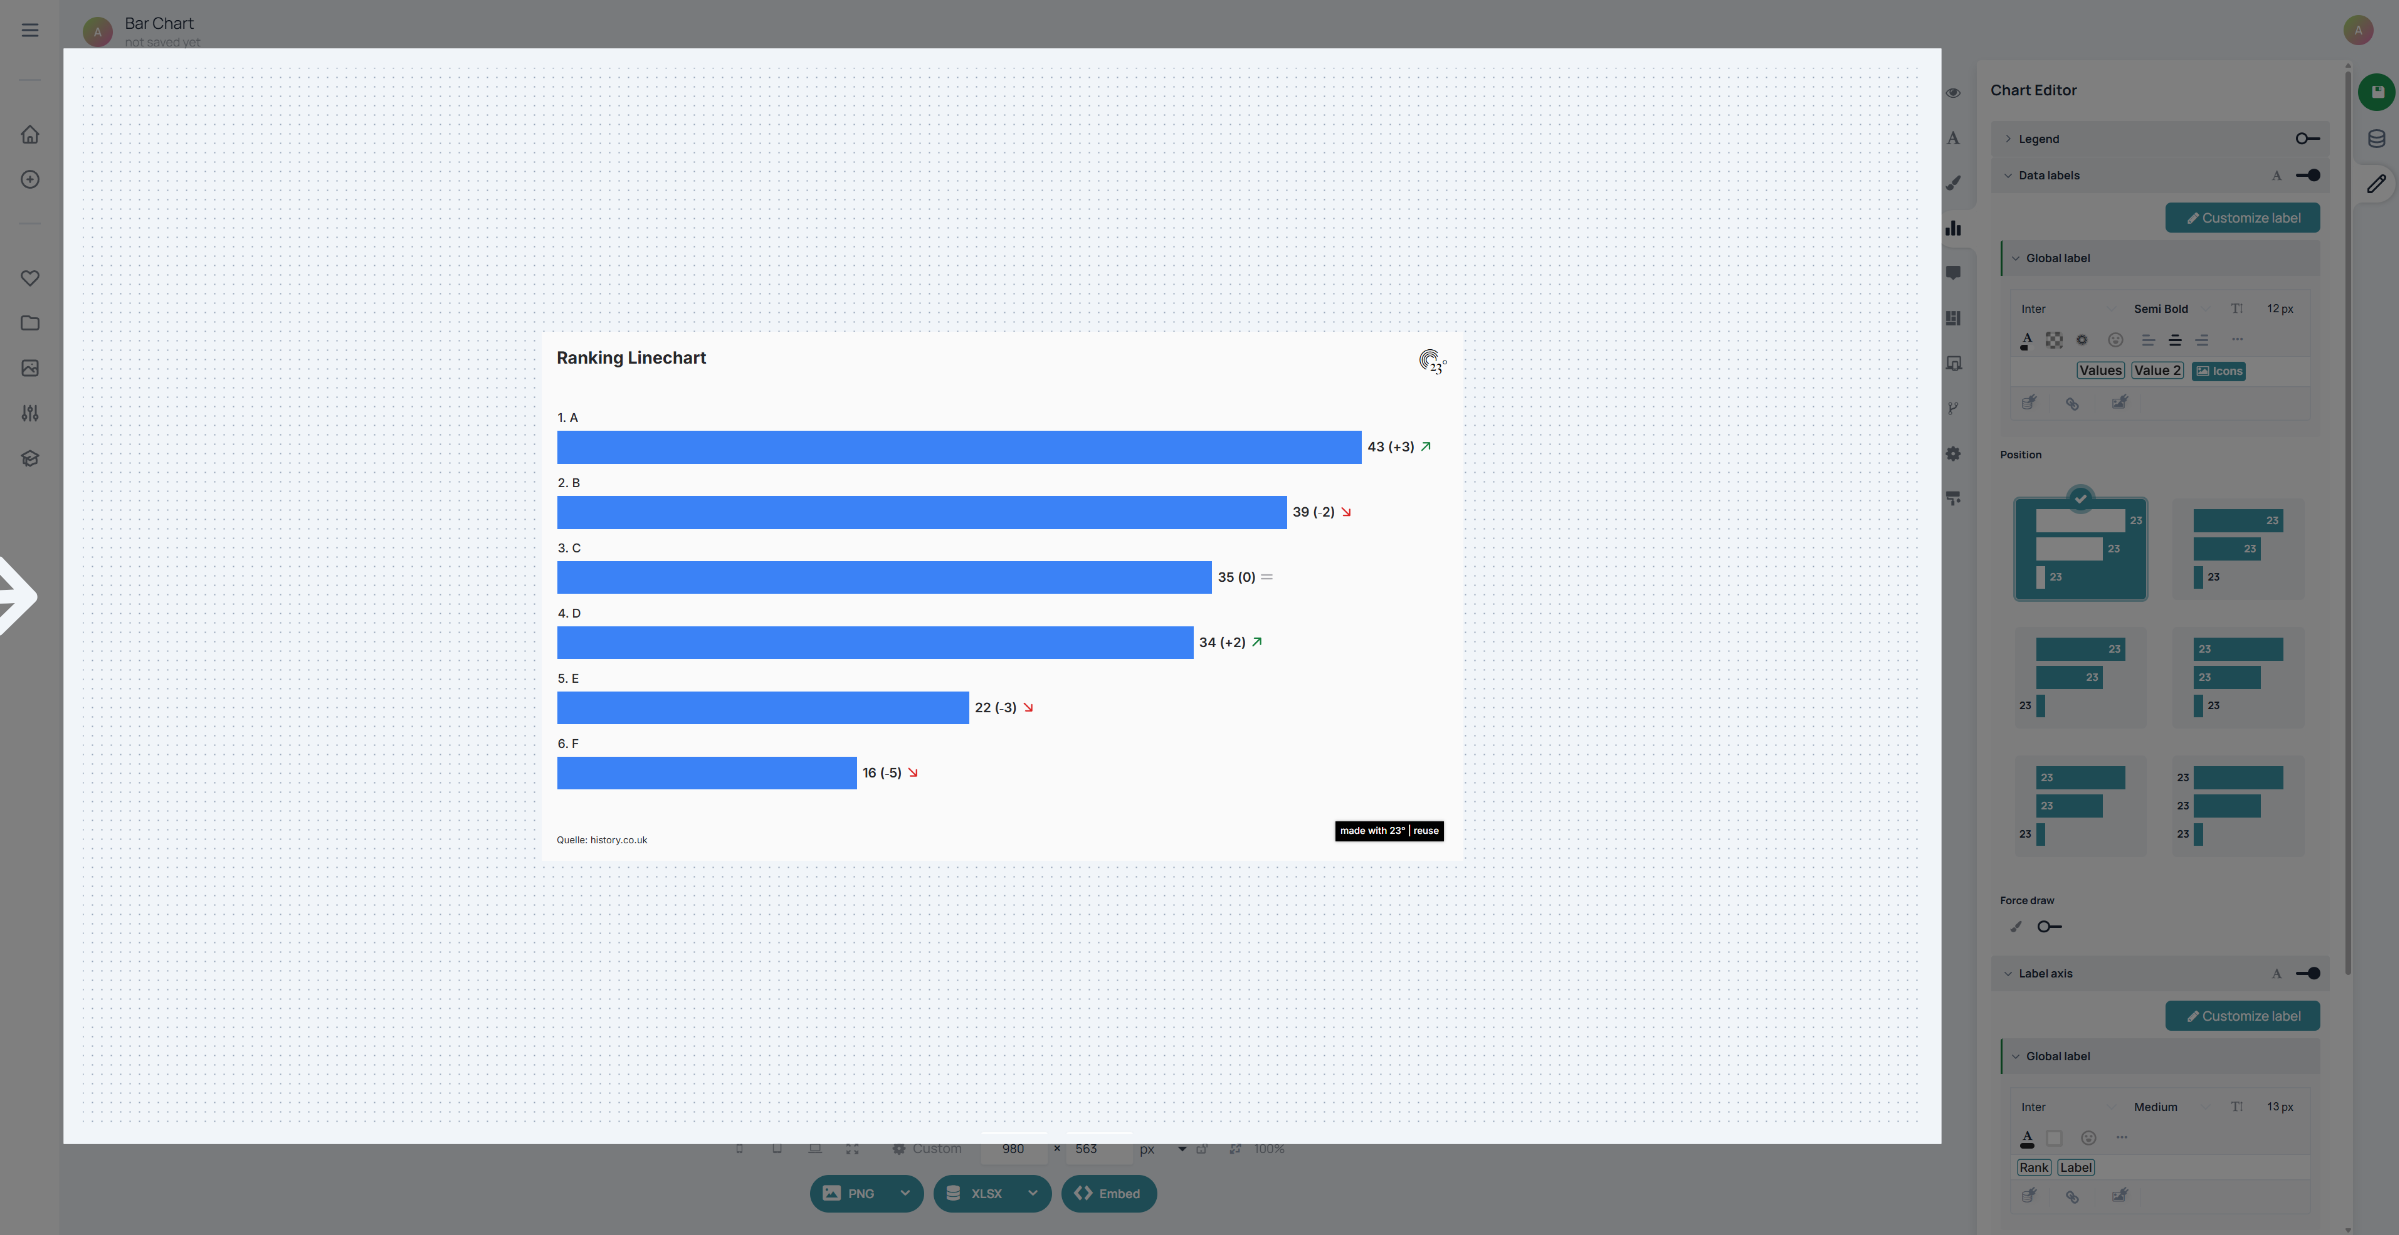
You have successfully configured a media column type in the 23degrees application, including inserting the column, setting its type, and customizing media display options. Next, explore additional column types or advanced media settings to further enhance your data presentation.