How to add images to a barchart
This tutorial demonstrates how to add images to your barchart using 23degrees.
Go to chart editor.
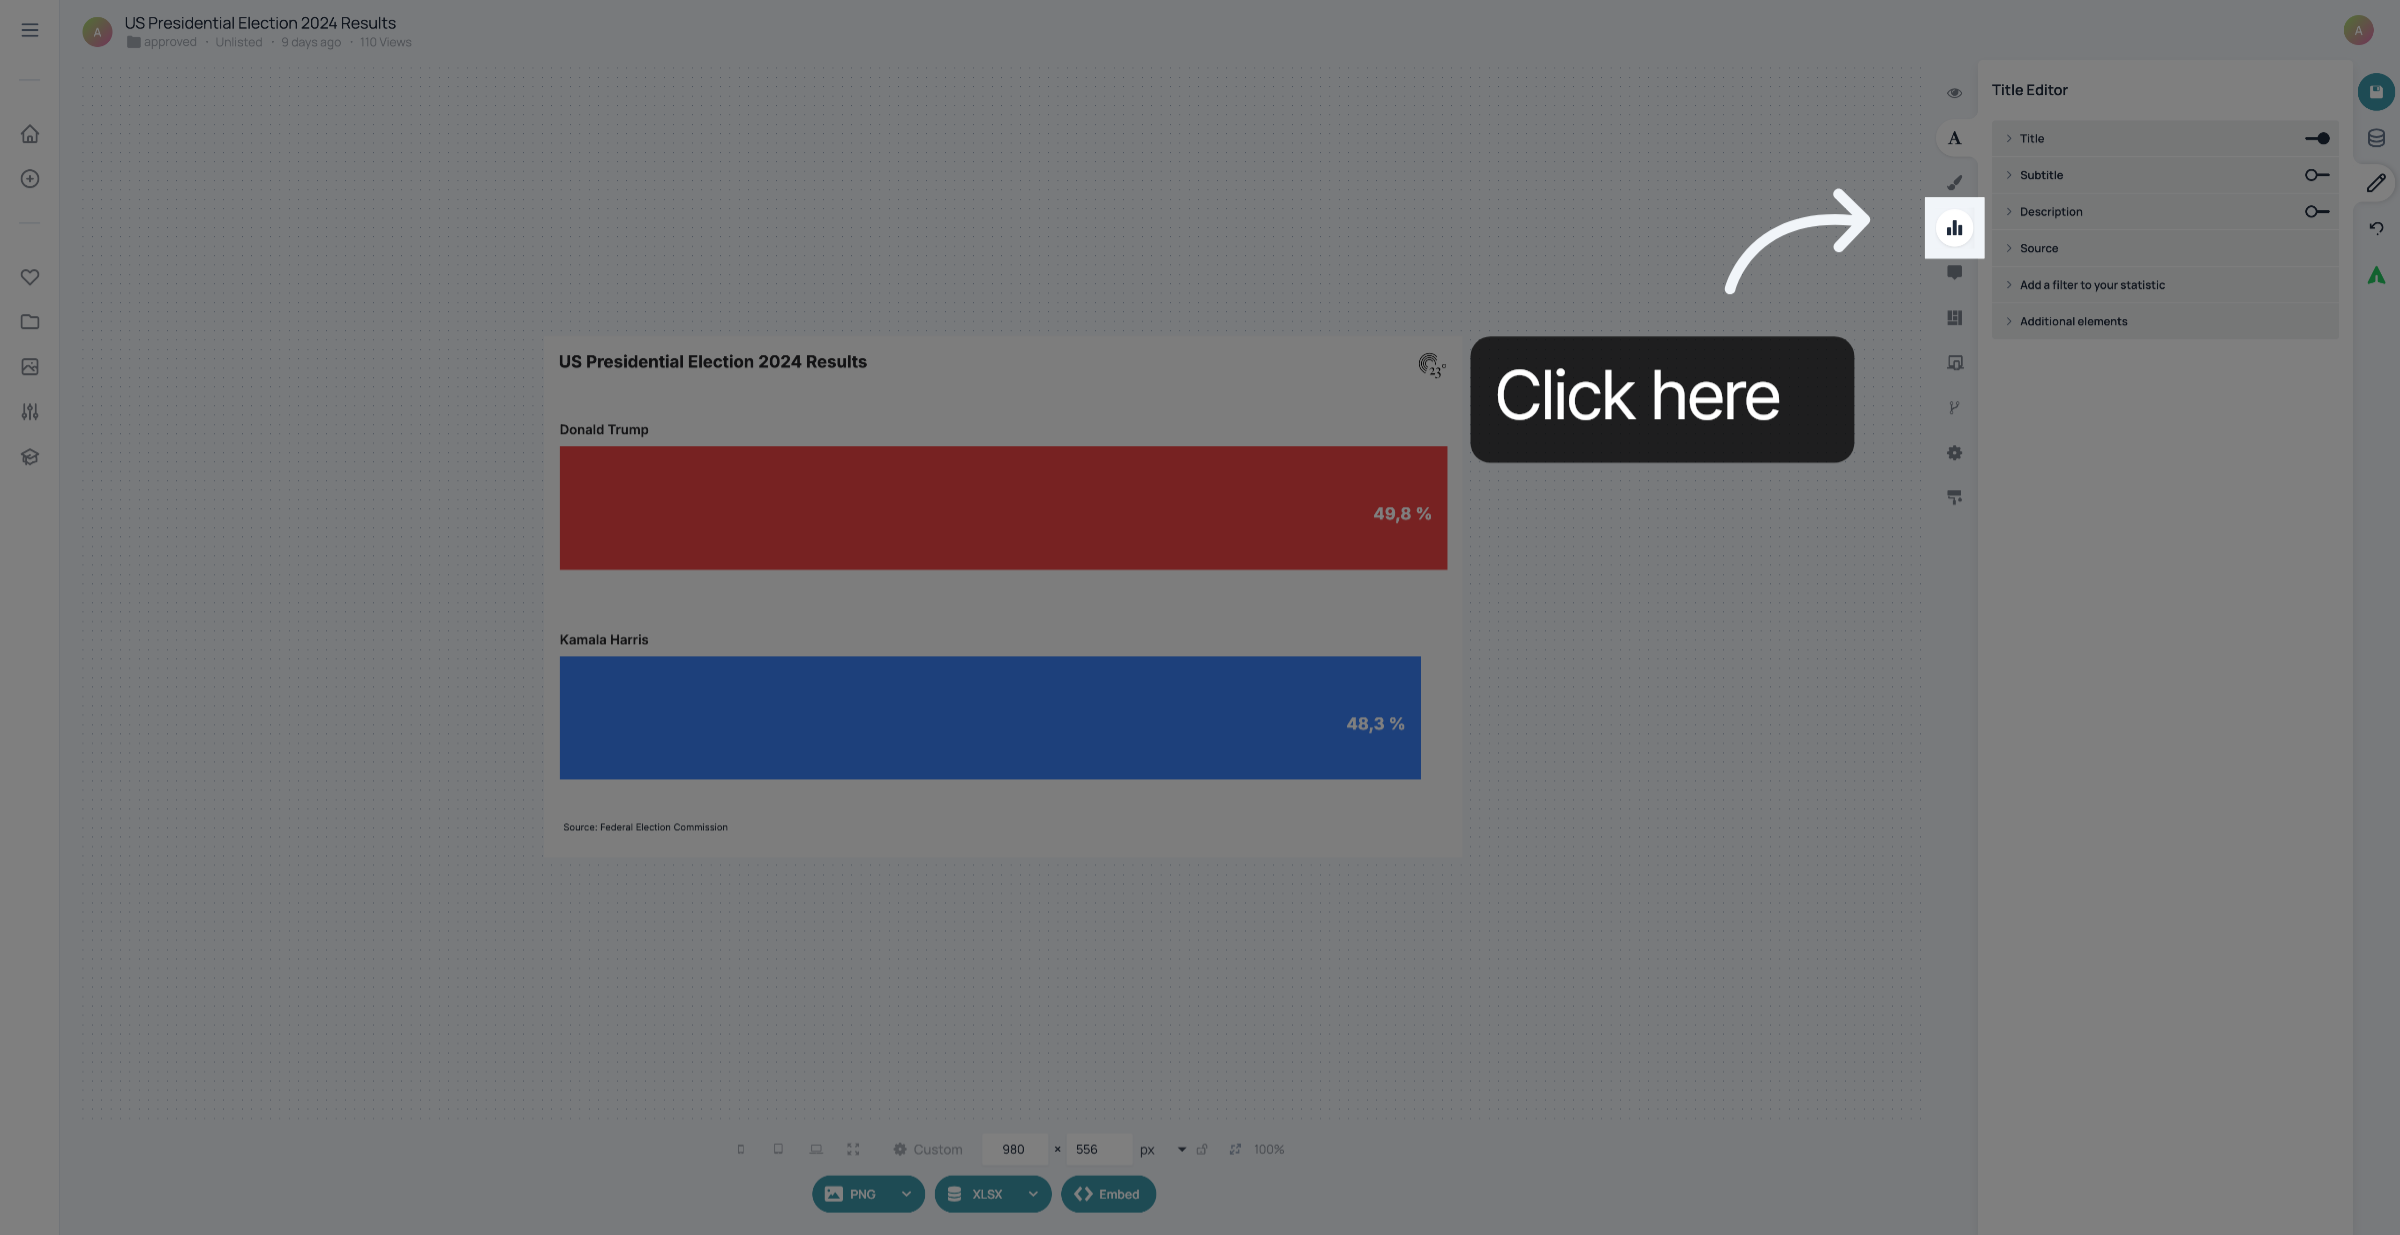
Click "Images".
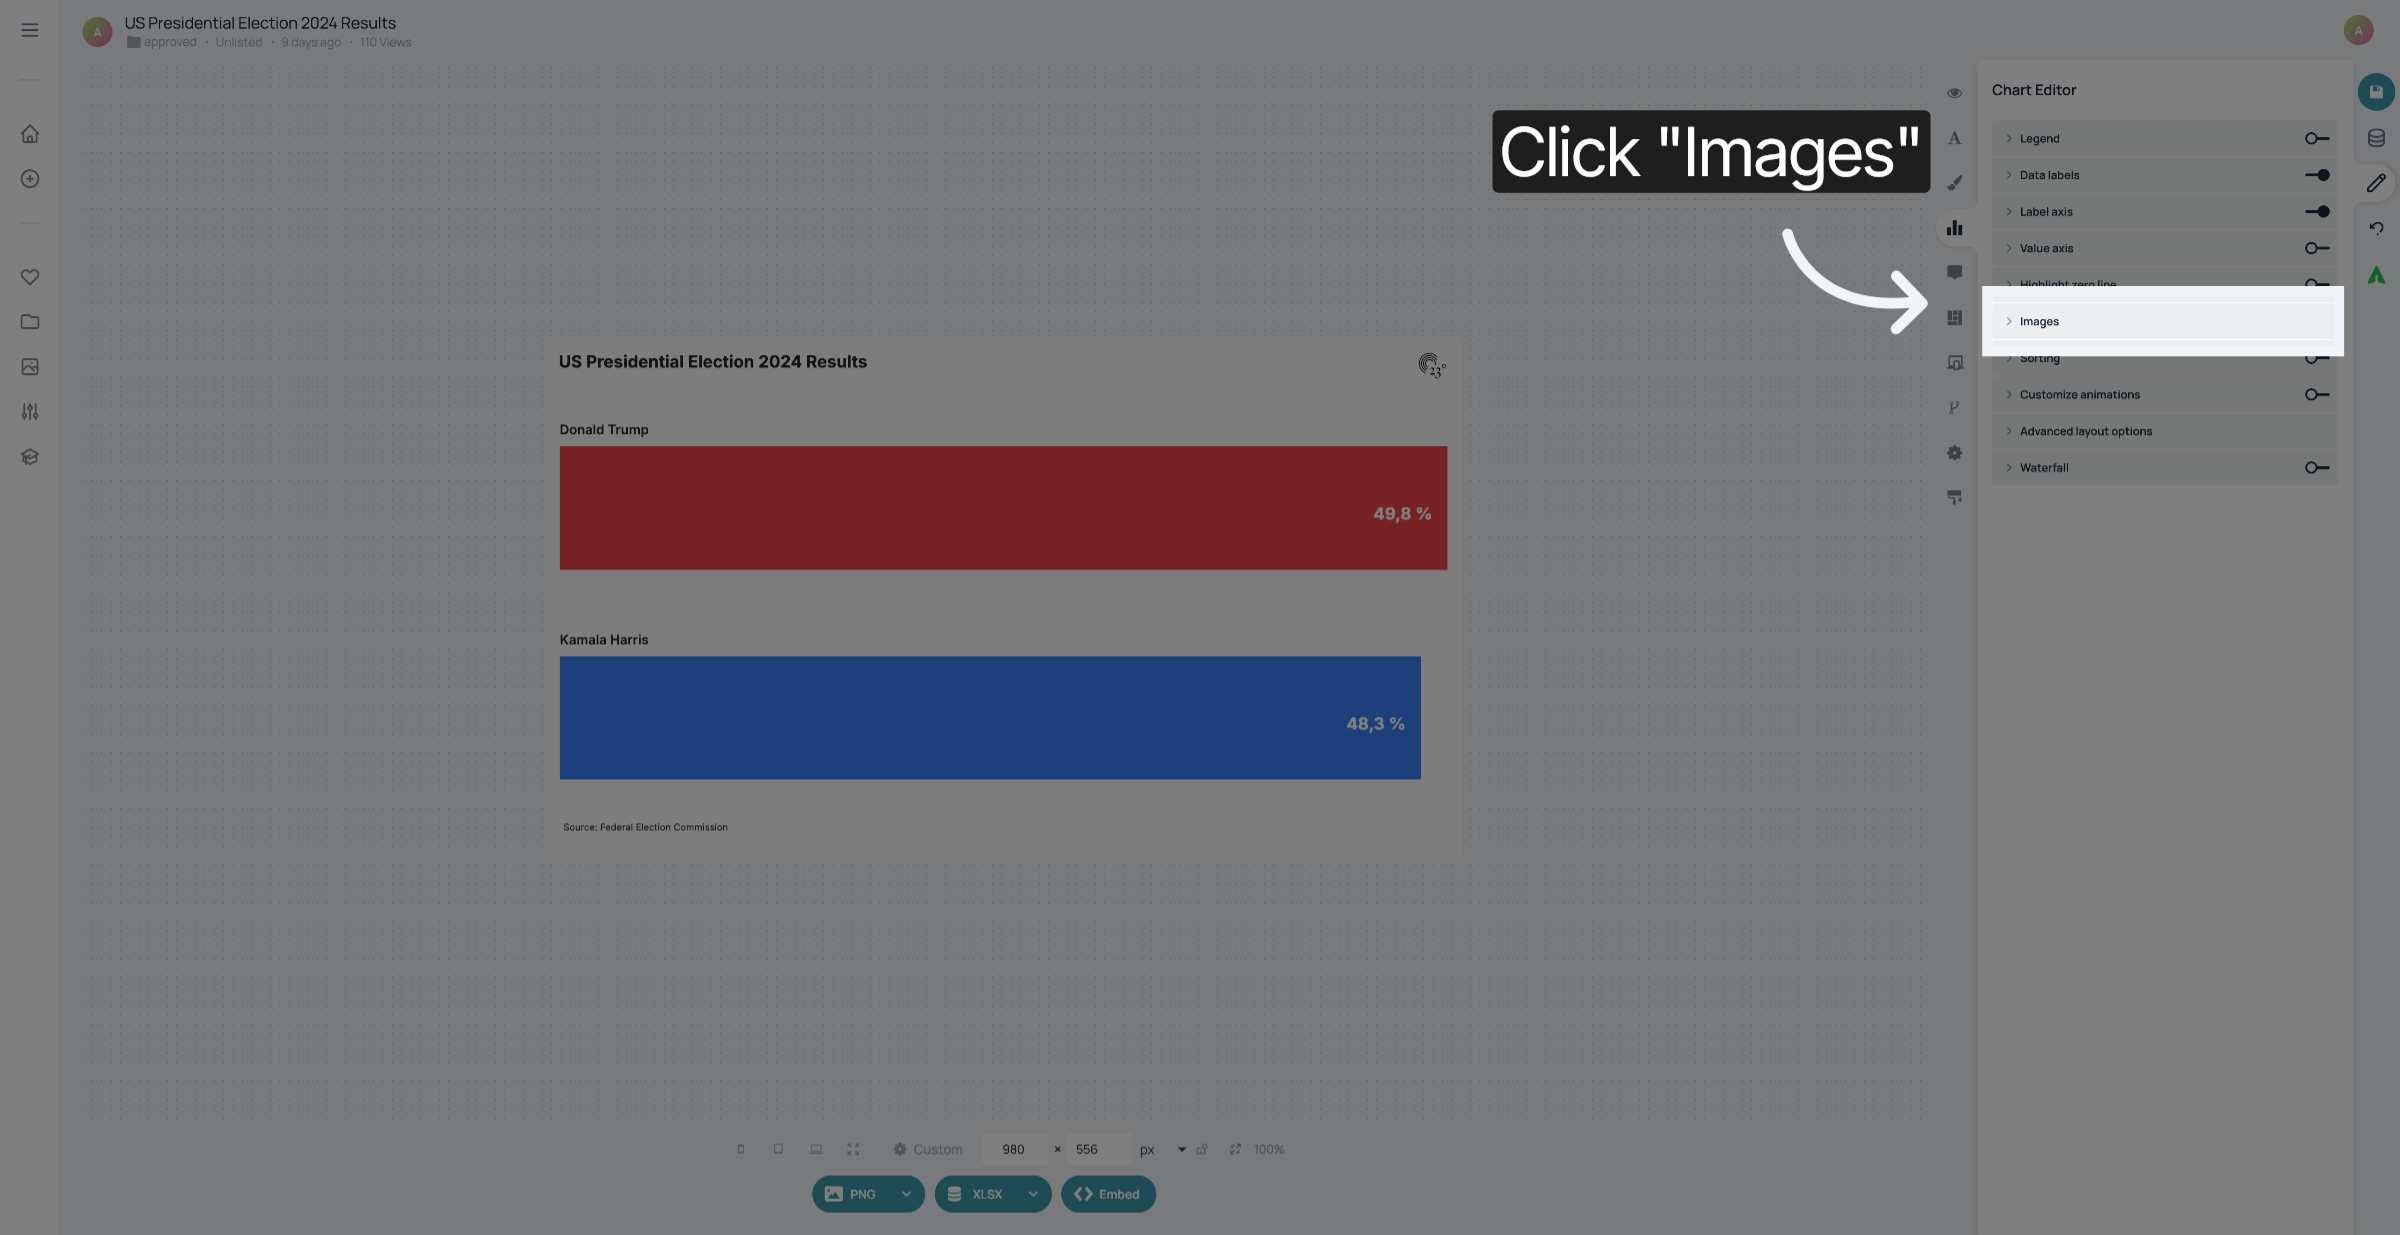
Click "Customize bar".
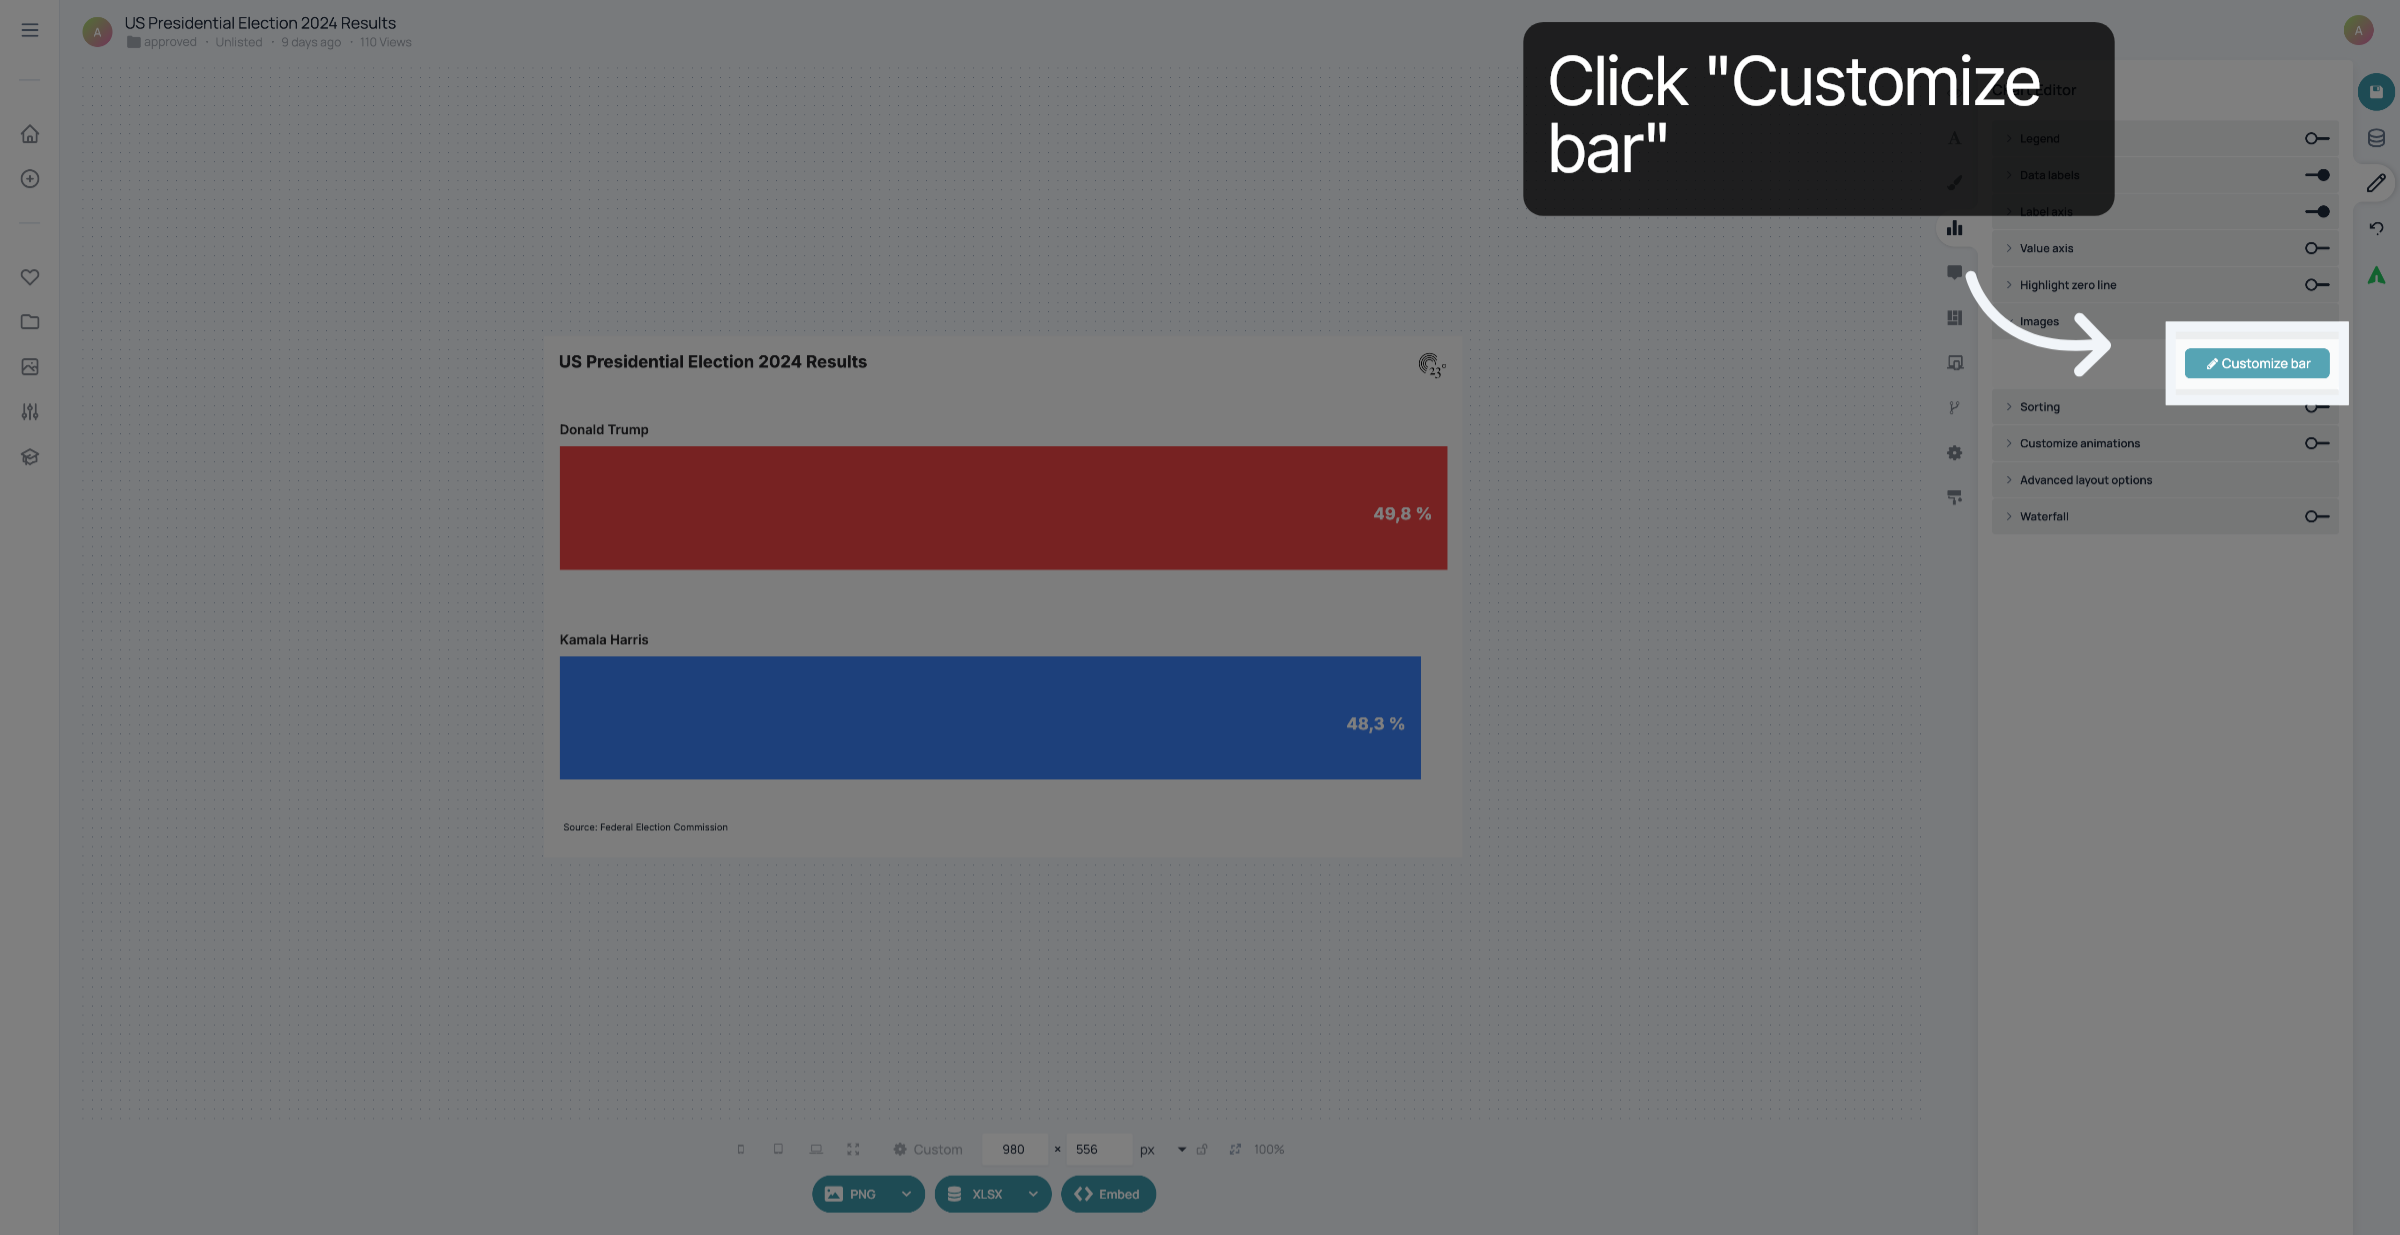
Click the name of the bar you want to customize.
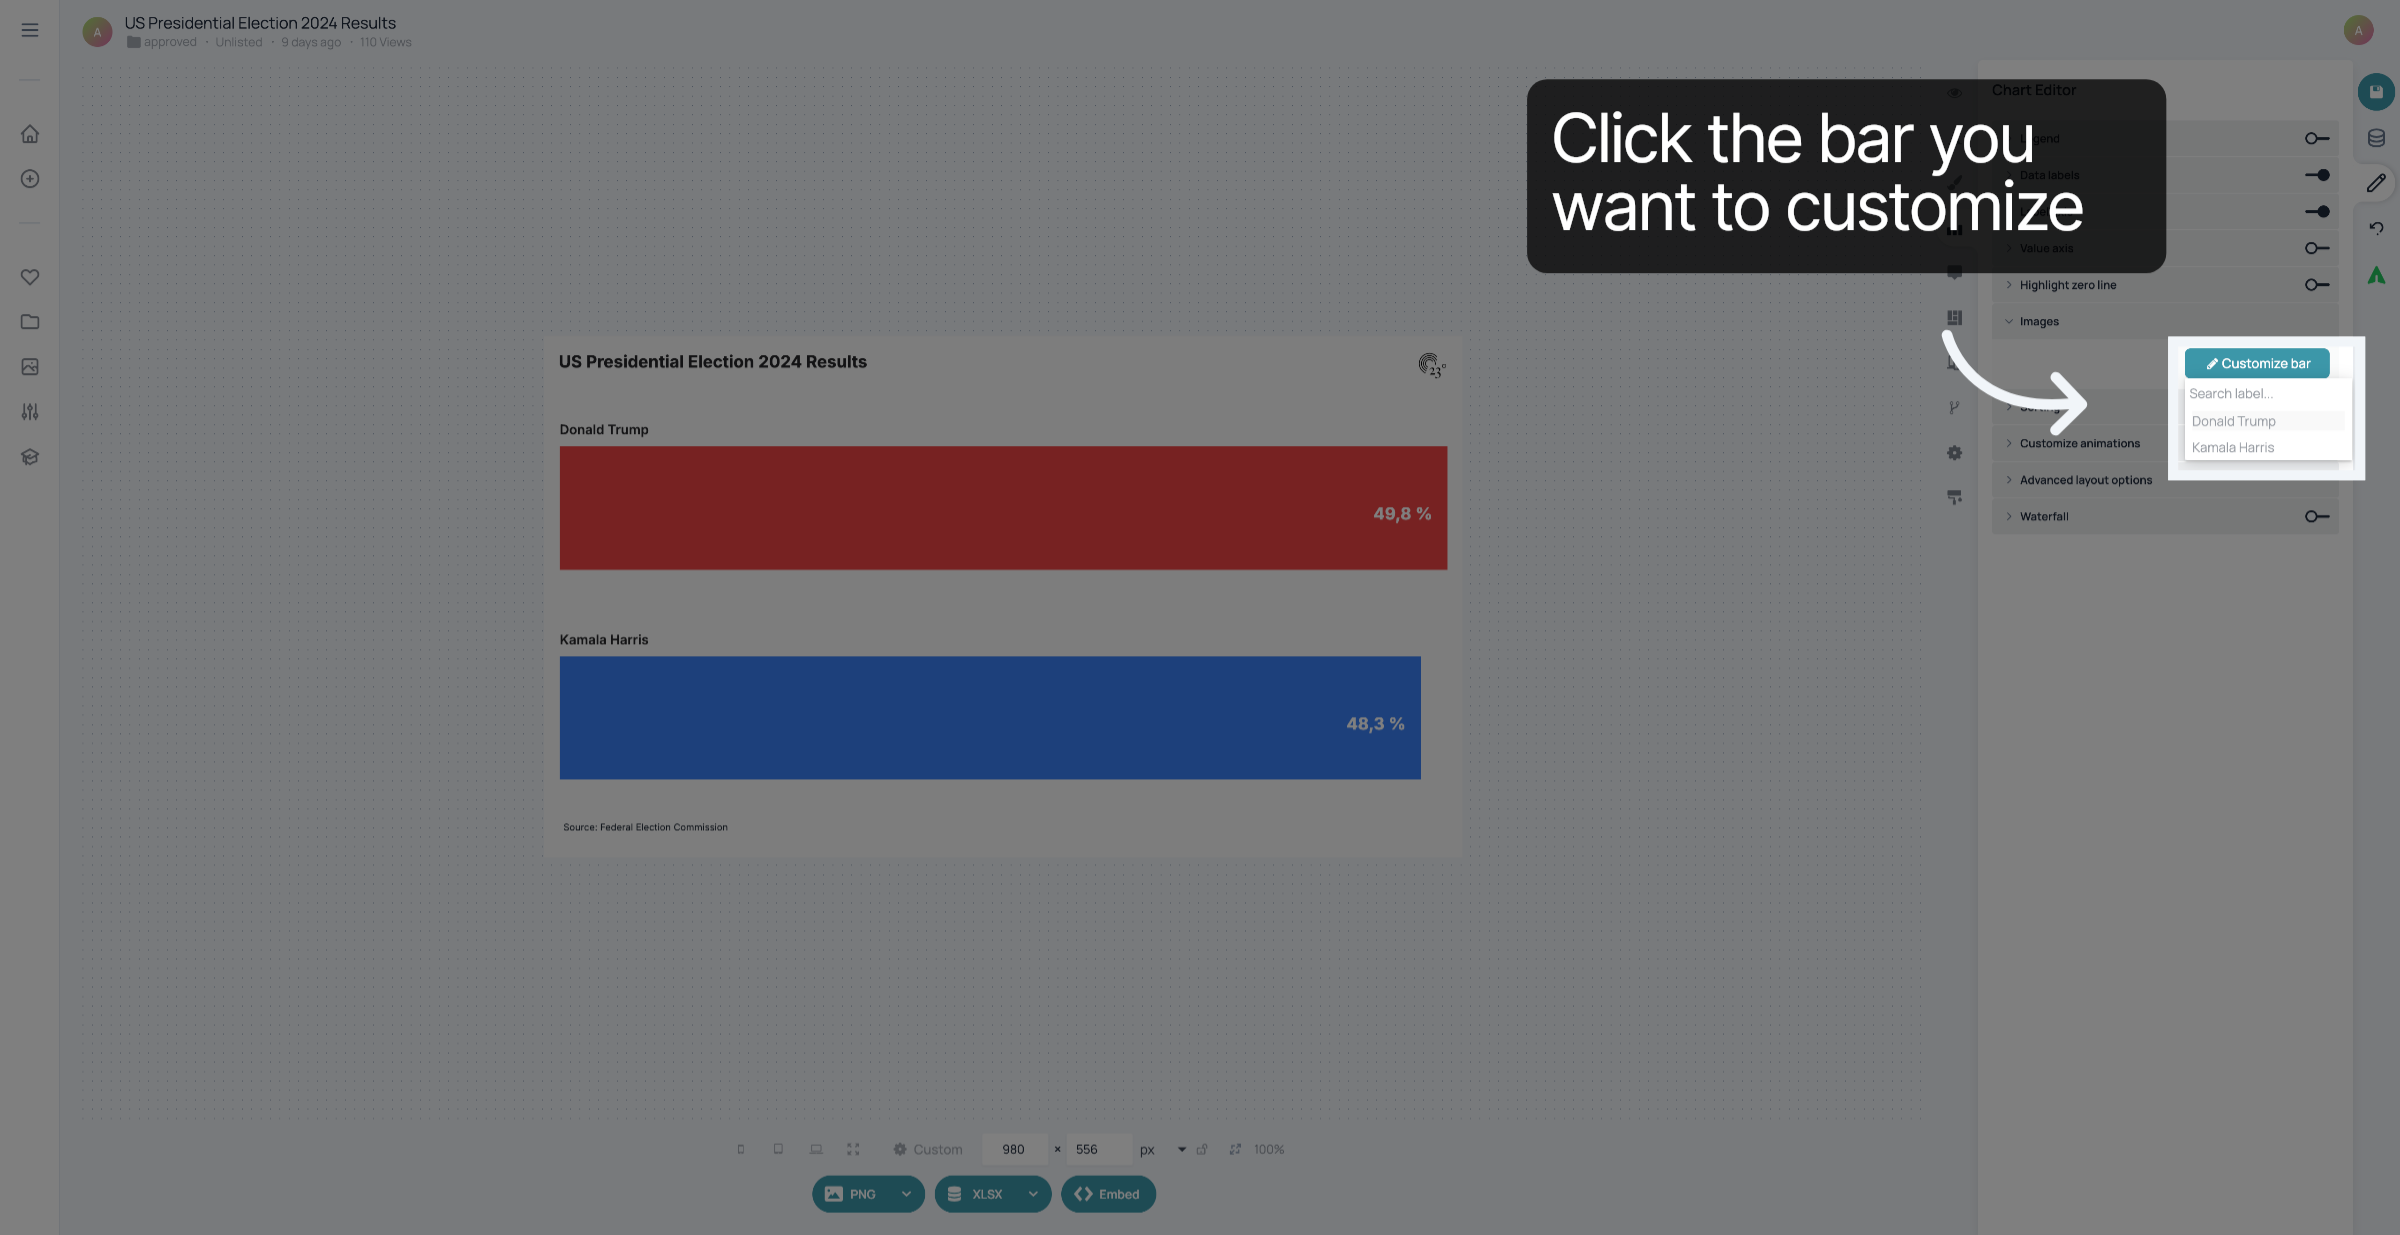
Expand settings.
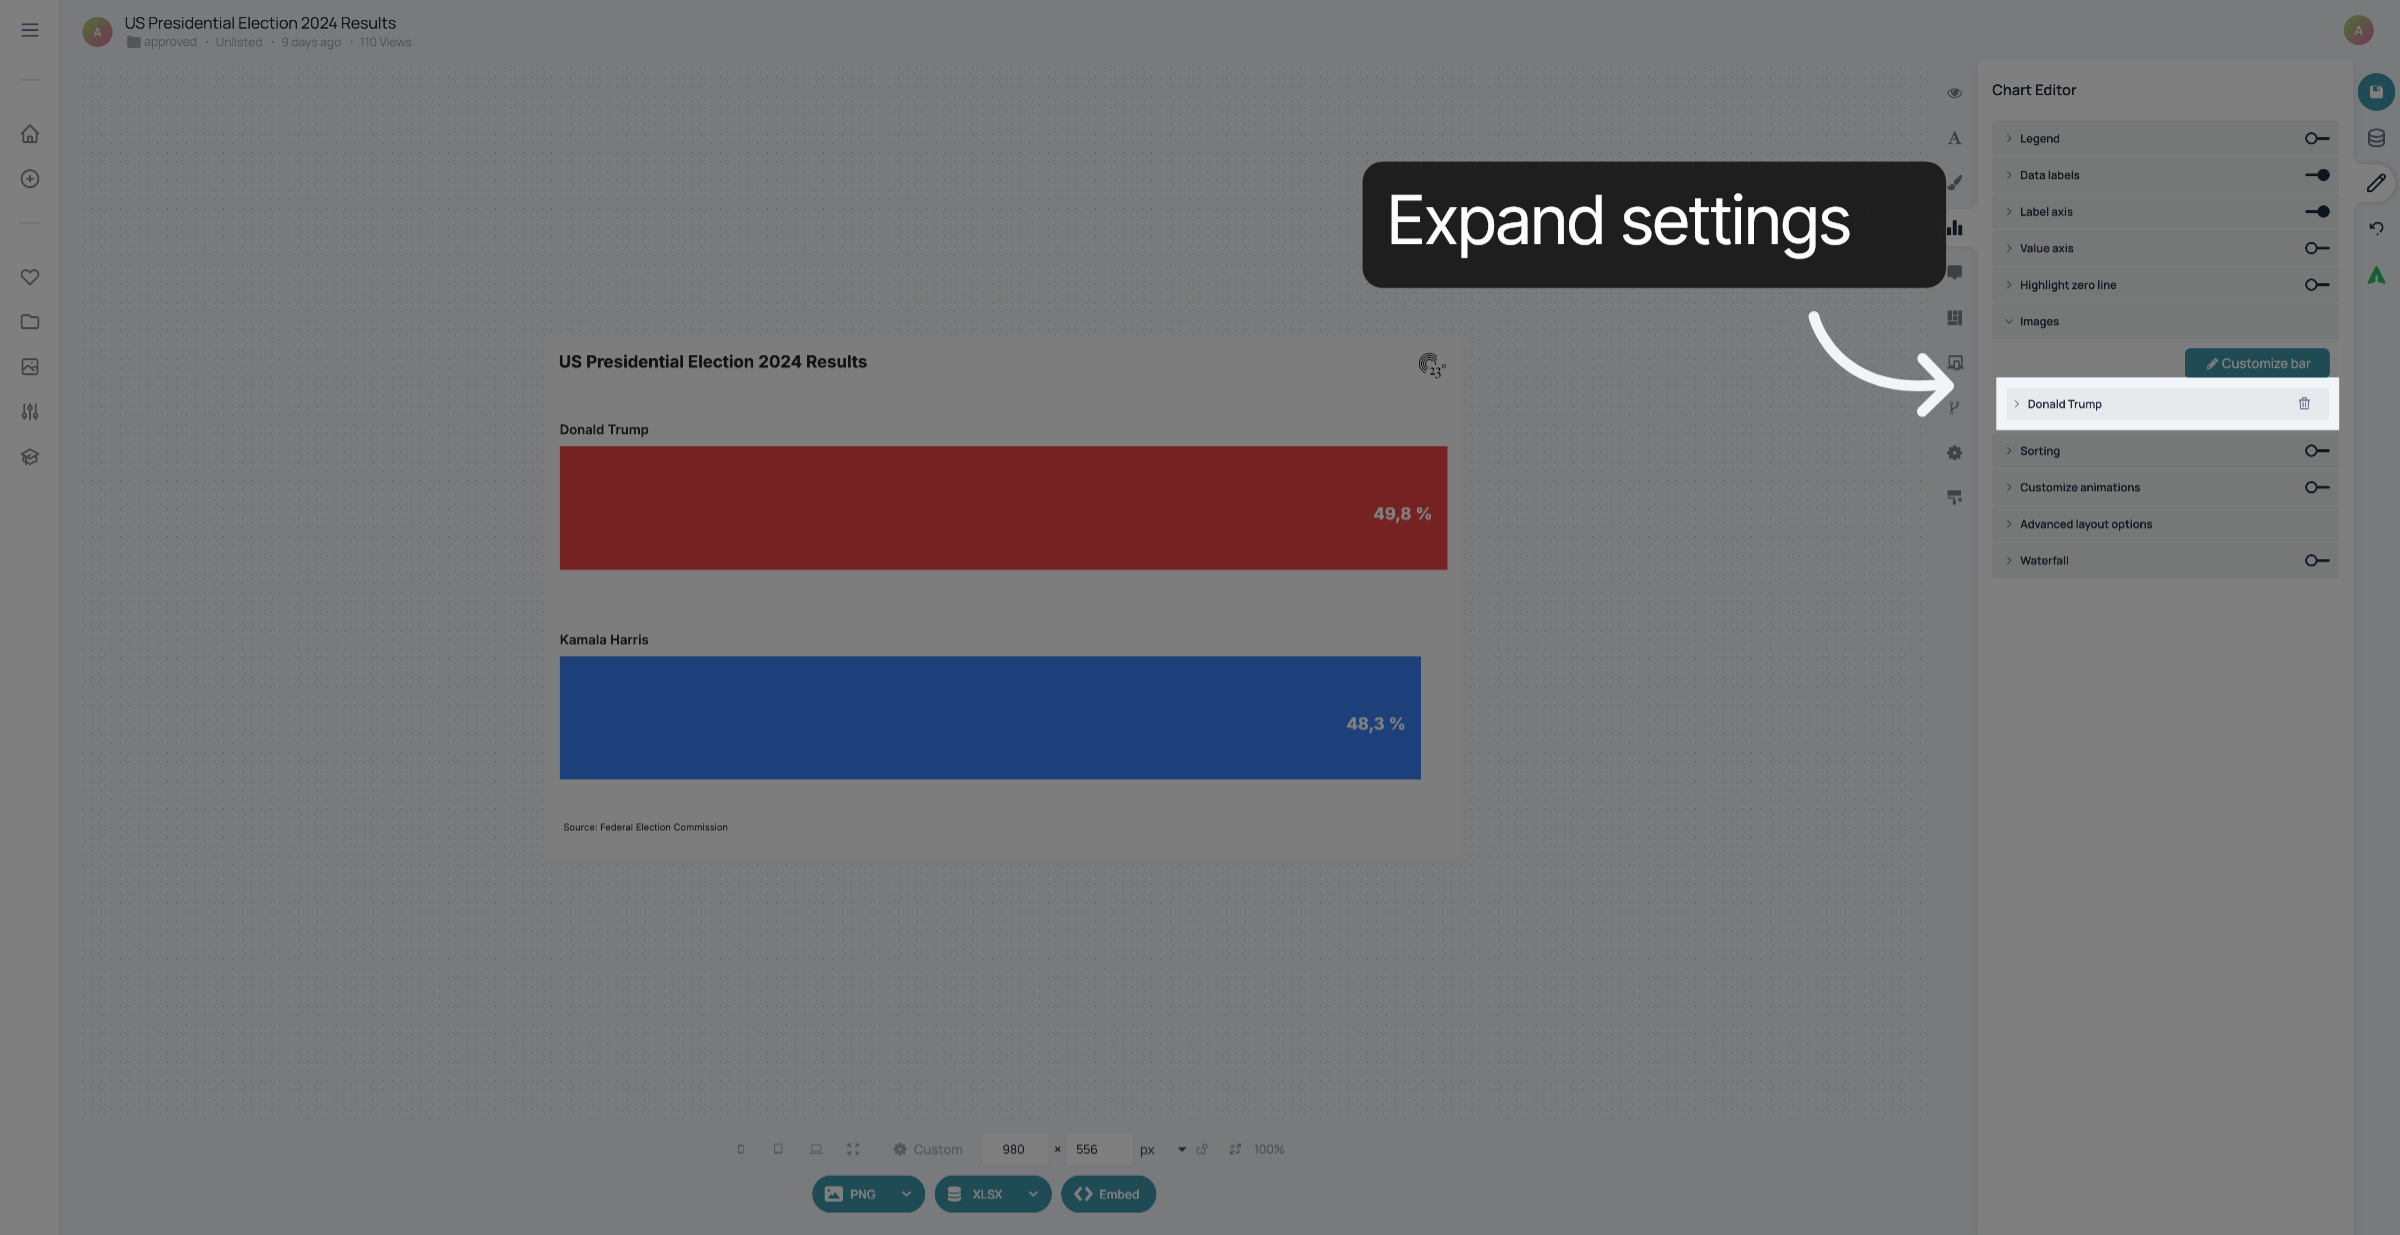
Click "Choose" to select an image
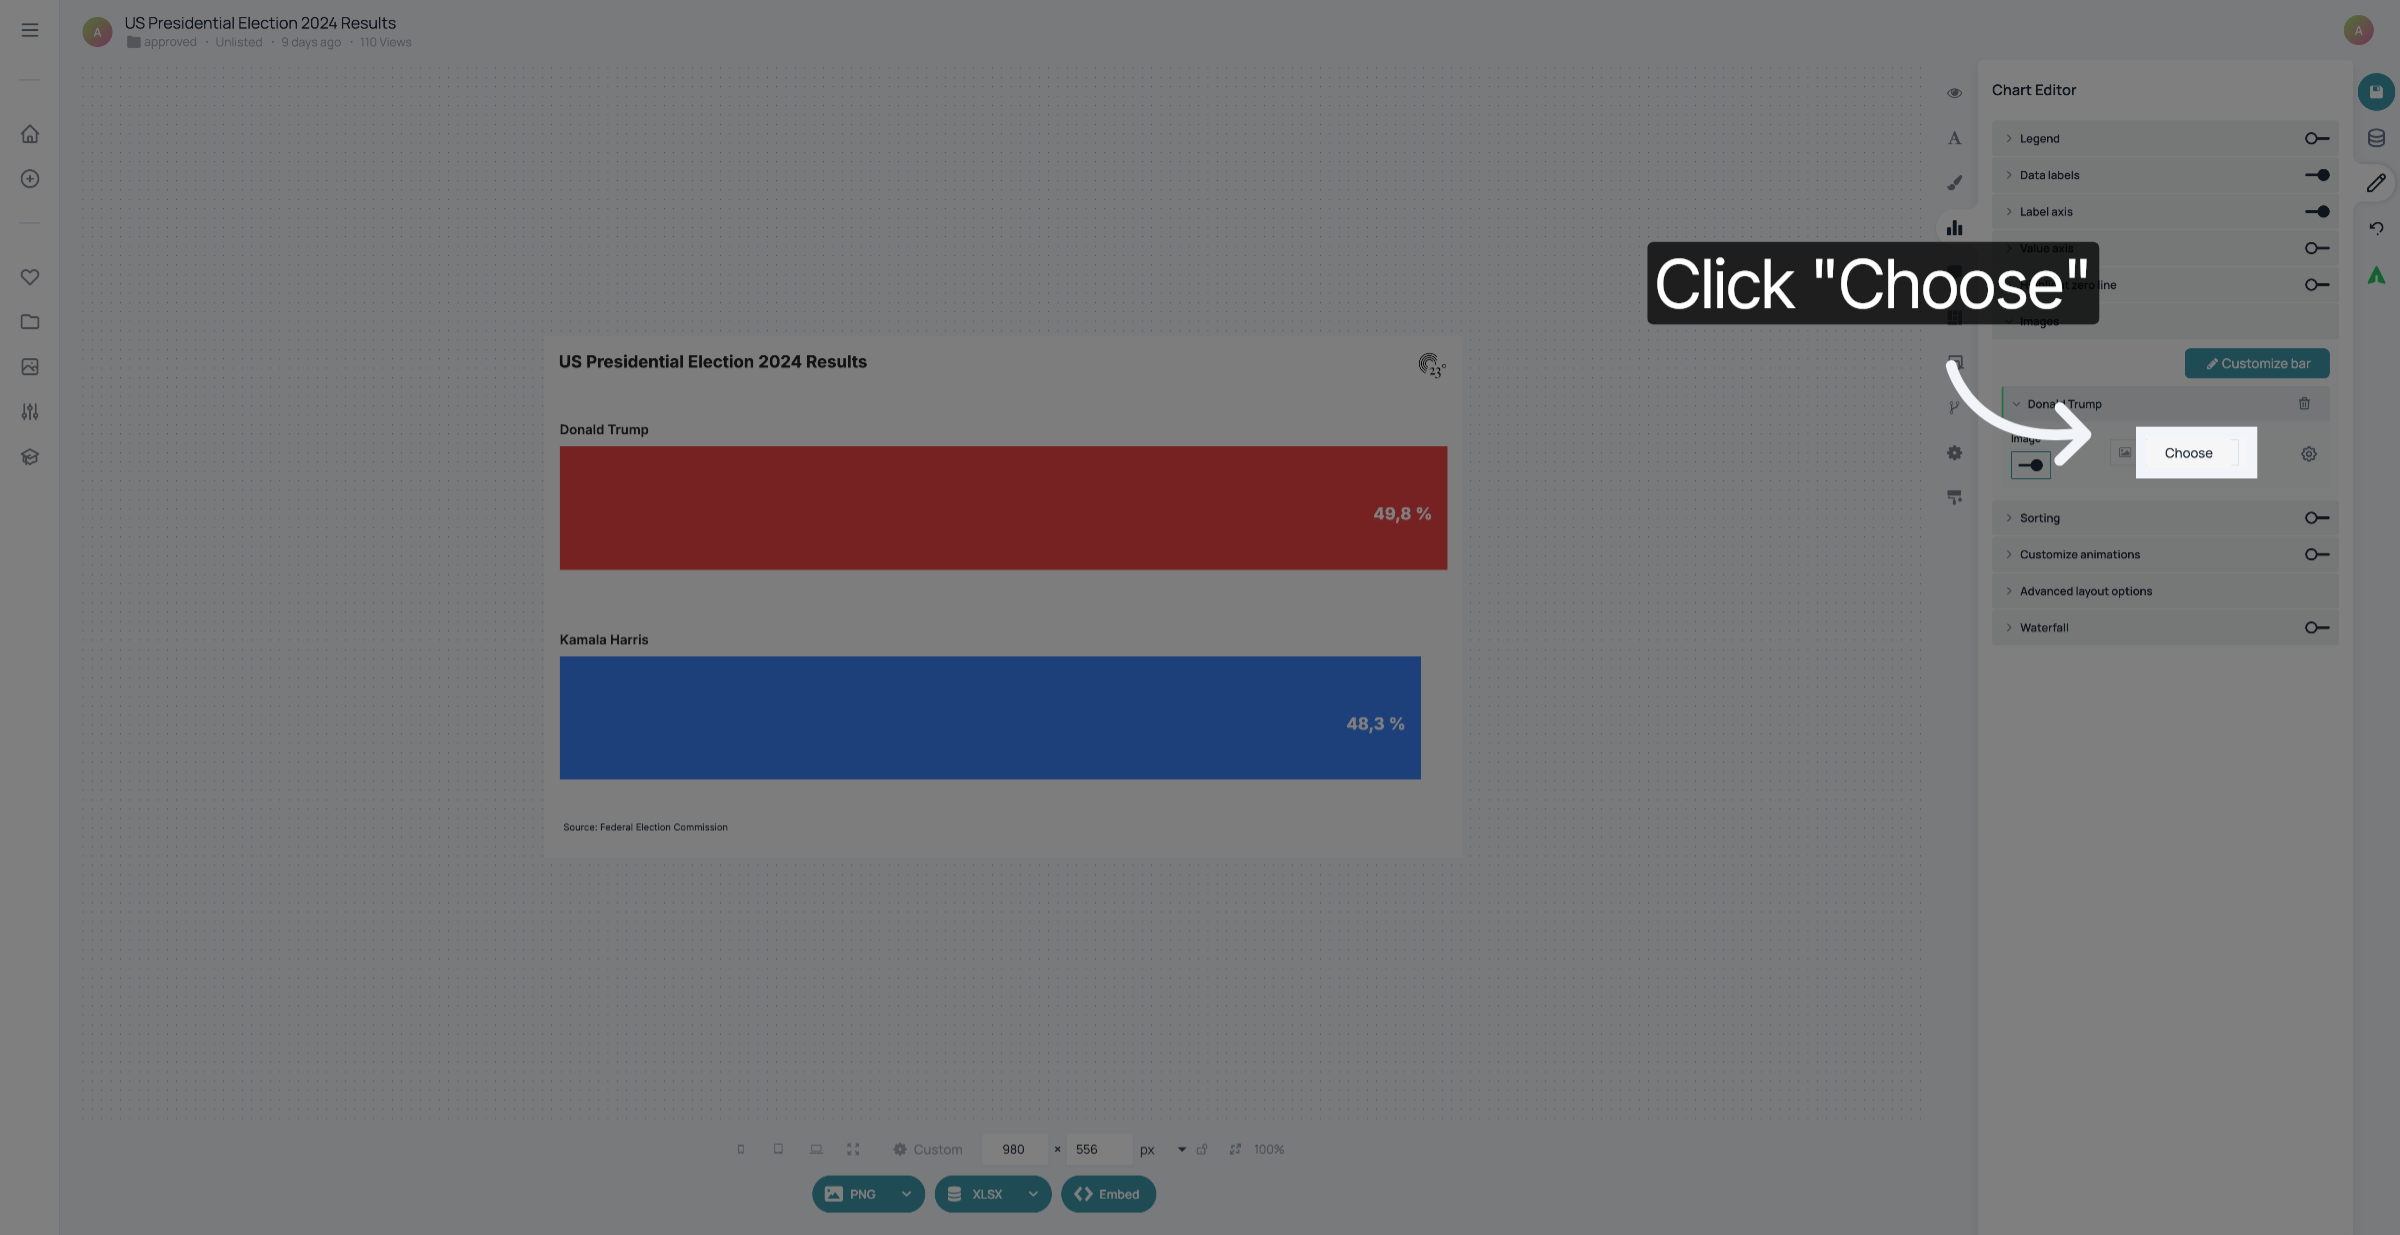
Choose a picture from your Media Explorer or click "+" to upload a new image.
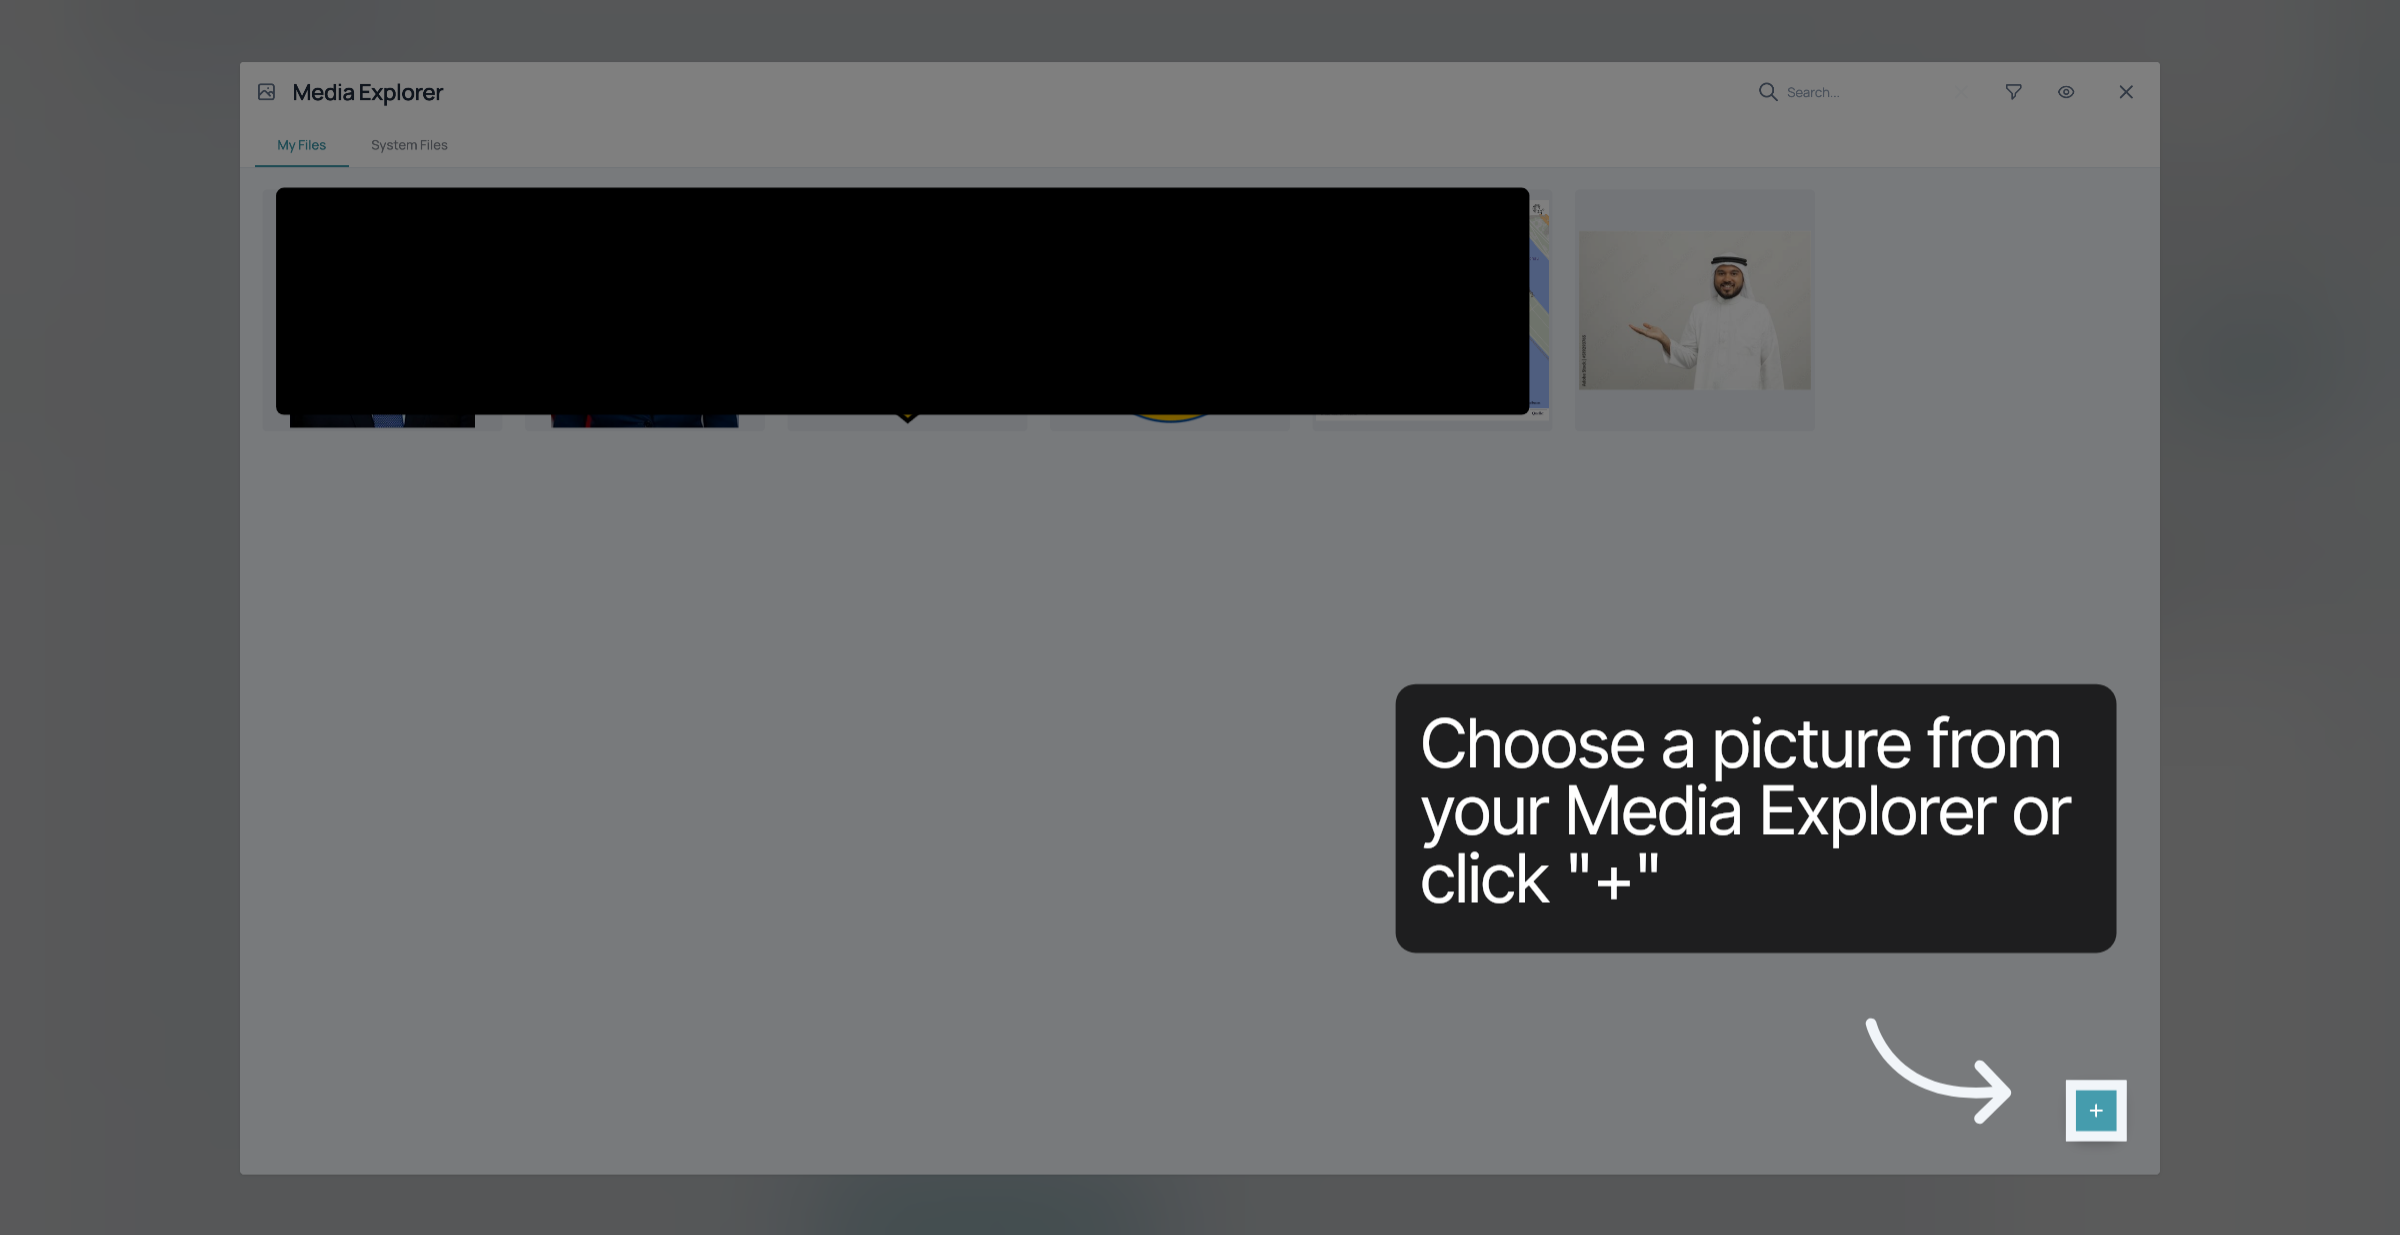
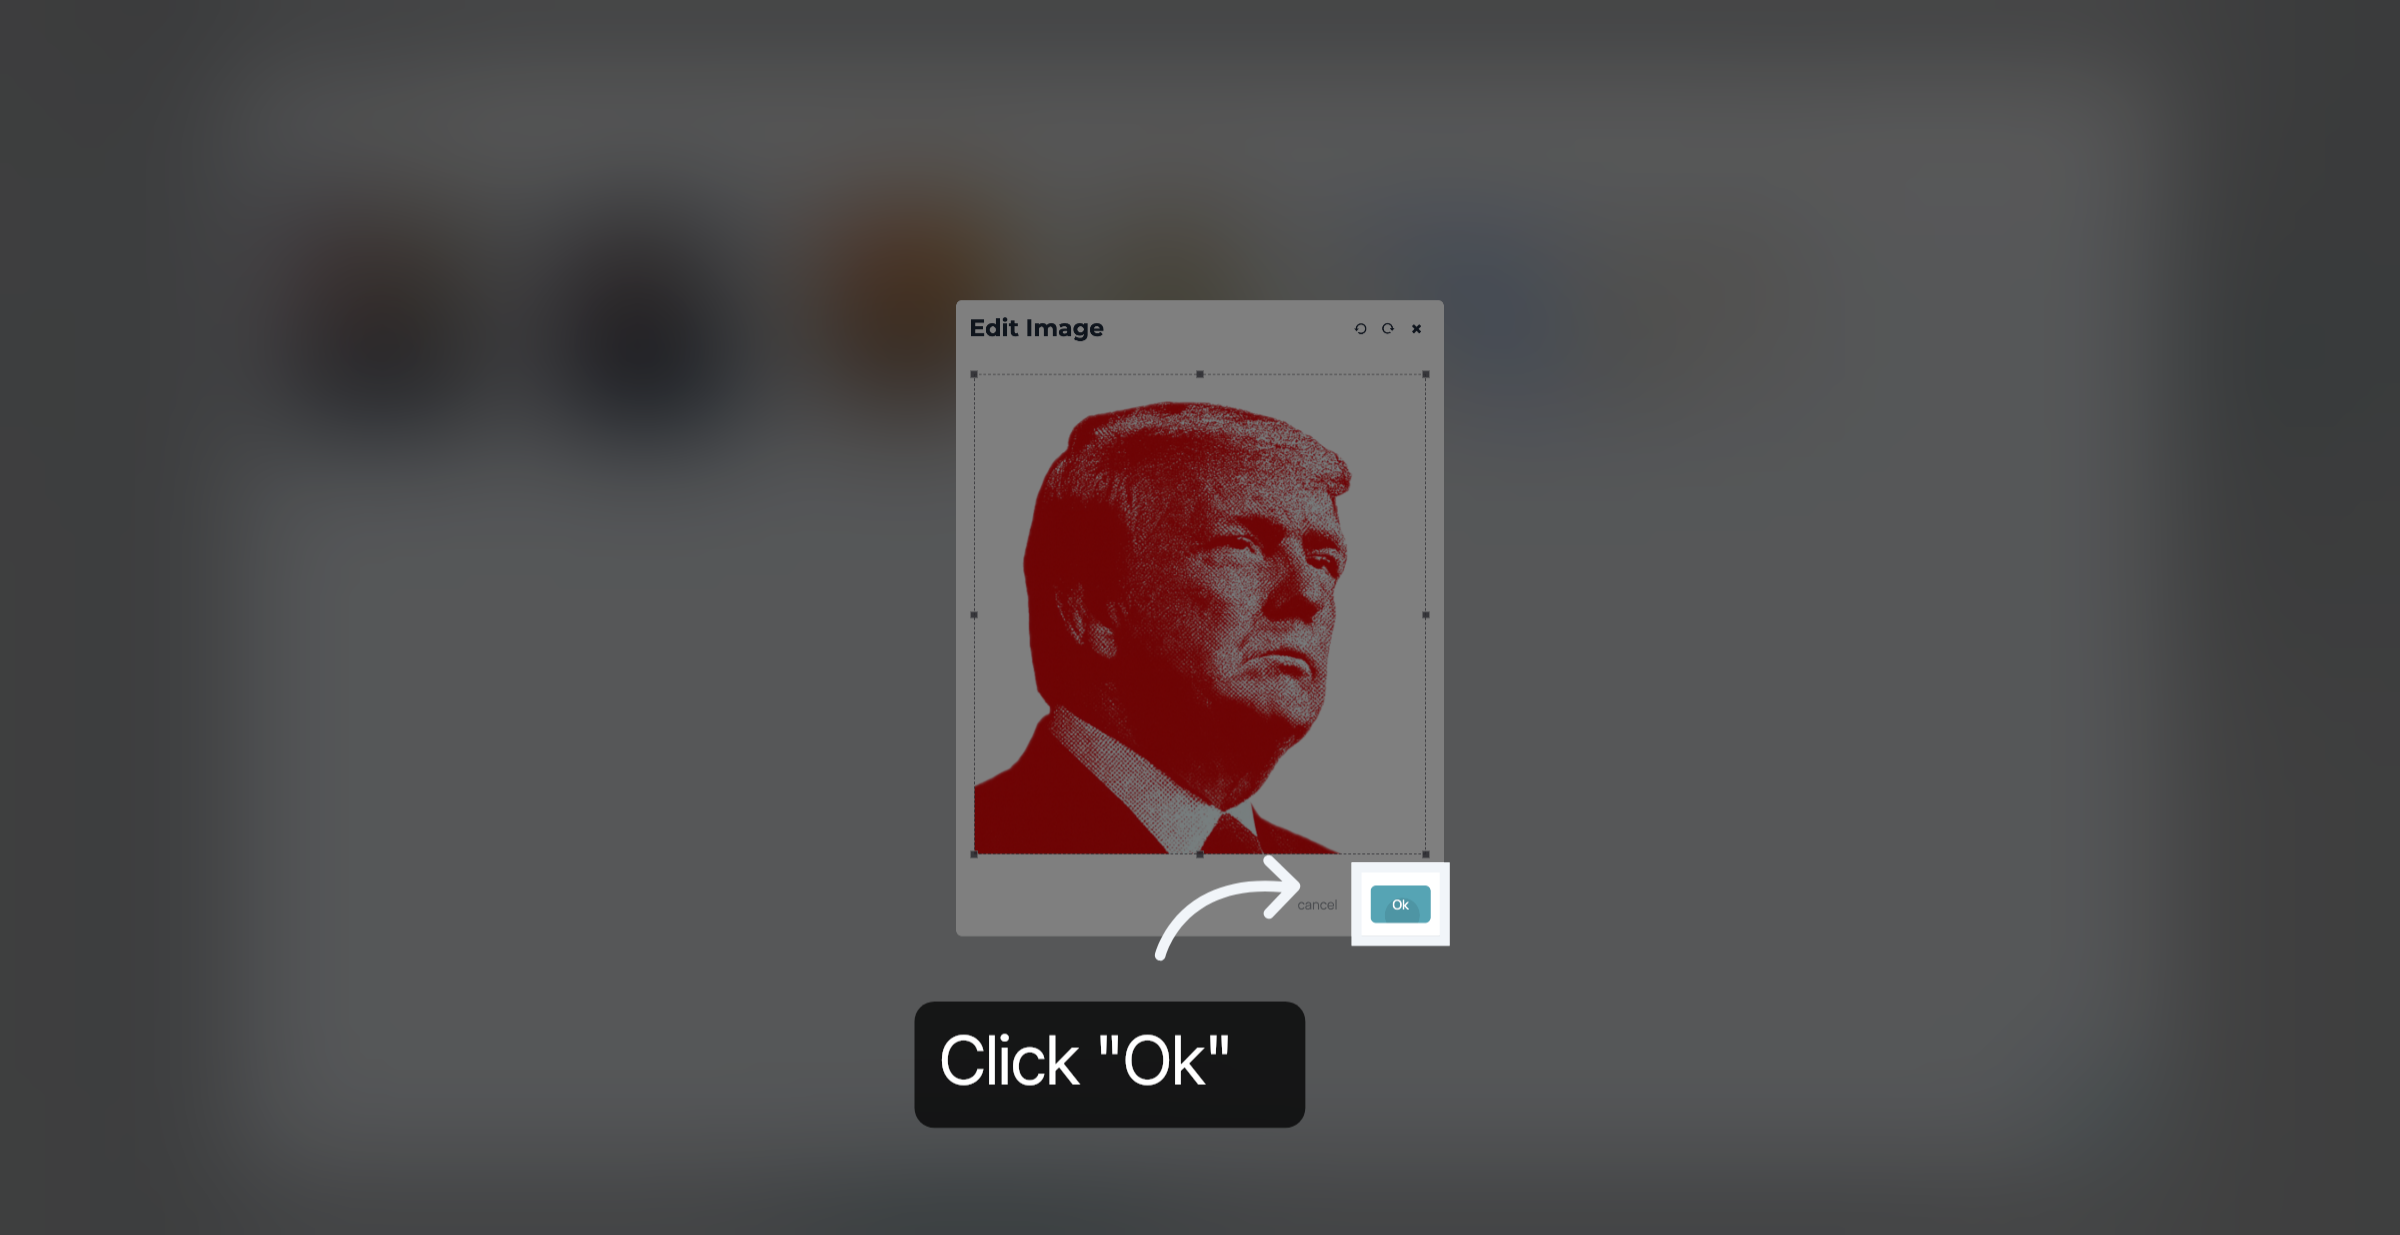
If you add a new picture to your media library, you can crop it - if necessary - and click "Ok".
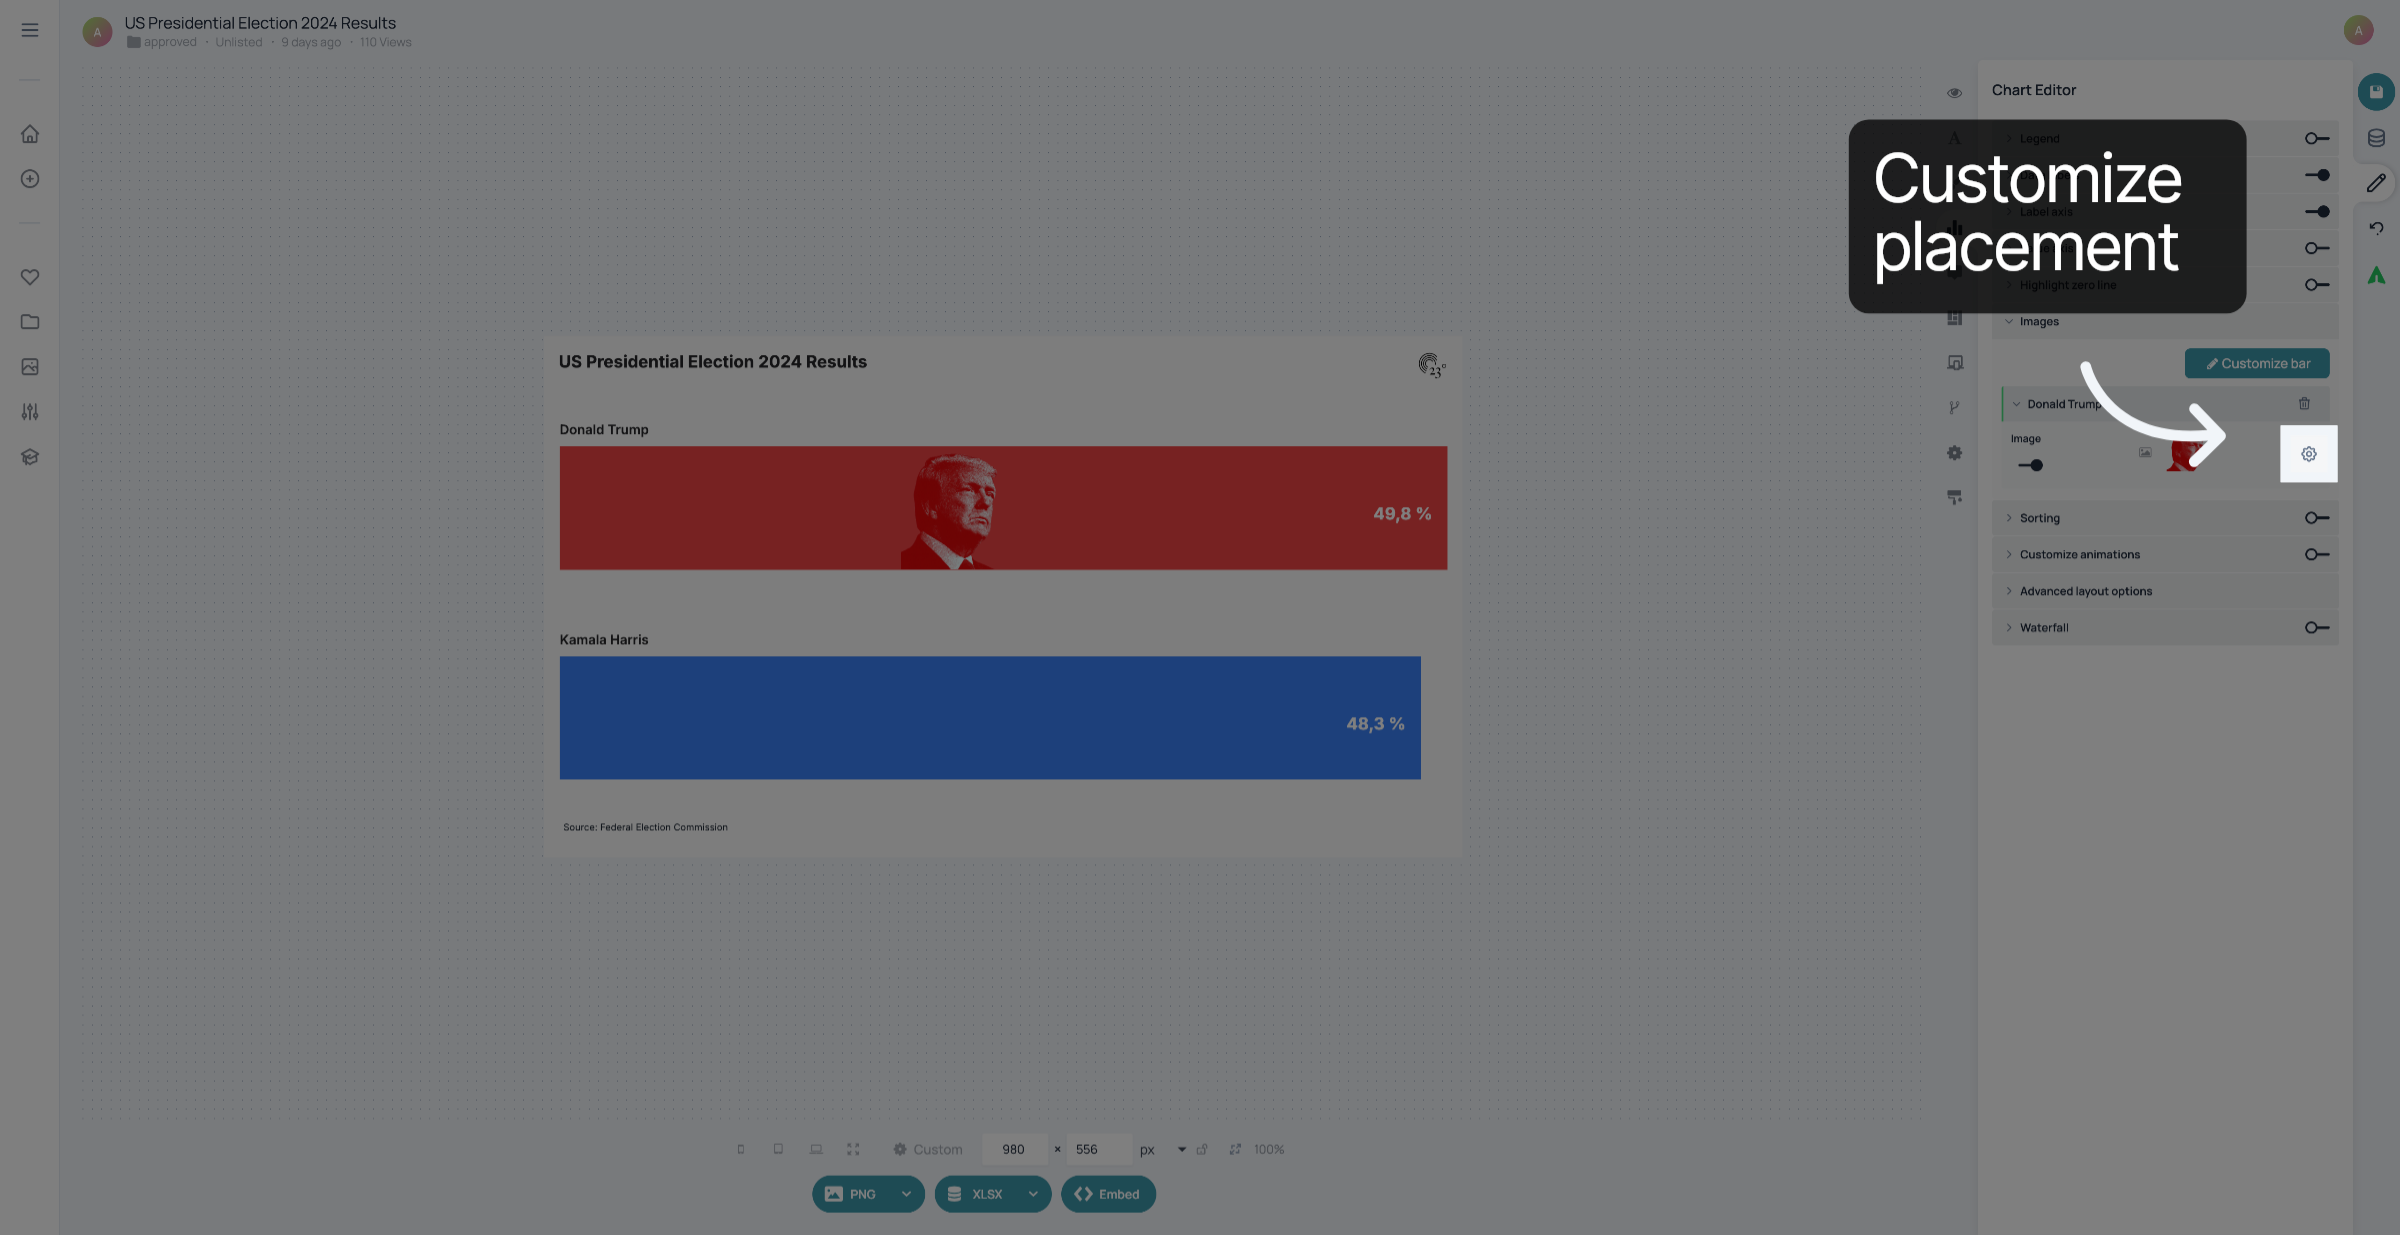
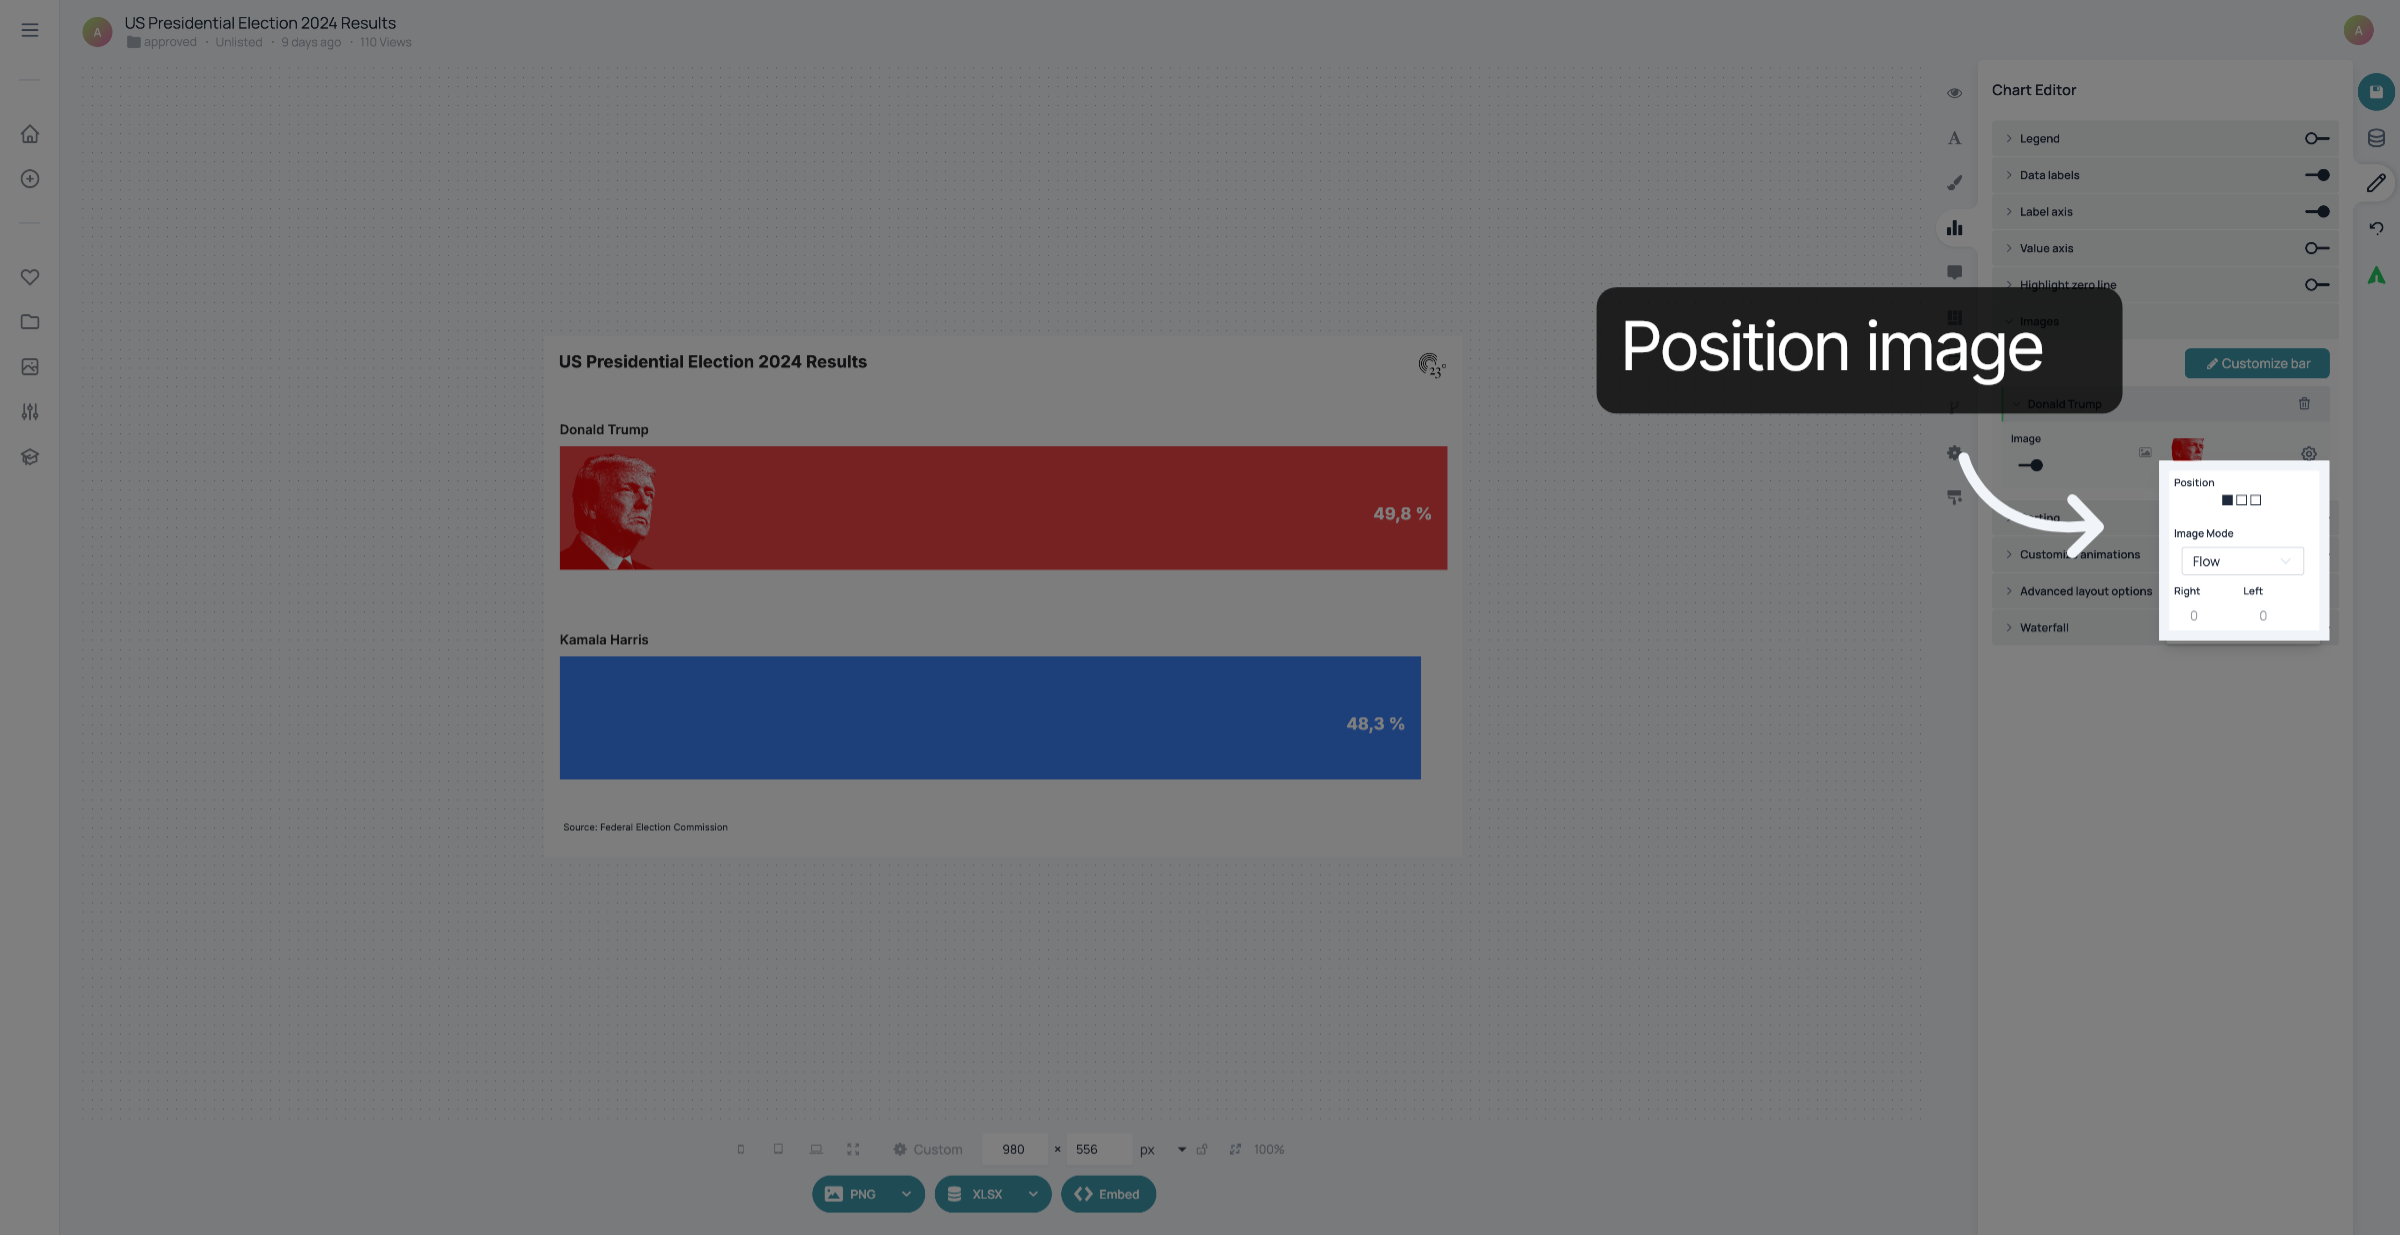
Click here to customize the placement of the picture inside the chart.
Customize the position of your image. "Flow" means that the image will not overlap the values in the charts but automatically keep a distance from them. If you use "Absolute", you can change the padding from the edge of the bar by typing in the distance in the fields for "Right" and "Left". Repeat these steps to add images to the other bars.
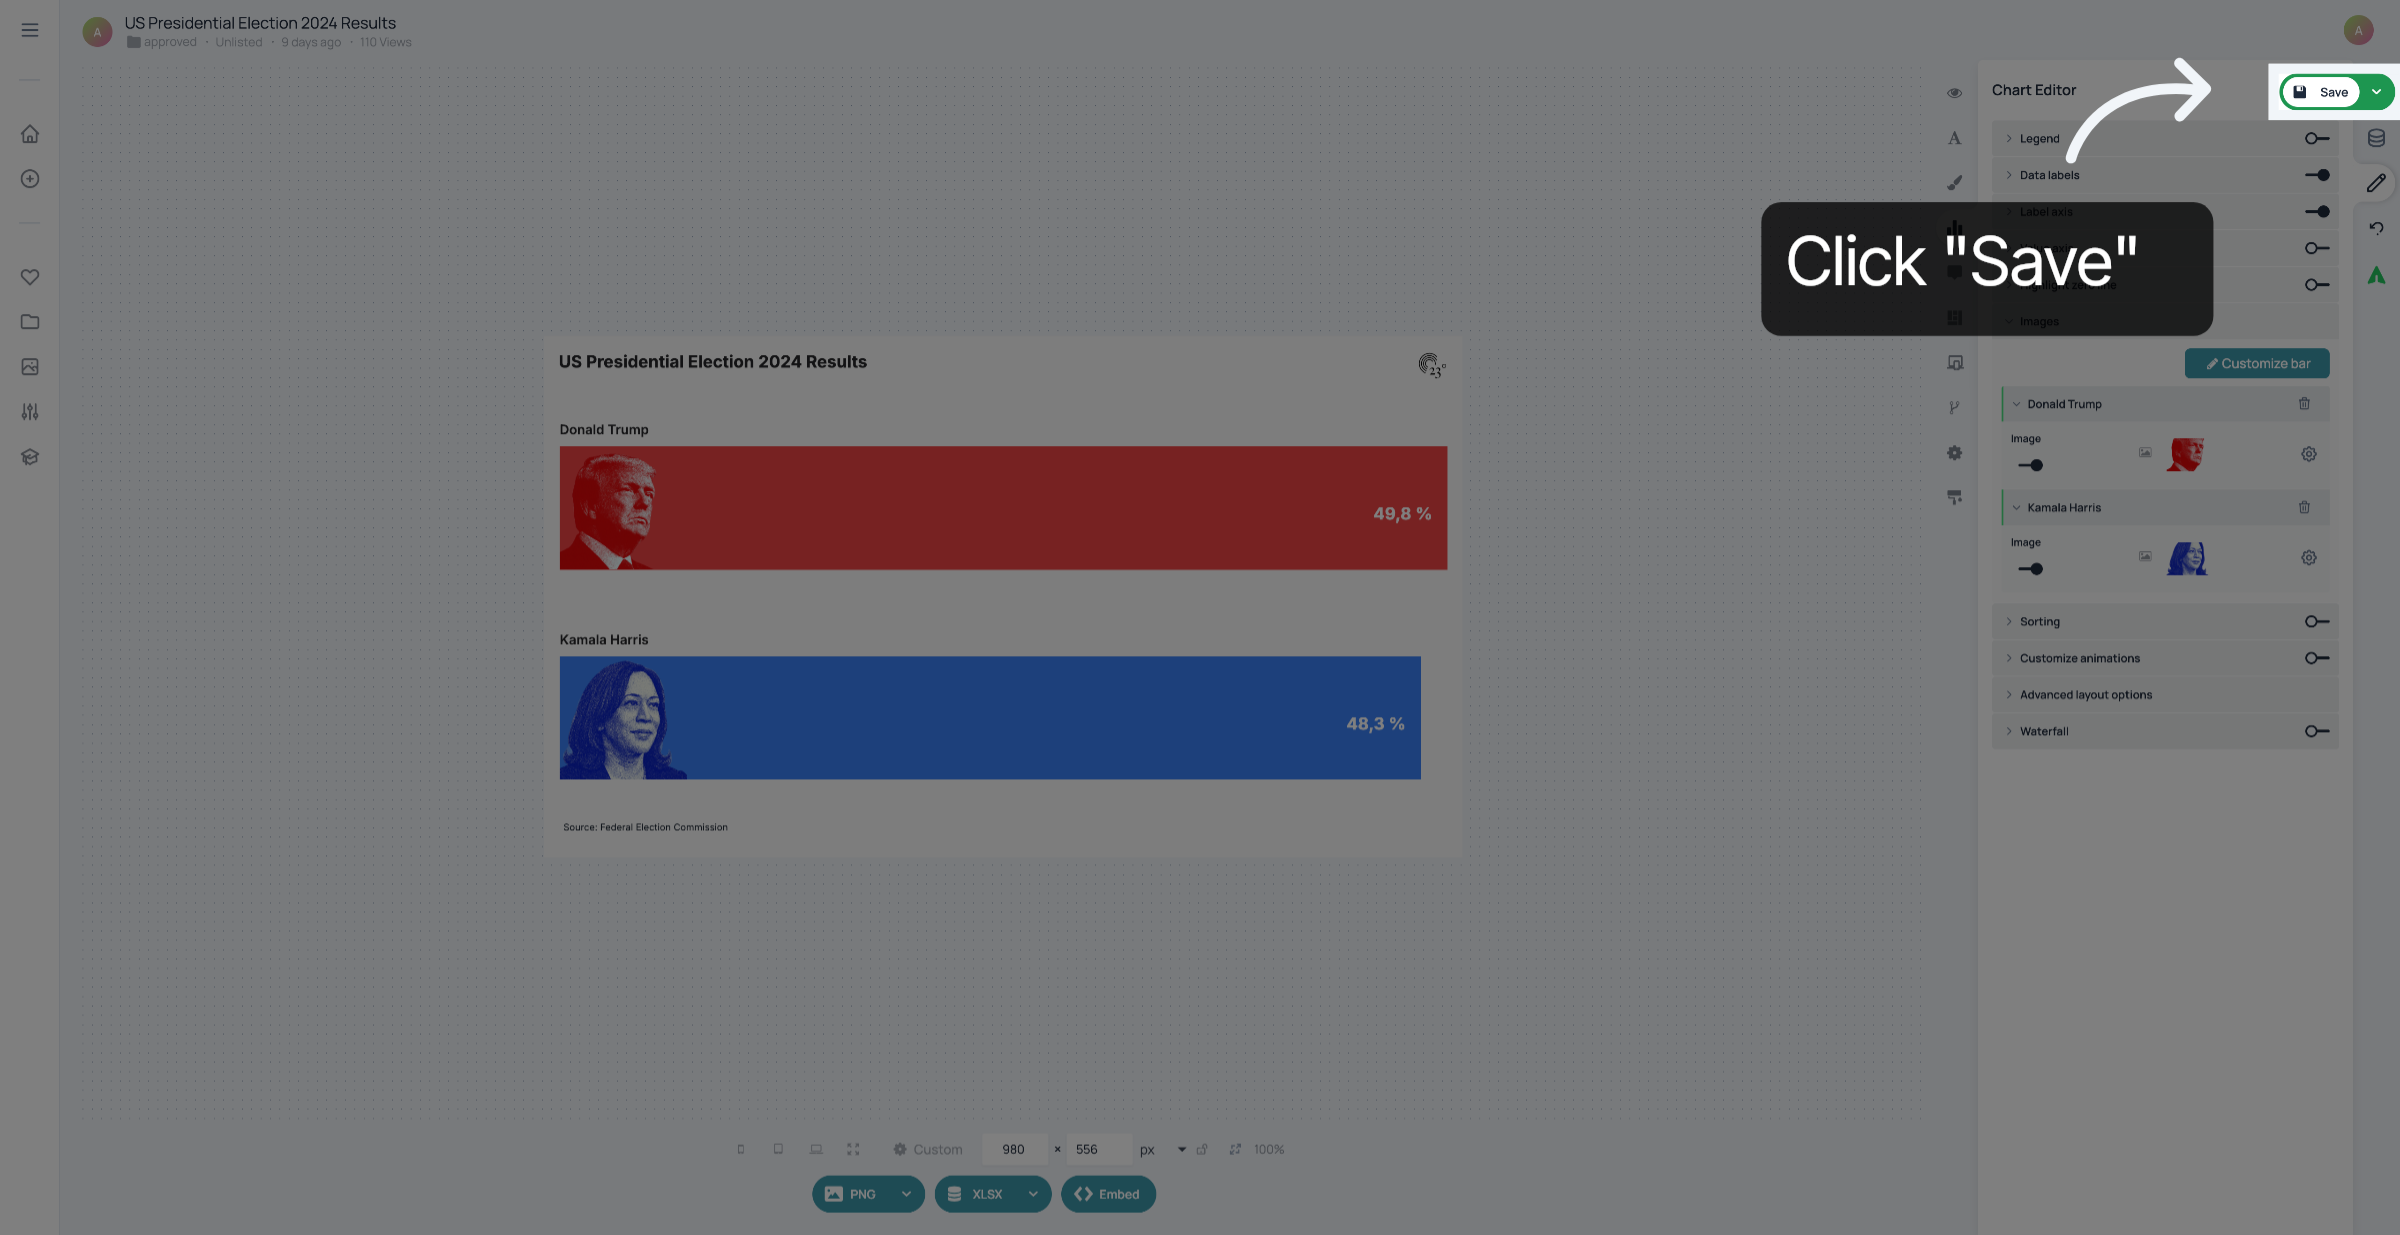
Don't forget to save your changes.
You have successfully added images to your barchart.