Filters: Timeslider
This tutorial guides you through configuring timeslider filters in the 23degrees application.
The timeslider filter is a great option for an engaging user triggered animation. If you are looking for the growing and shrinking bar animation over time, this is the right filter for your usecase.
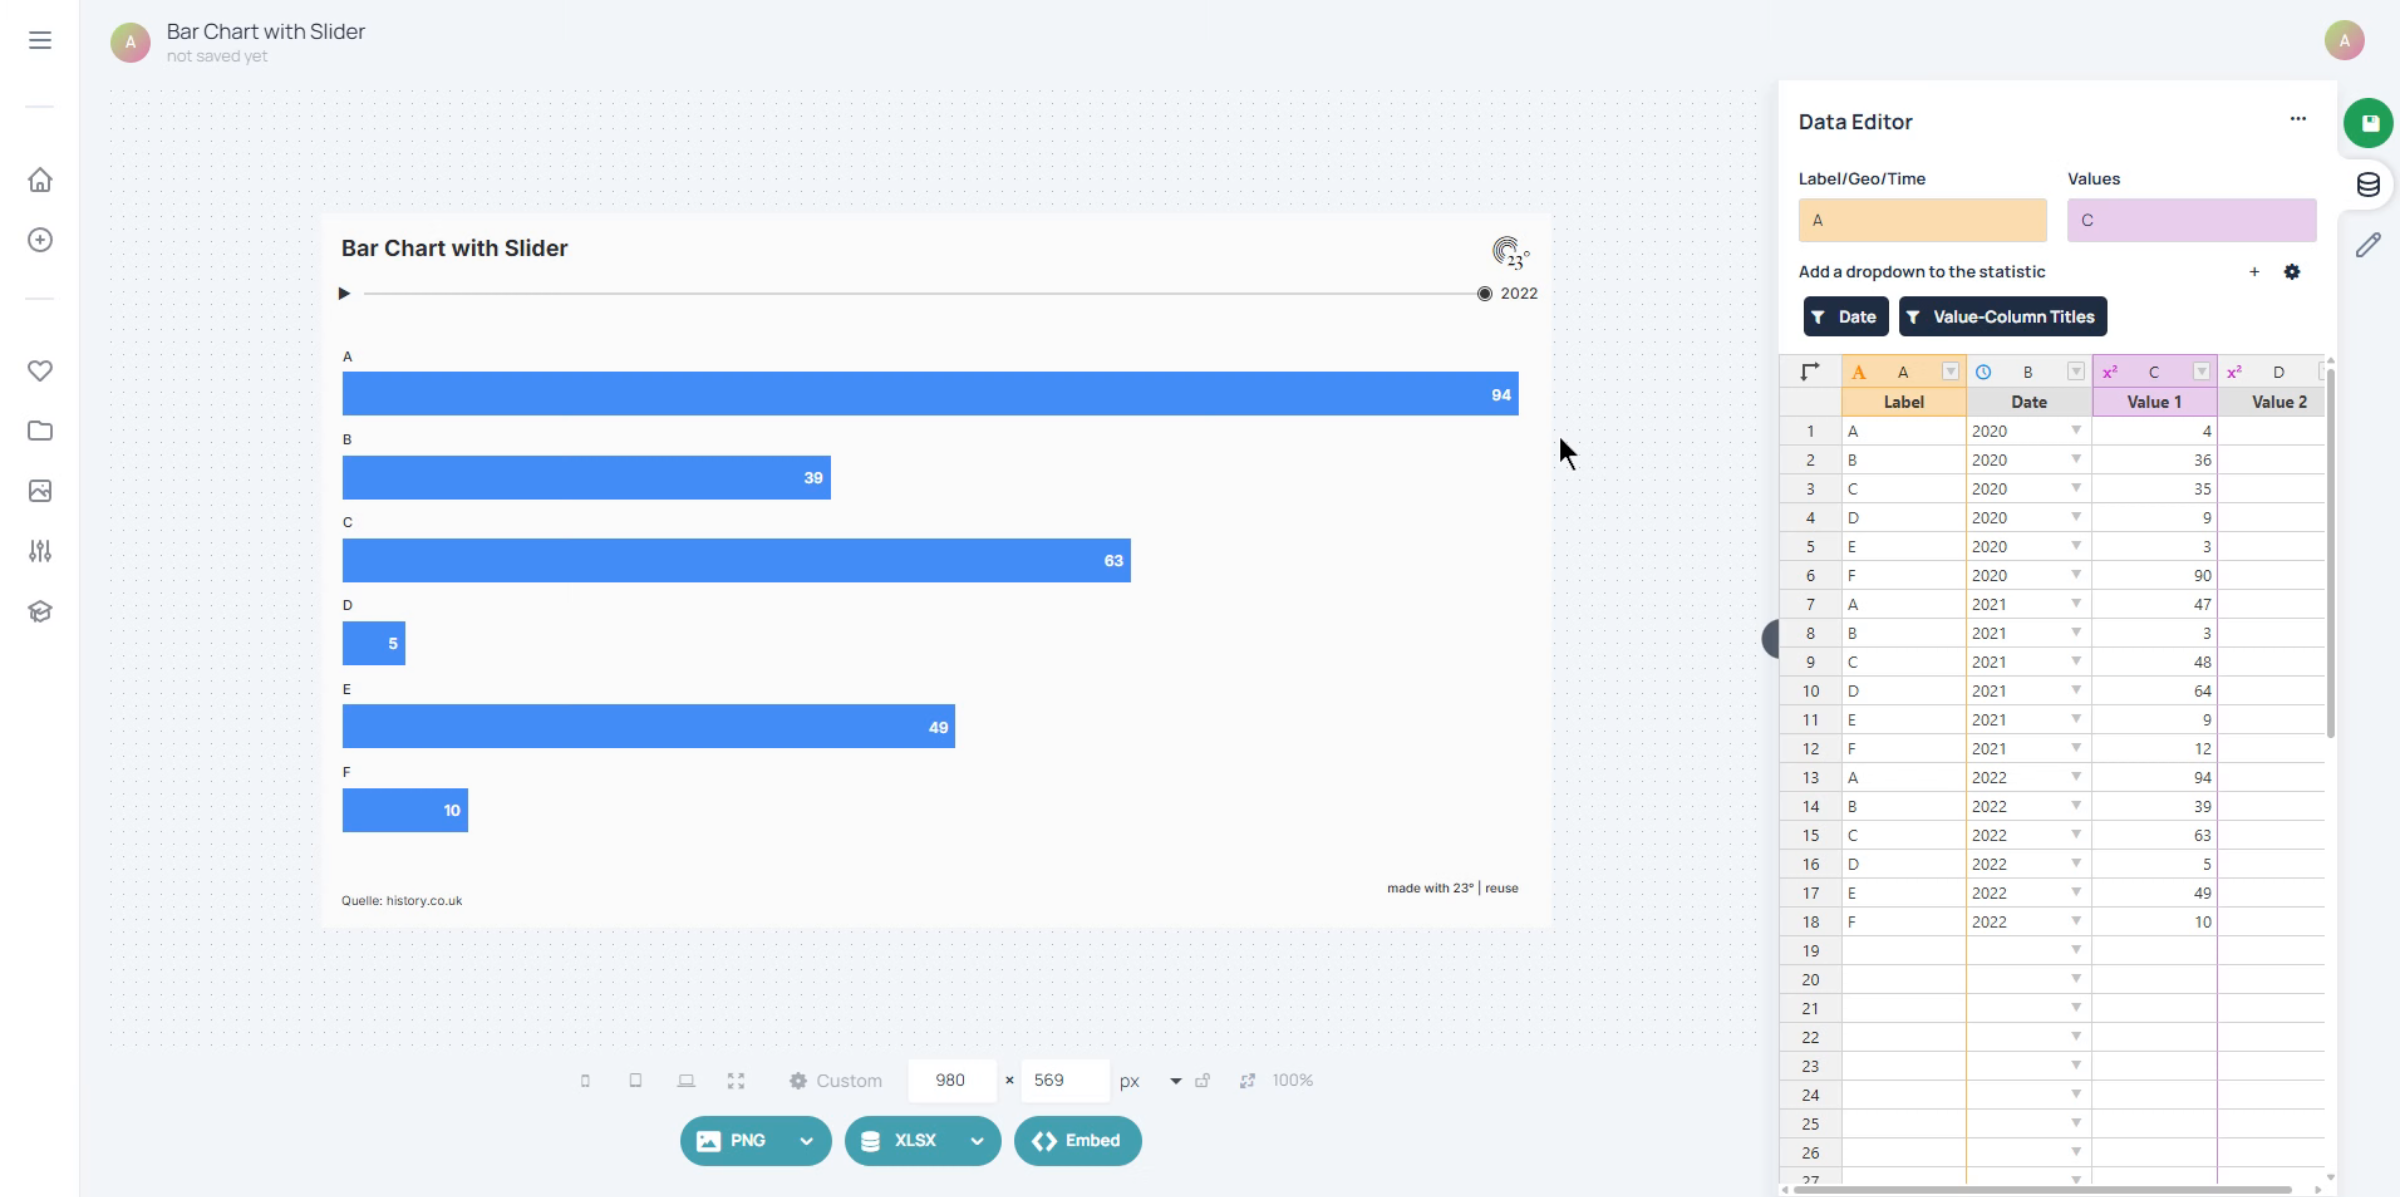
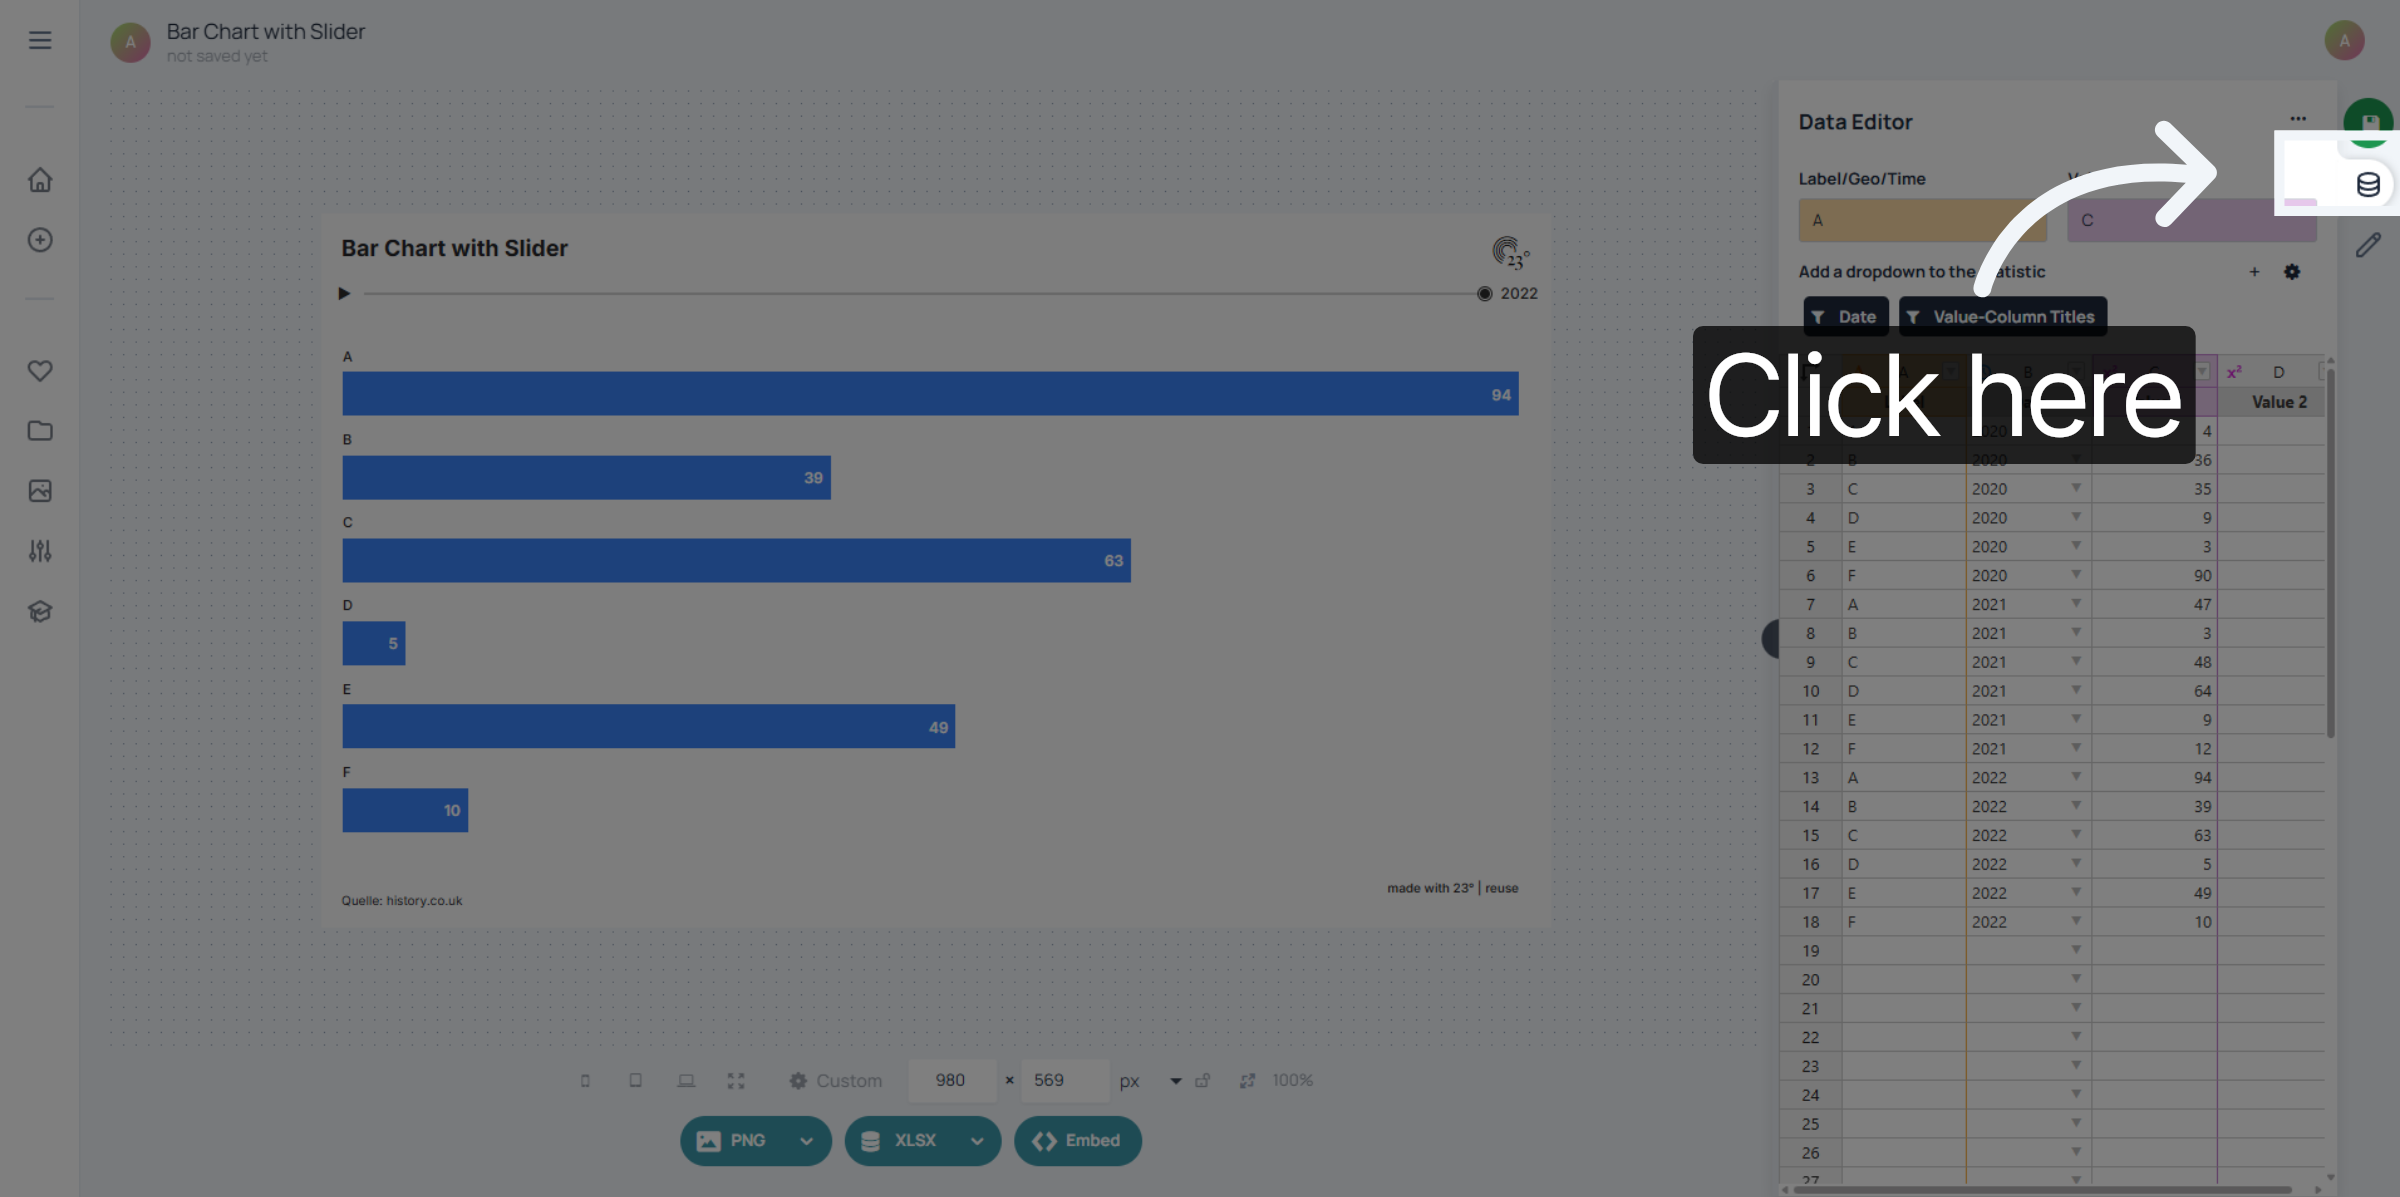
To go to the filter settings click on the data editor.
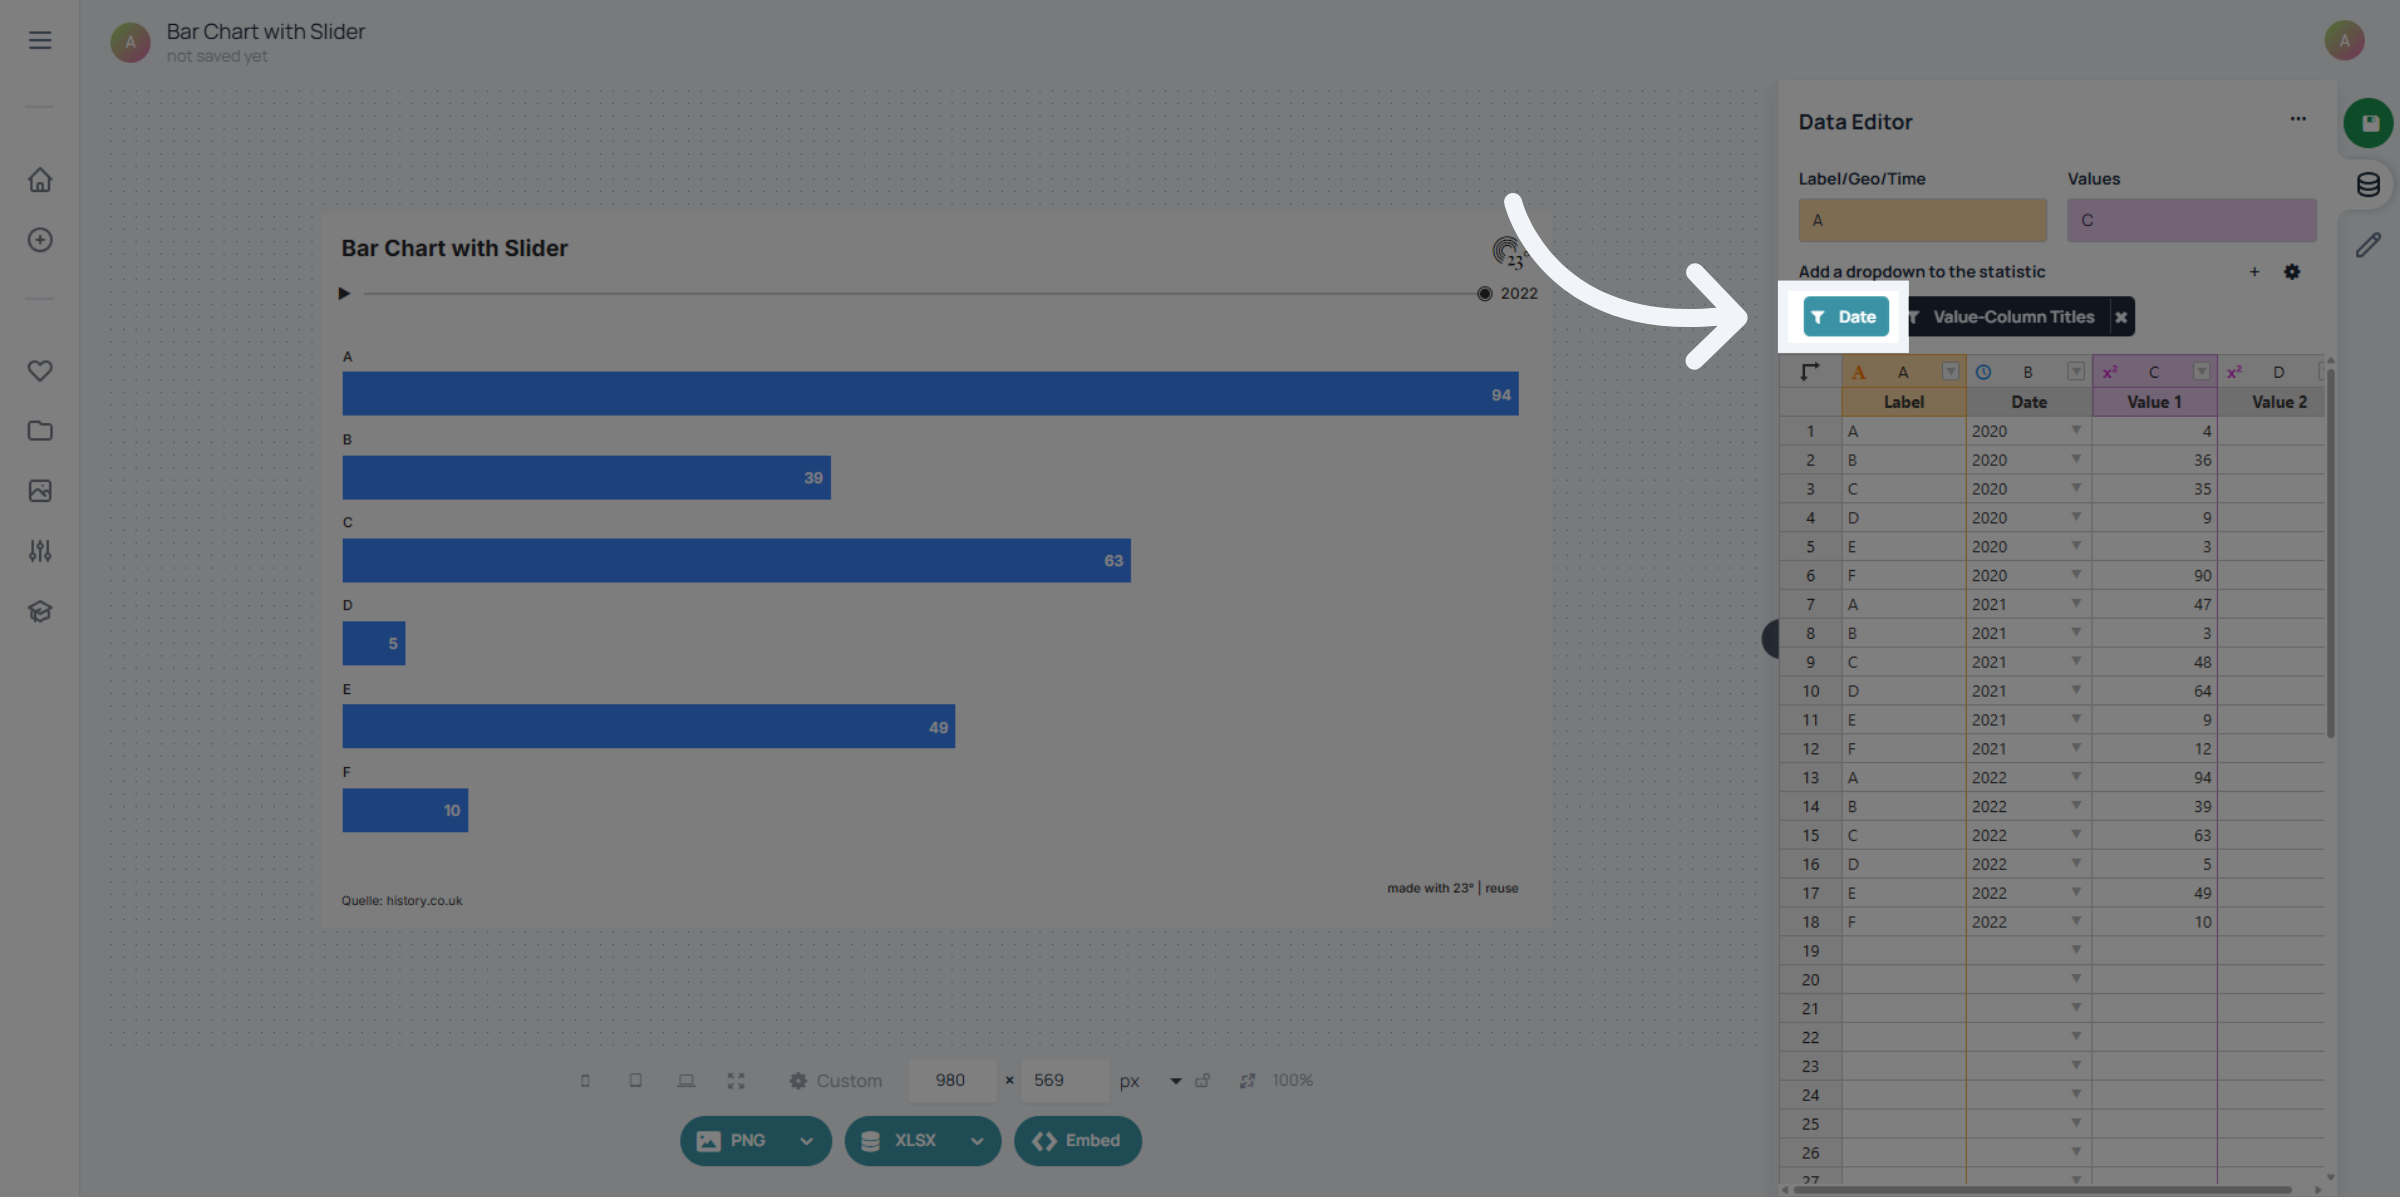
Select your Filter
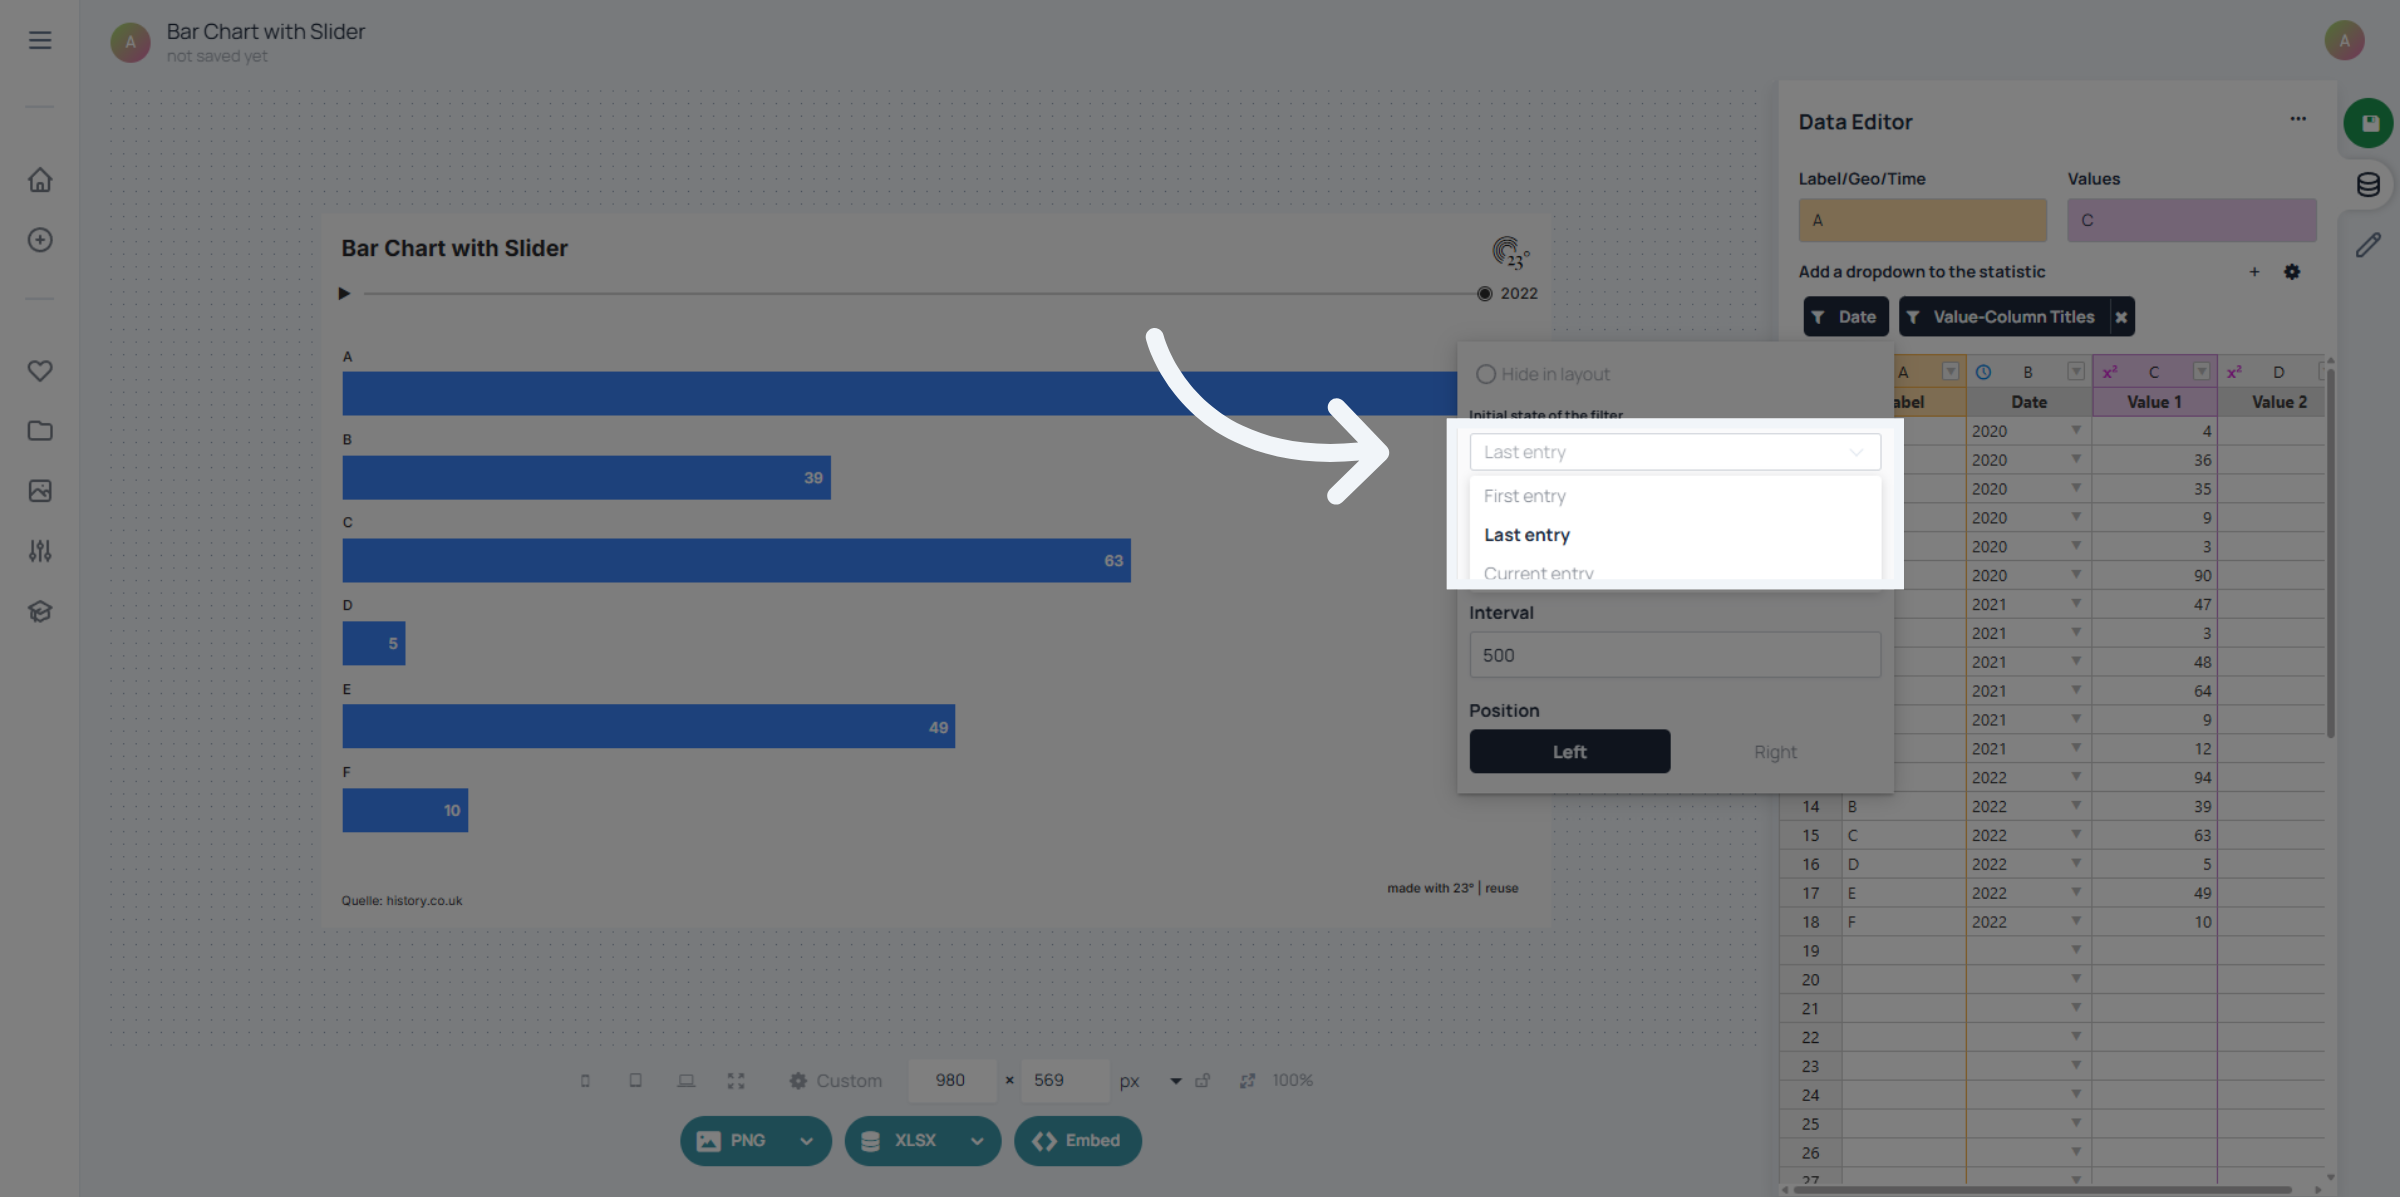
Here you can select the default starting point of the time slider. It can be the first, last or a cutom entry, for custom entry select the entry you want and save the visualisation.
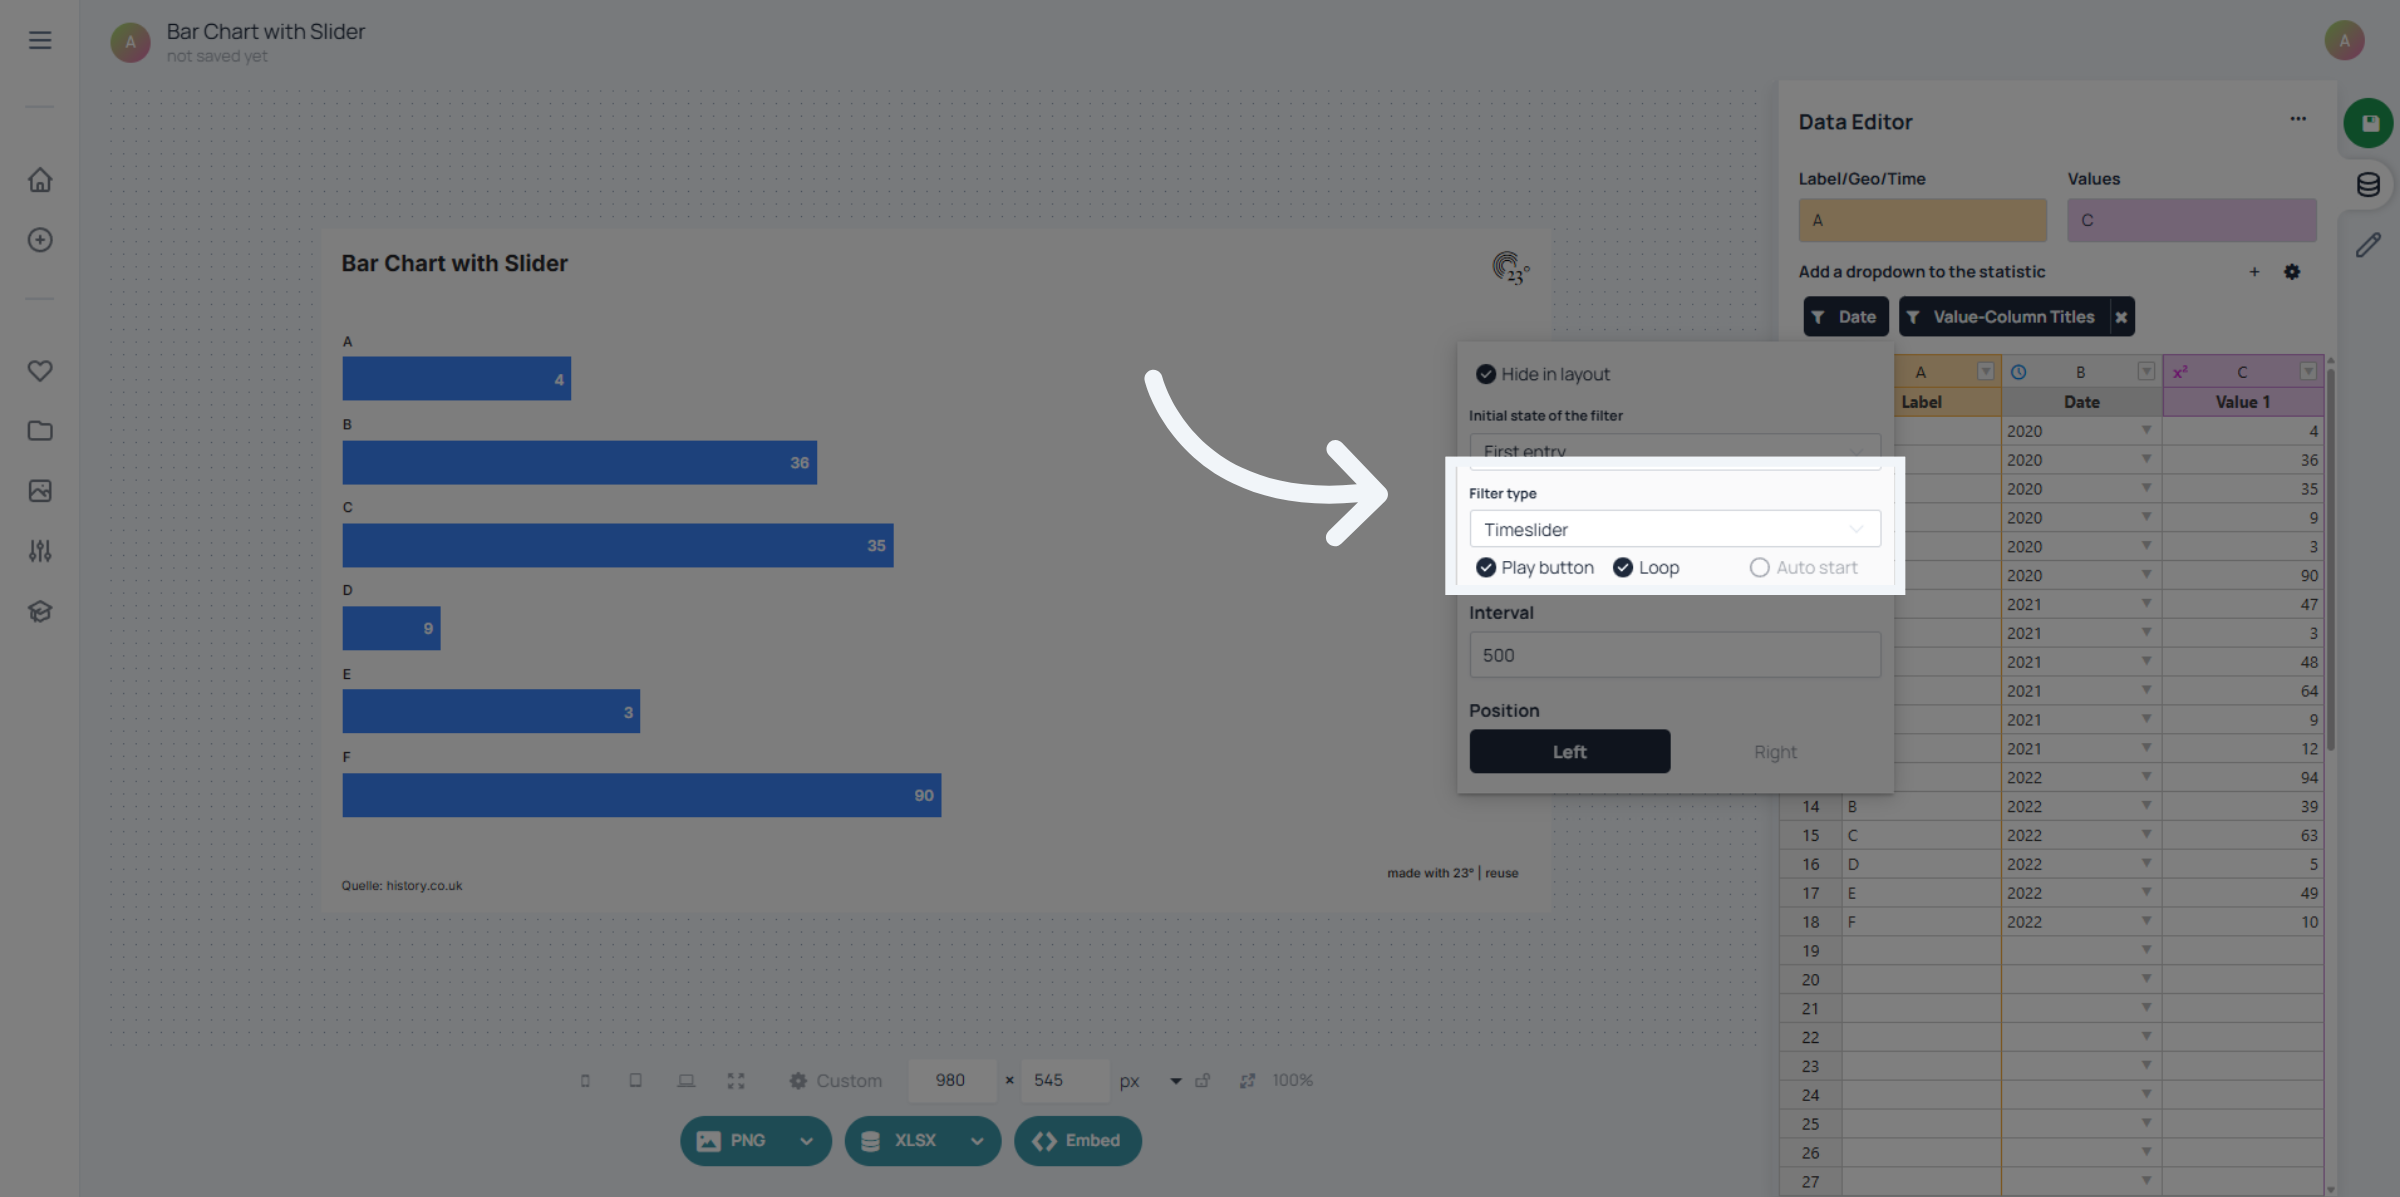
You can change the filter type to a timeline or dropdown here and you can insert a playbutton, make the animation loop or autostart here as well
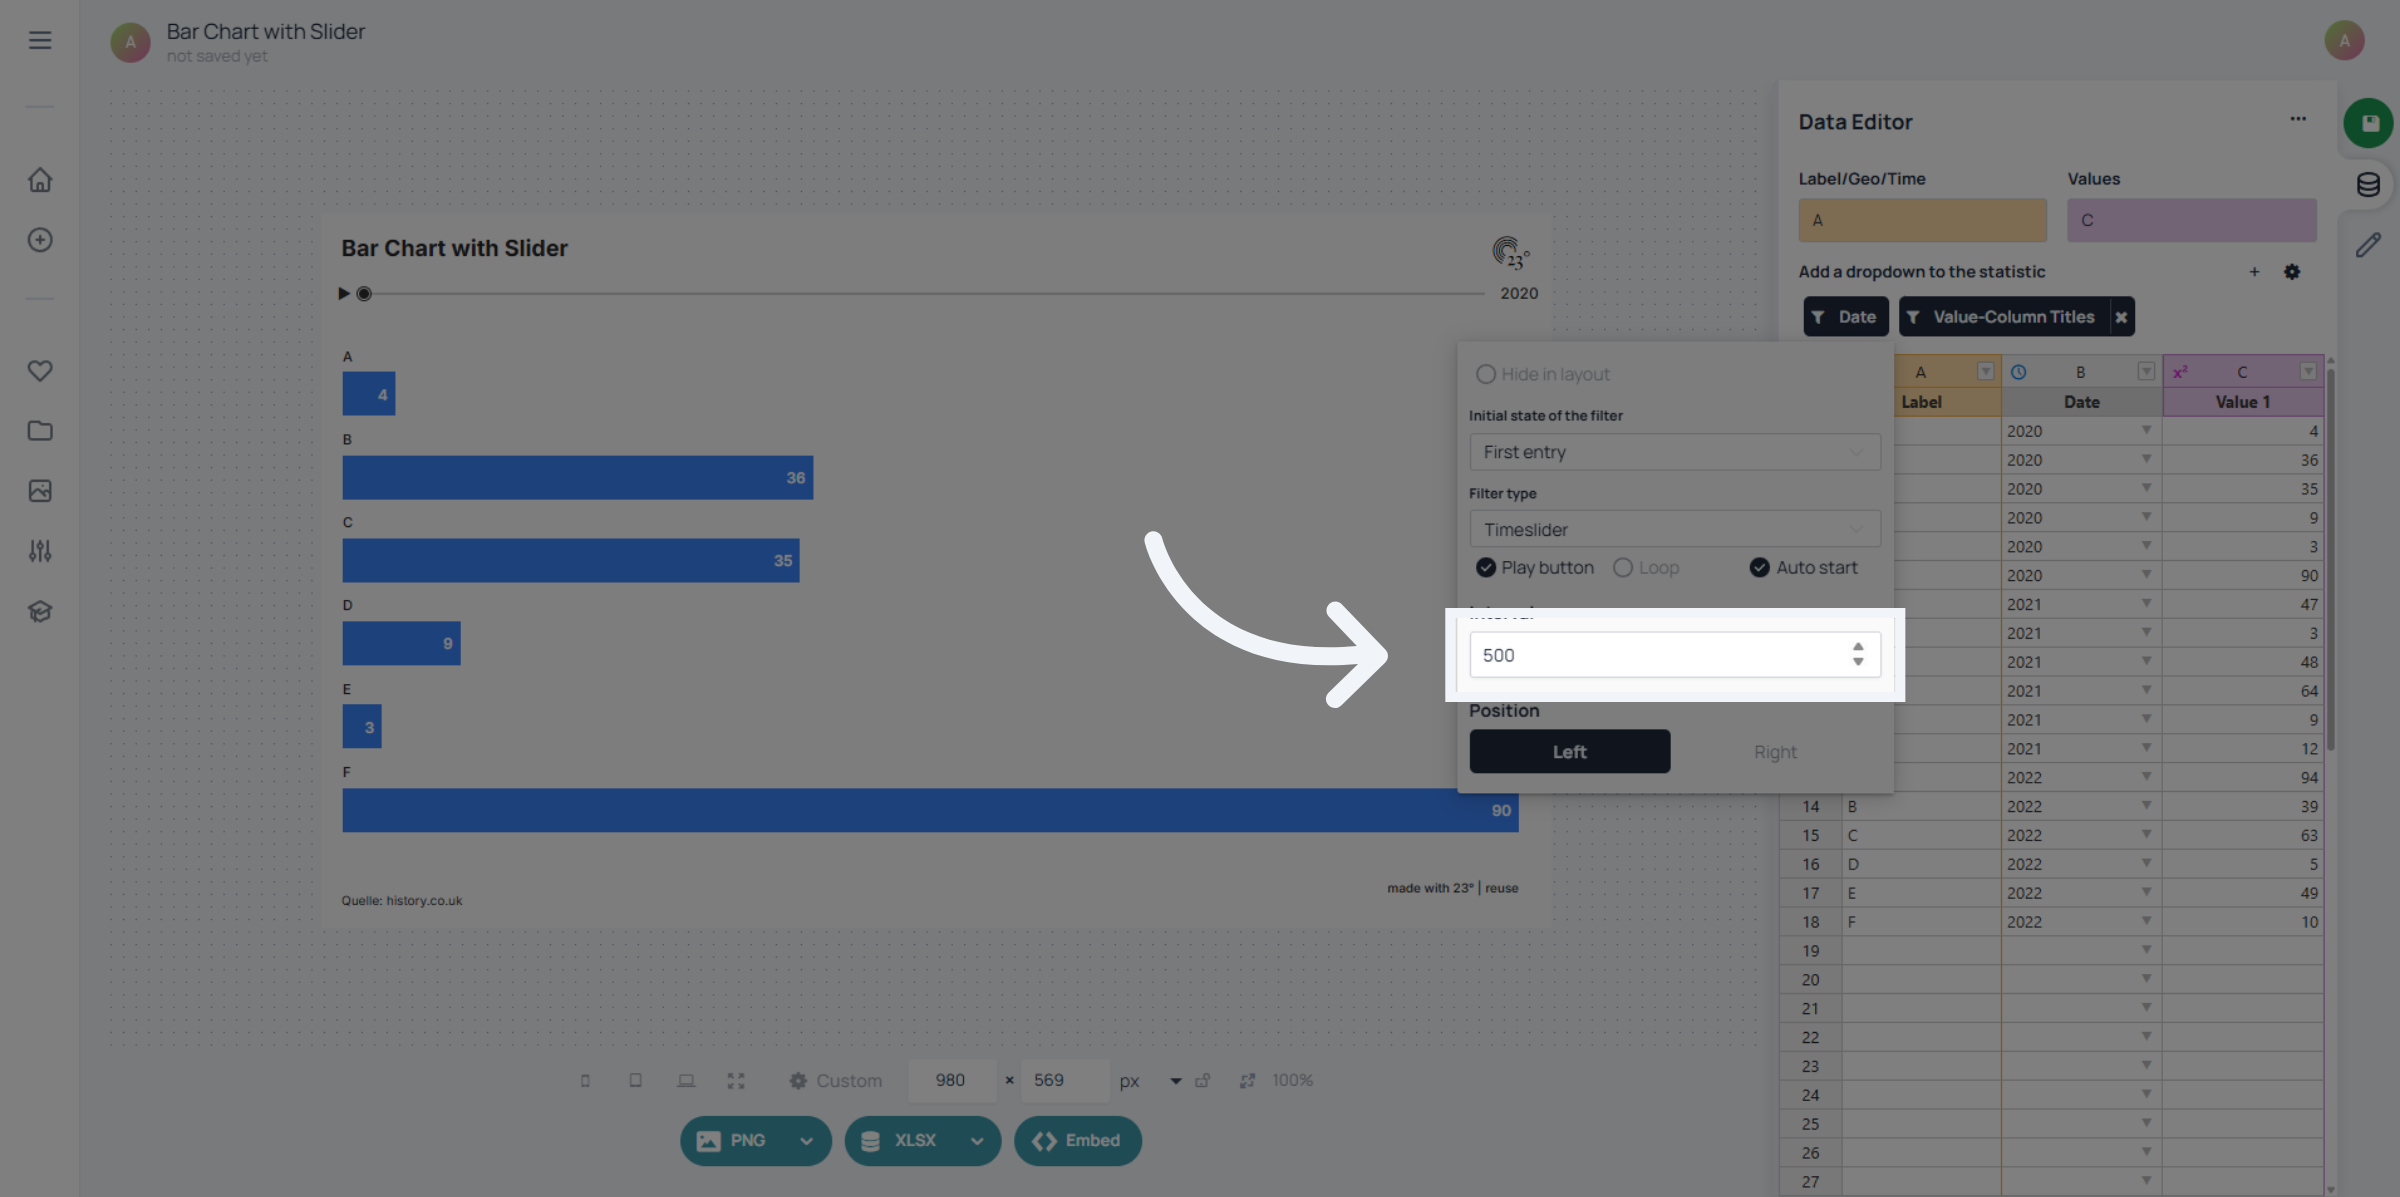
You can adjust the animation duration here by typing in the duration in milliseconds.
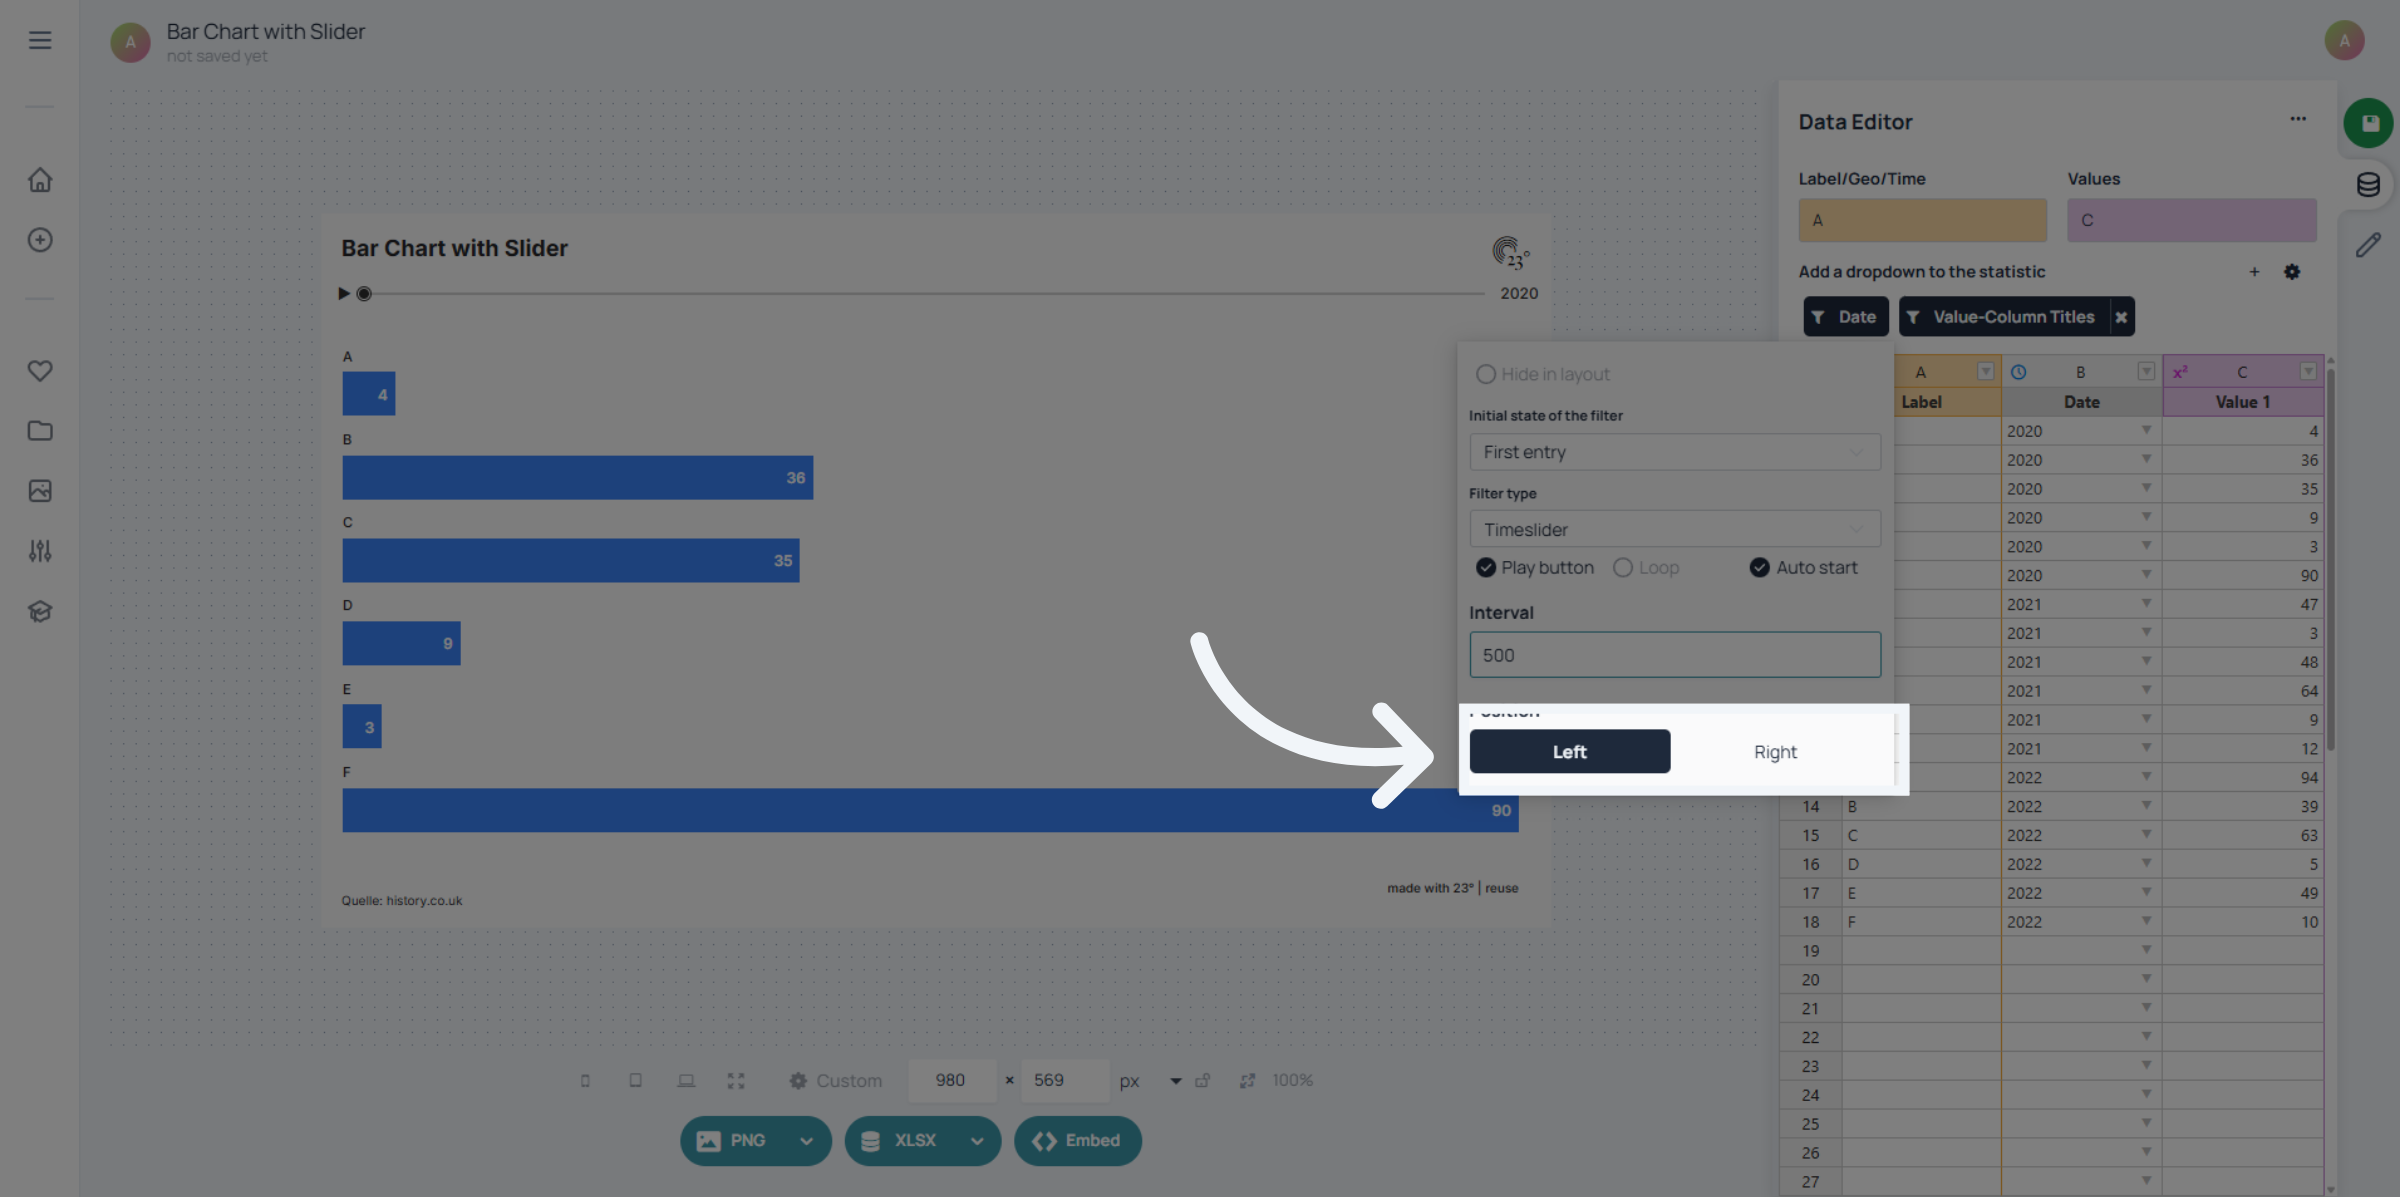
Click right if you want your playbutton to be on the right side of the slider and left if you want it on the left side.
And that's about it. You can try out your filter now and see if you are happy with your options.
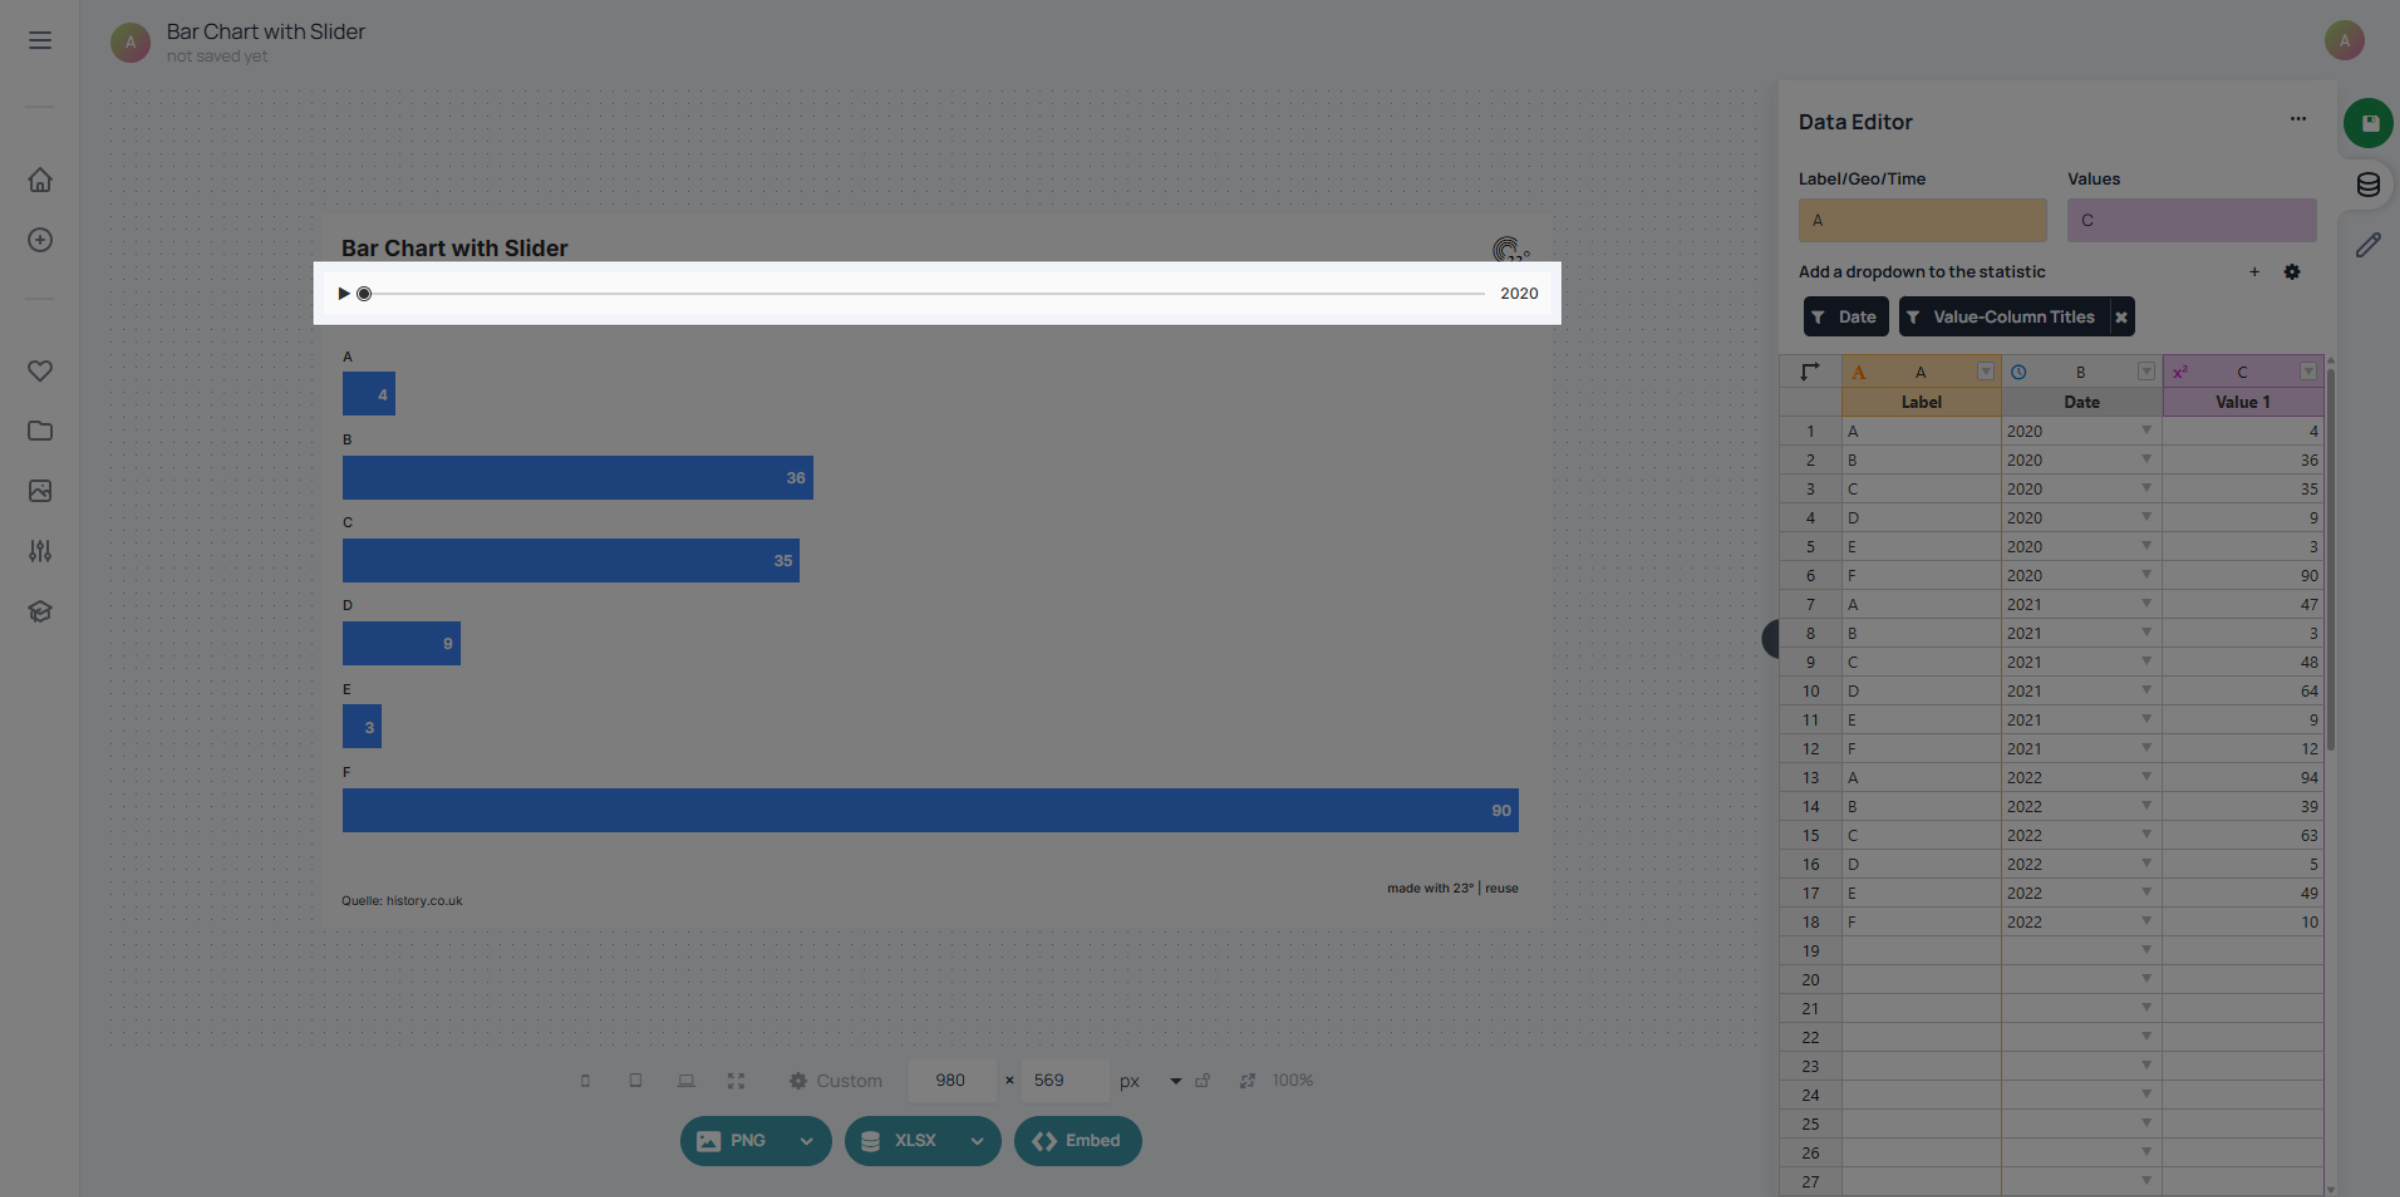
You have successfully configured the timeslider filters in the 23degrees application to control data display over time. This setup allows for automated playback, looping, and customized filter visibility to enhance your data analysis experience.