Create and Customize Tilted Map View
This tutorial guides you through creating a tilted map view using 23degrees.
You will learn how to customize the viewport and save your settings for an enhanced map display.
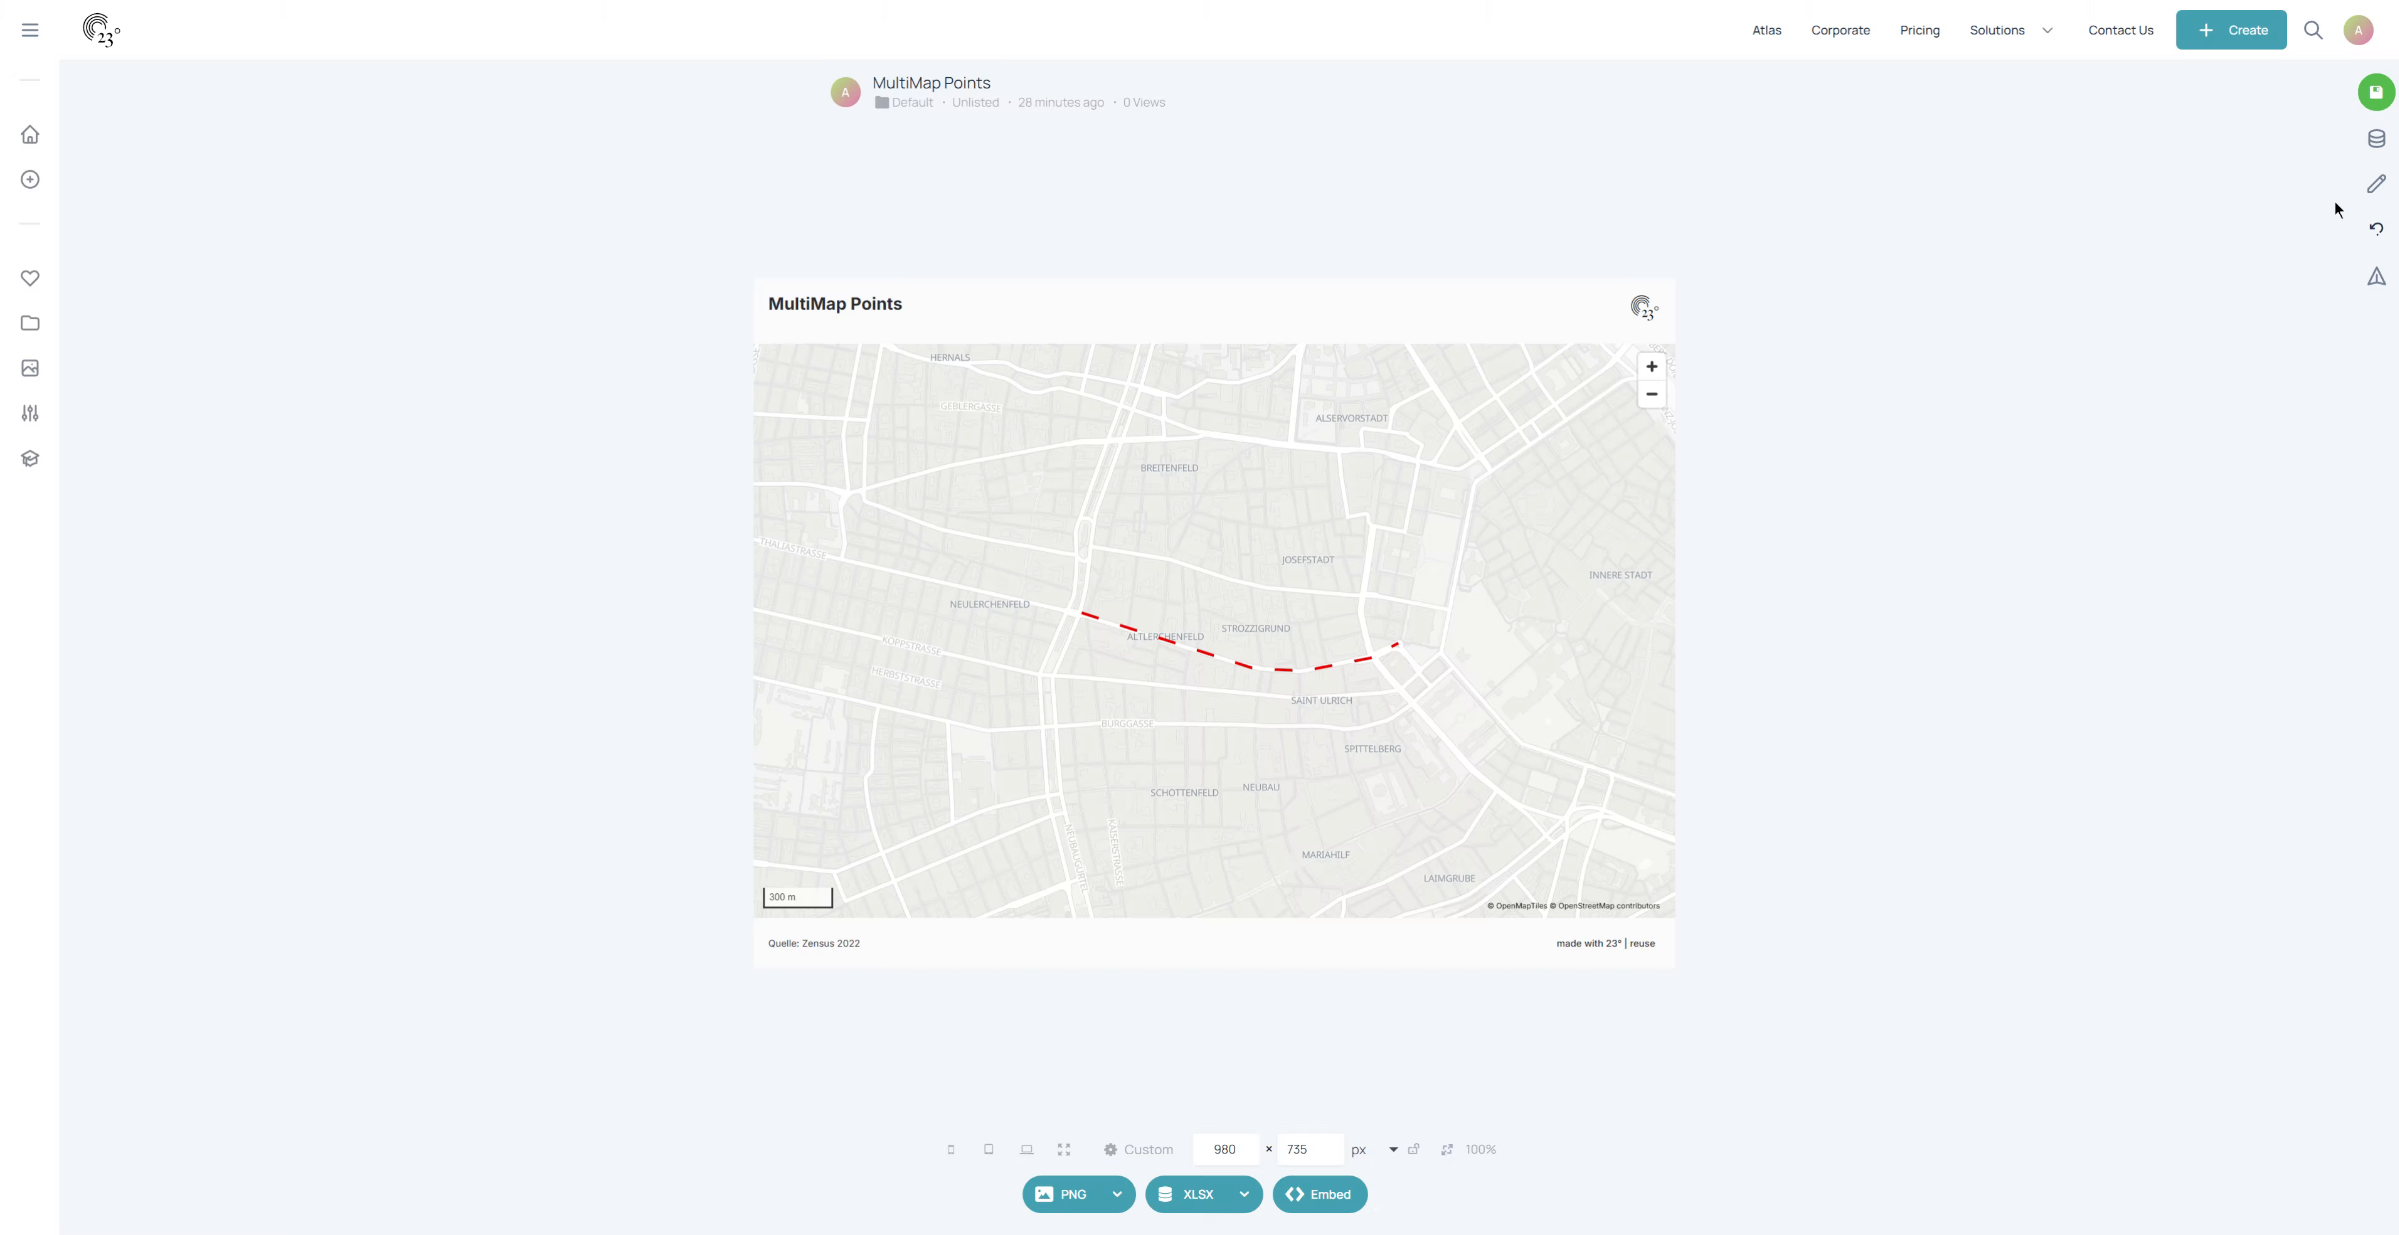
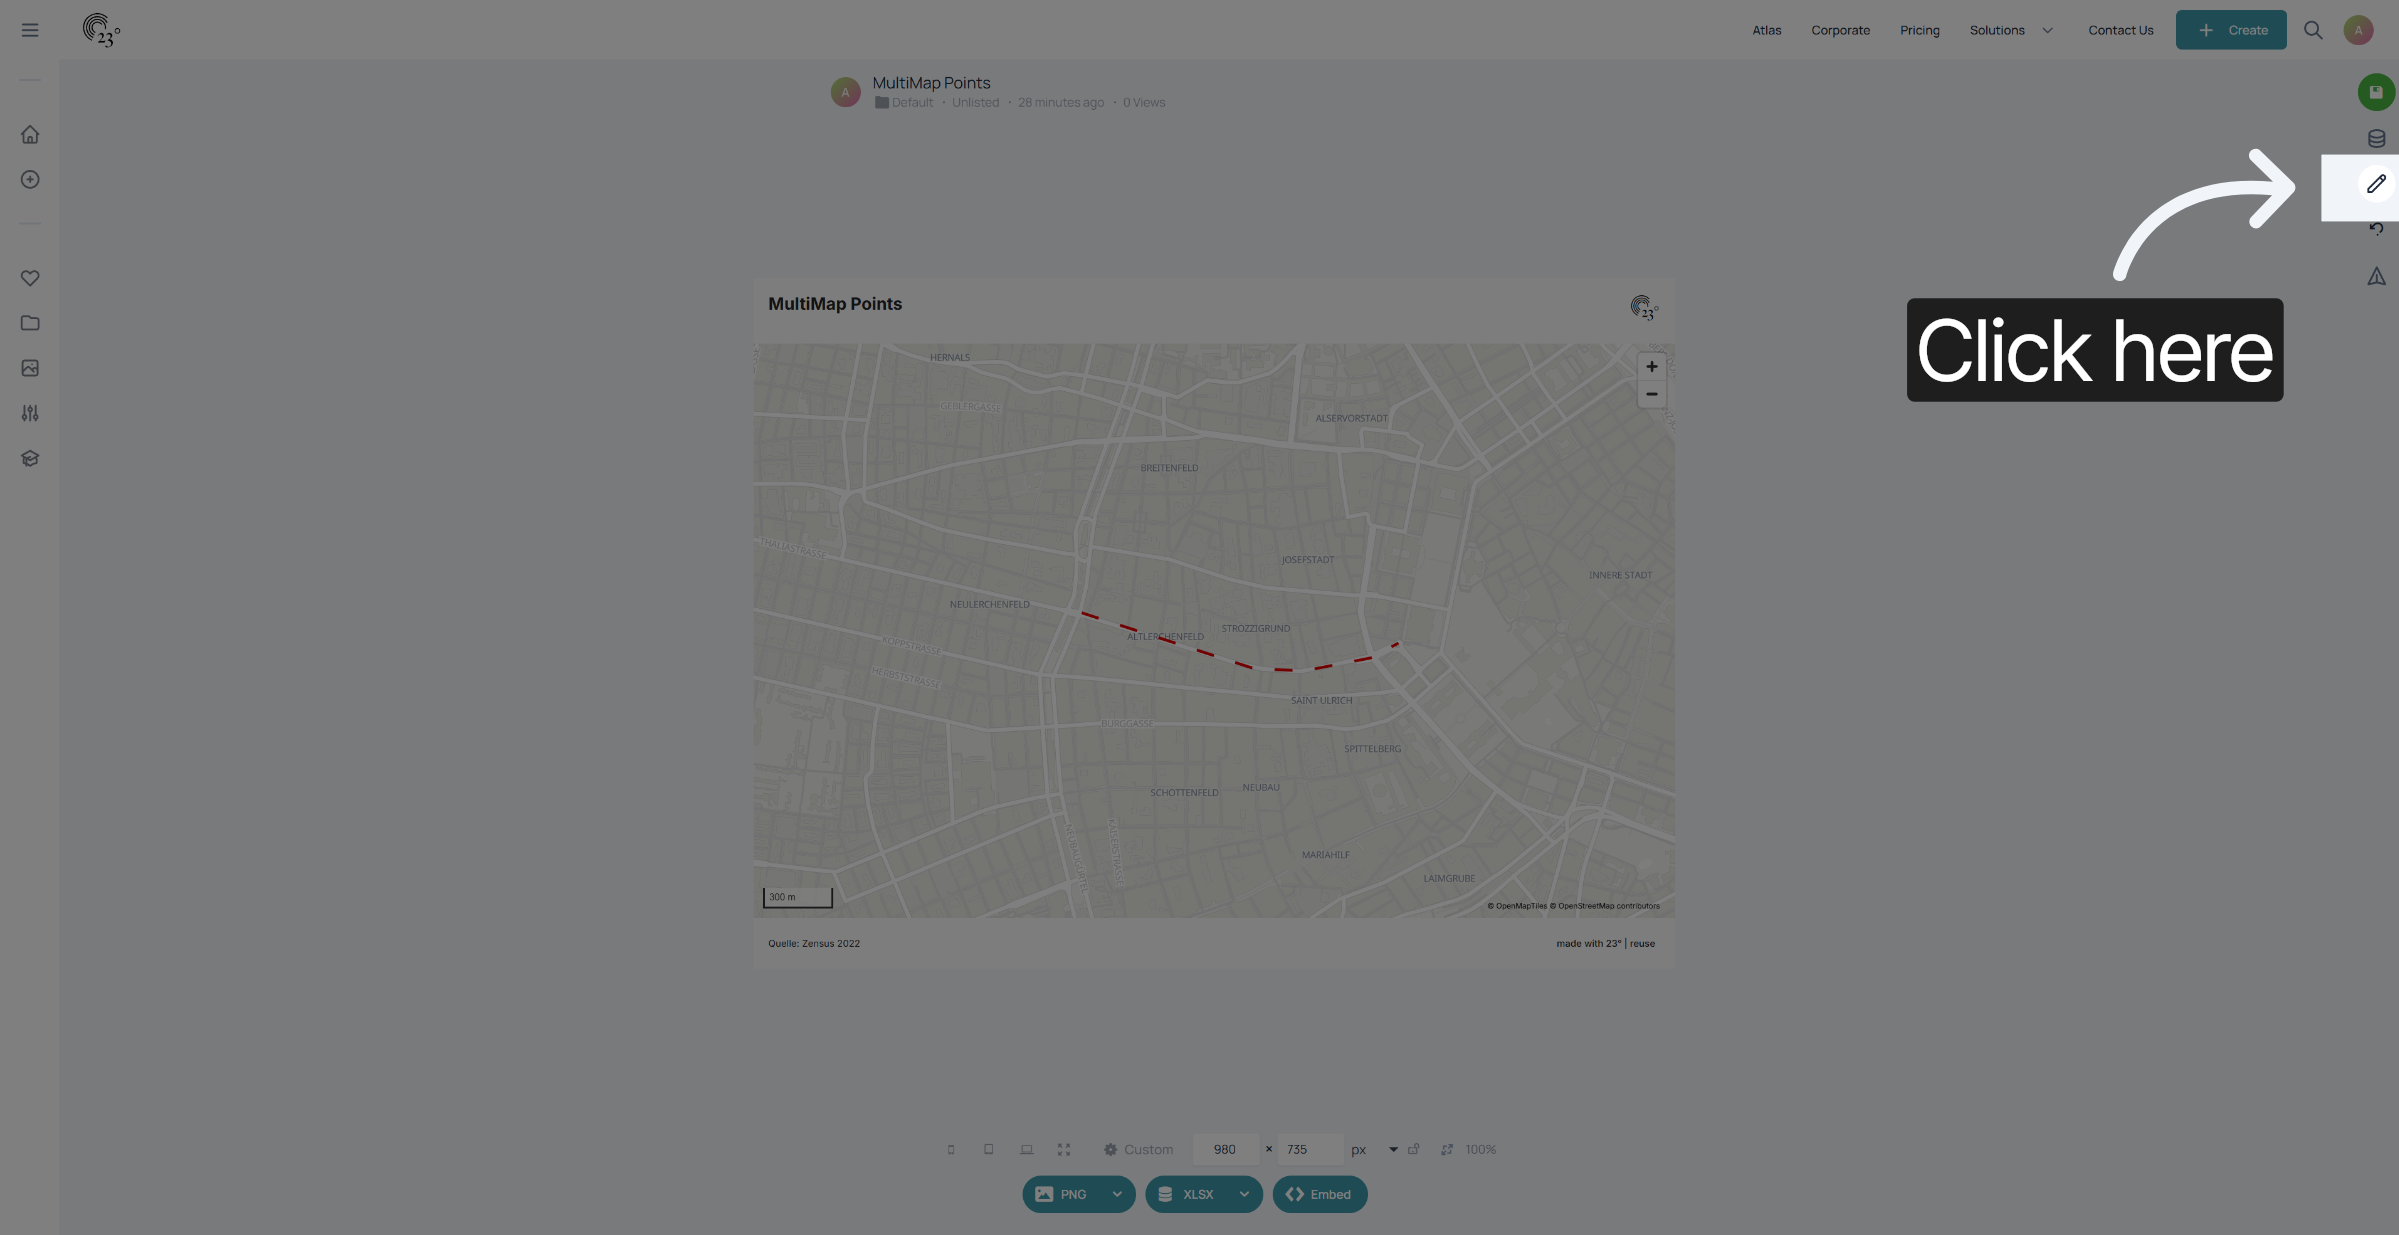
First go to the chart editor.
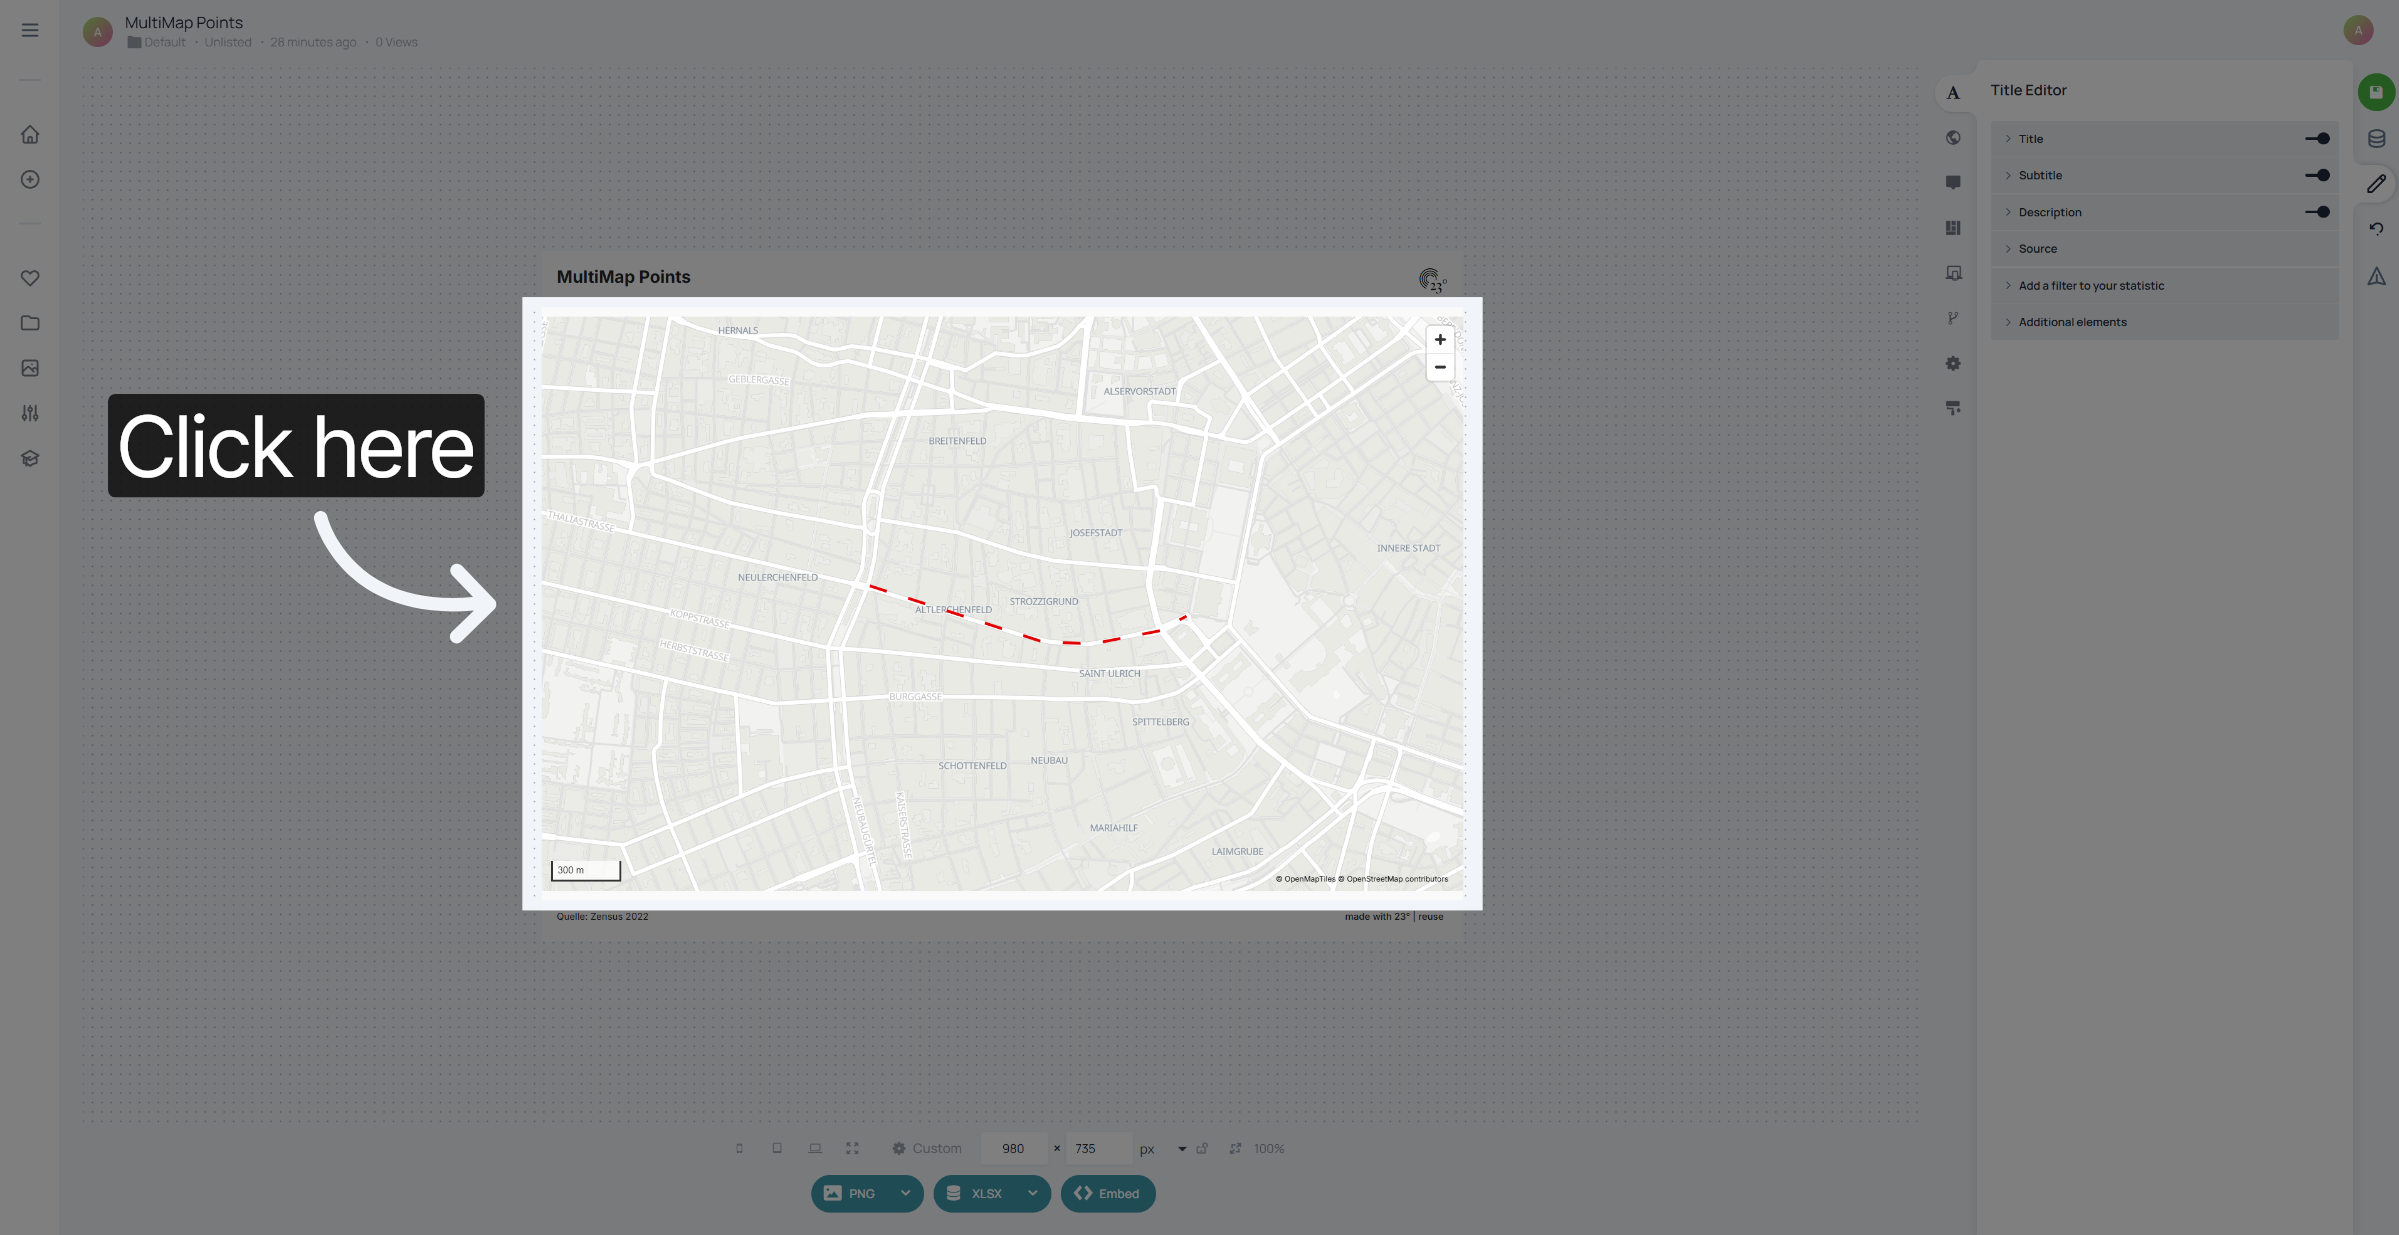
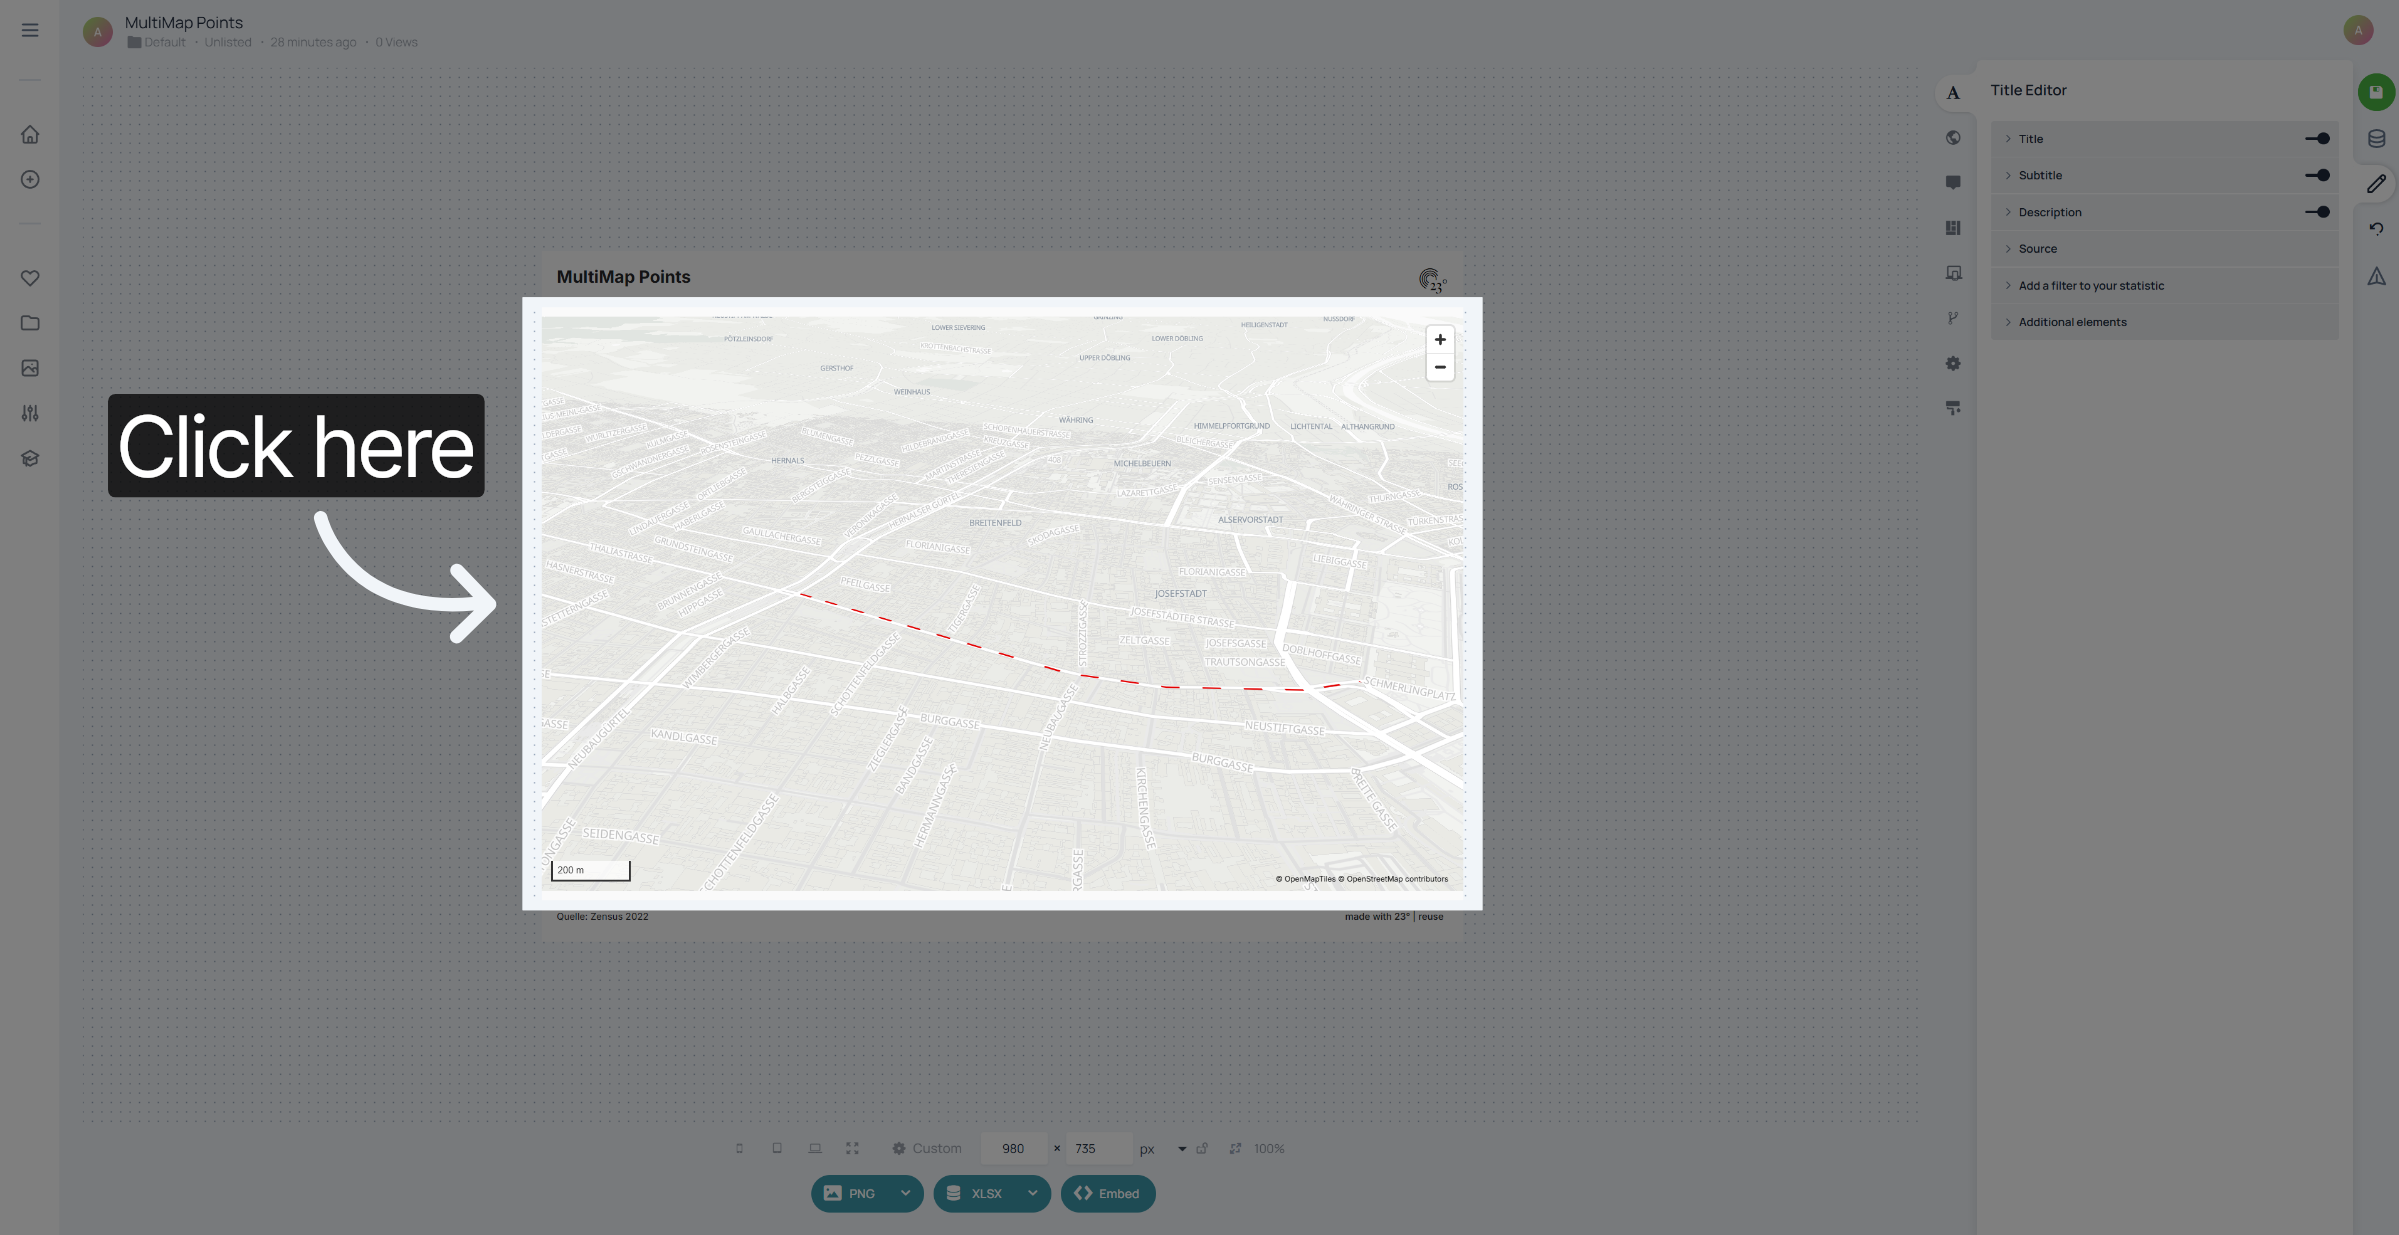
Tilt your map by holding the control button and clicking your mouse left and tilting it the way you need it.
Now that your map is titled i am going to show you how you can set this as your default viewport for the chart.
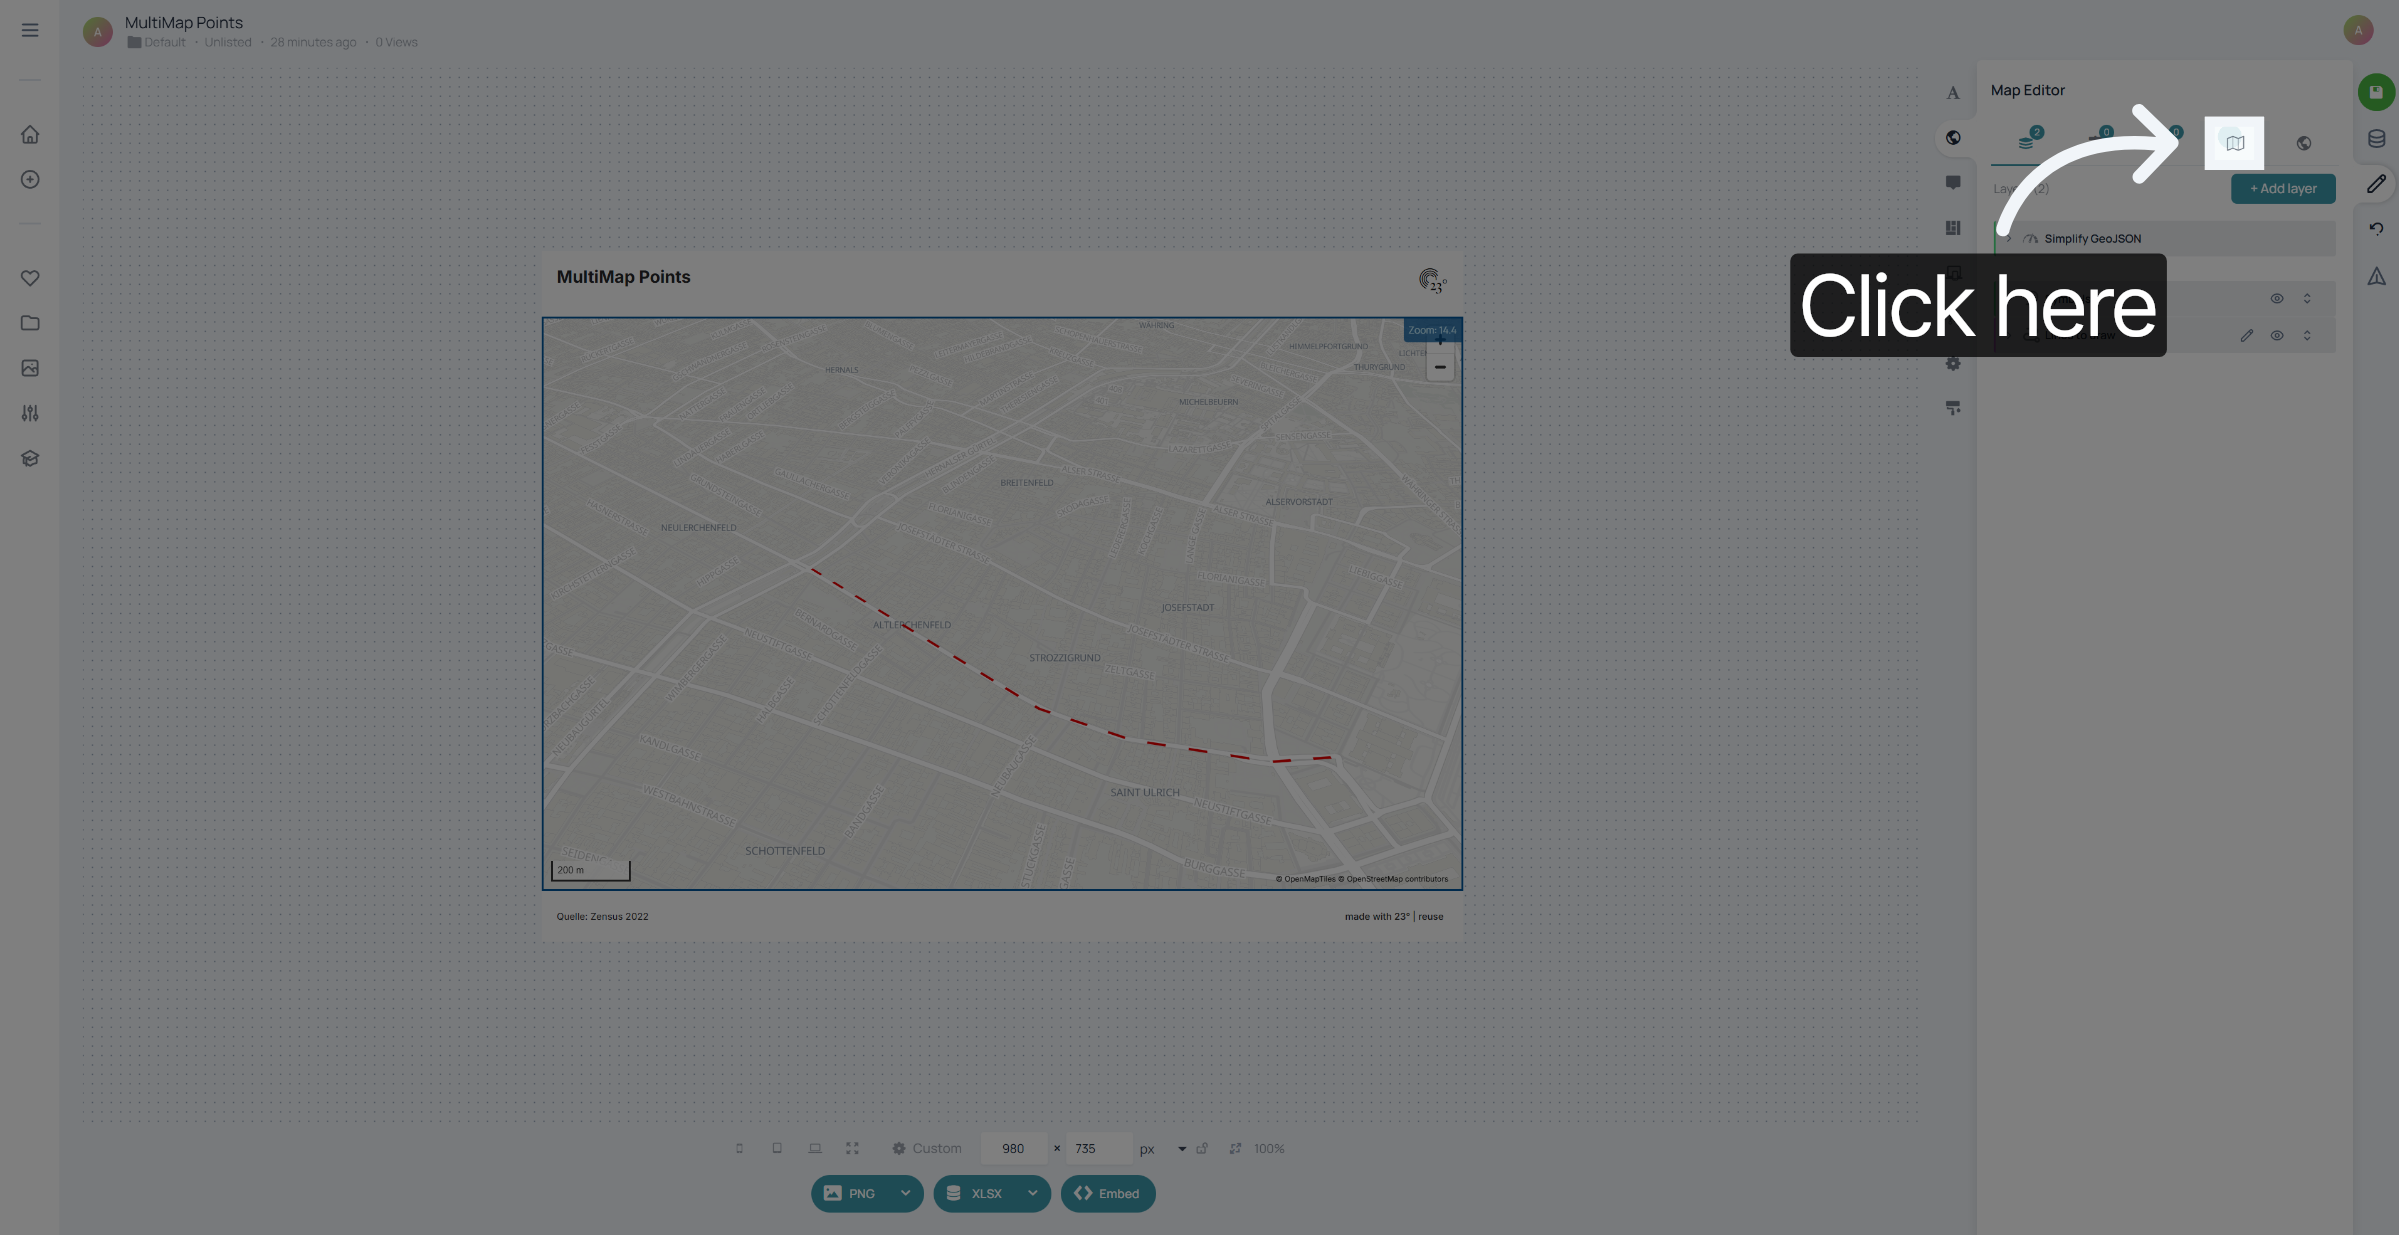
Therefore go to the map settings...
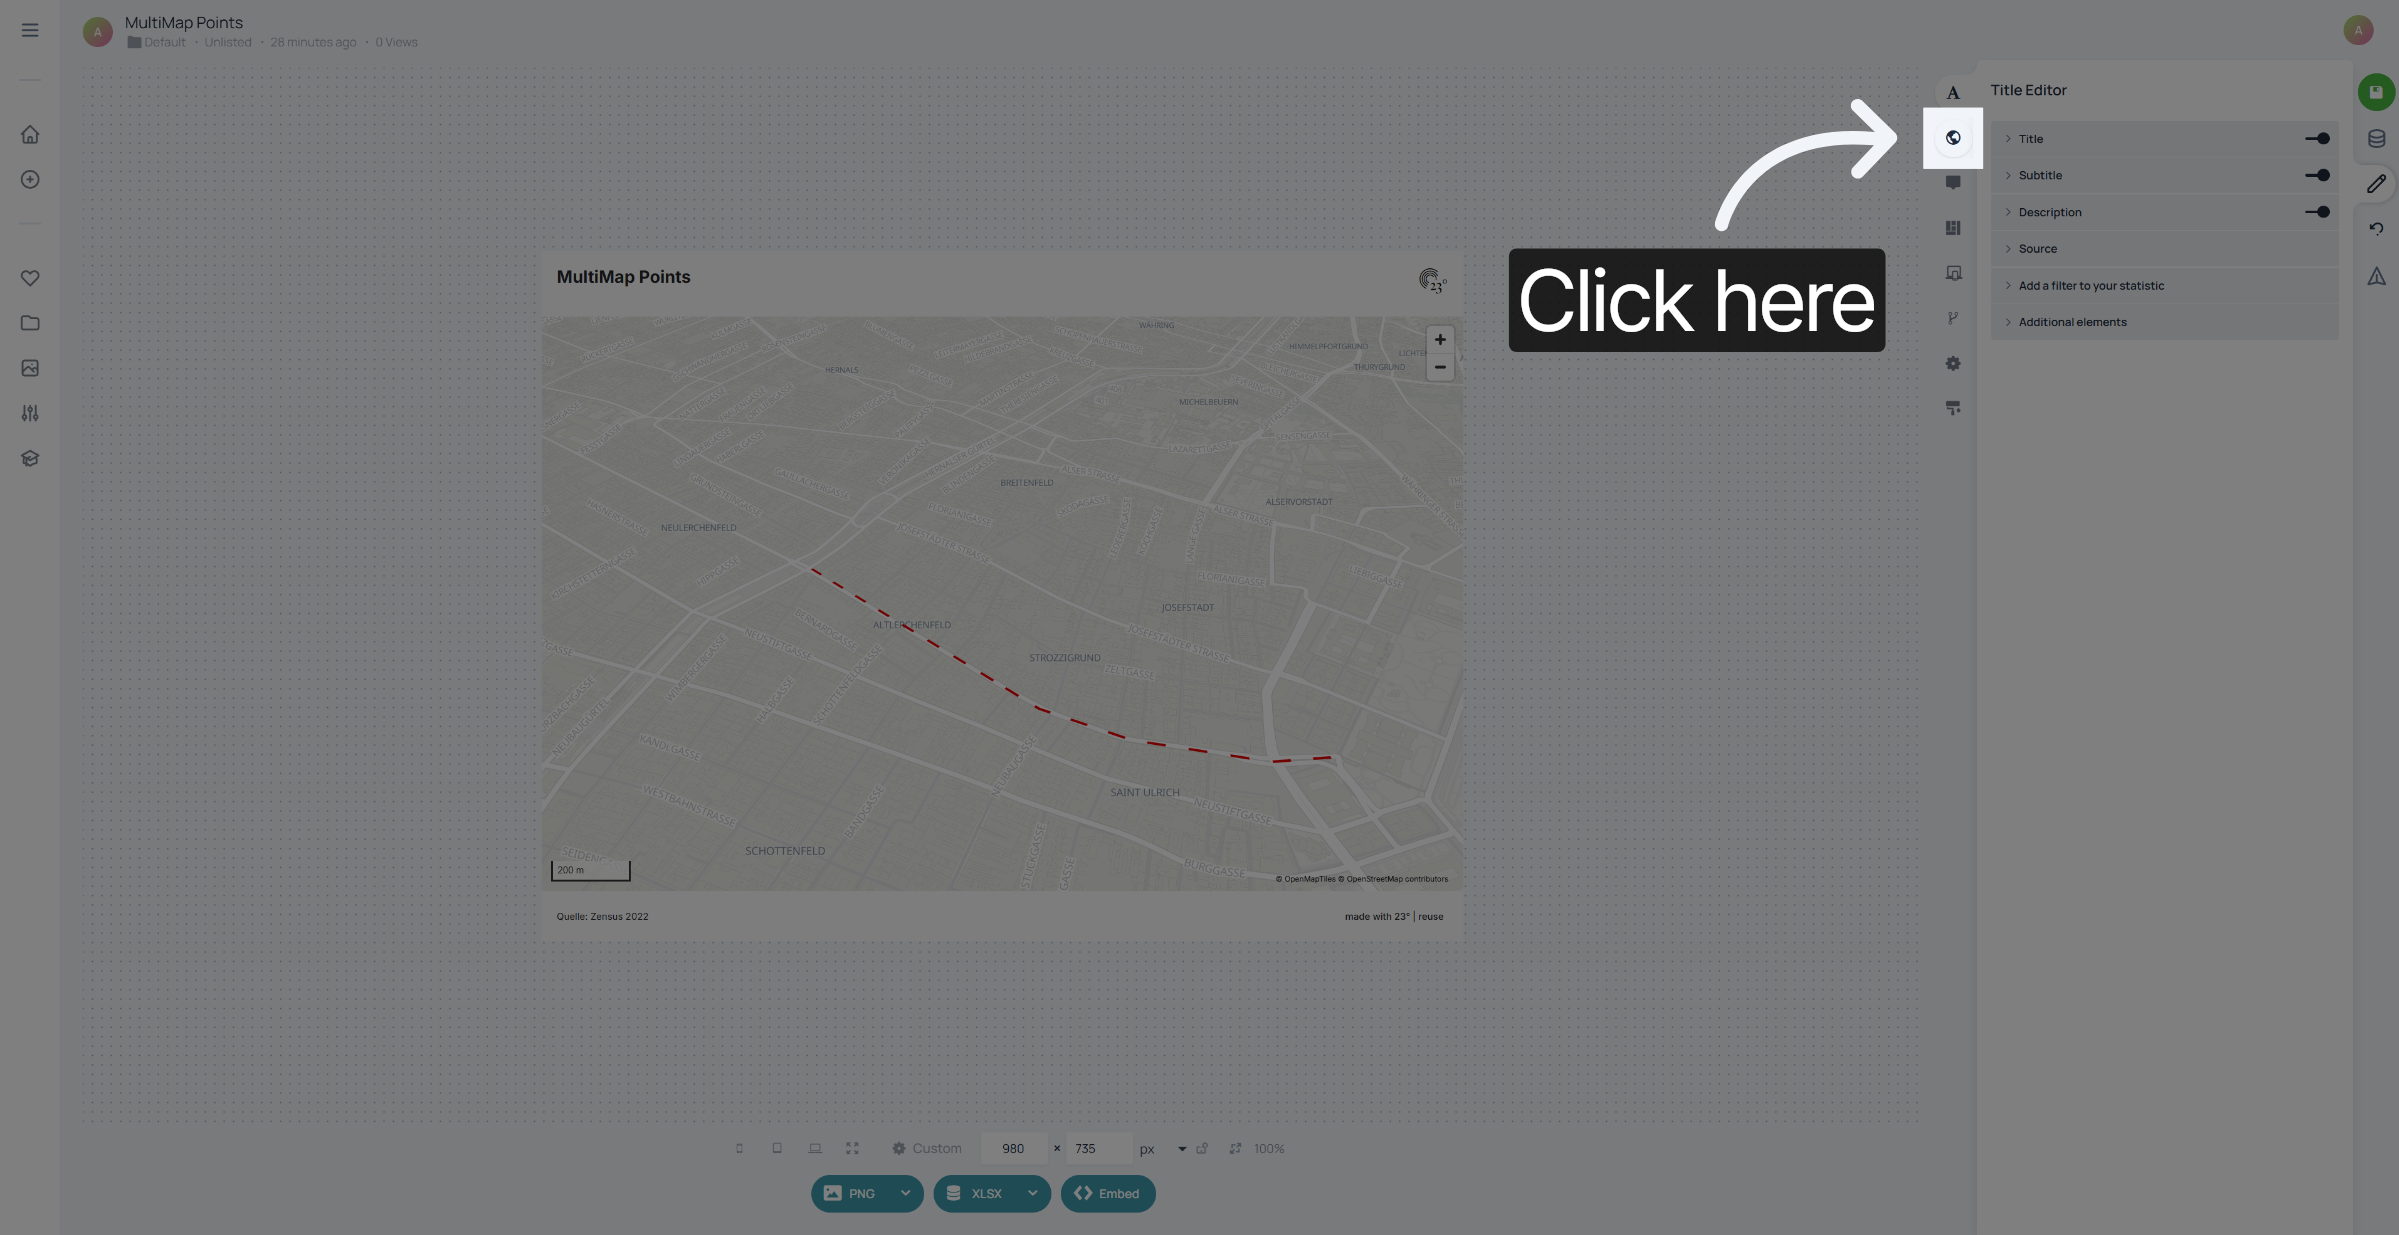
Go to the map options..
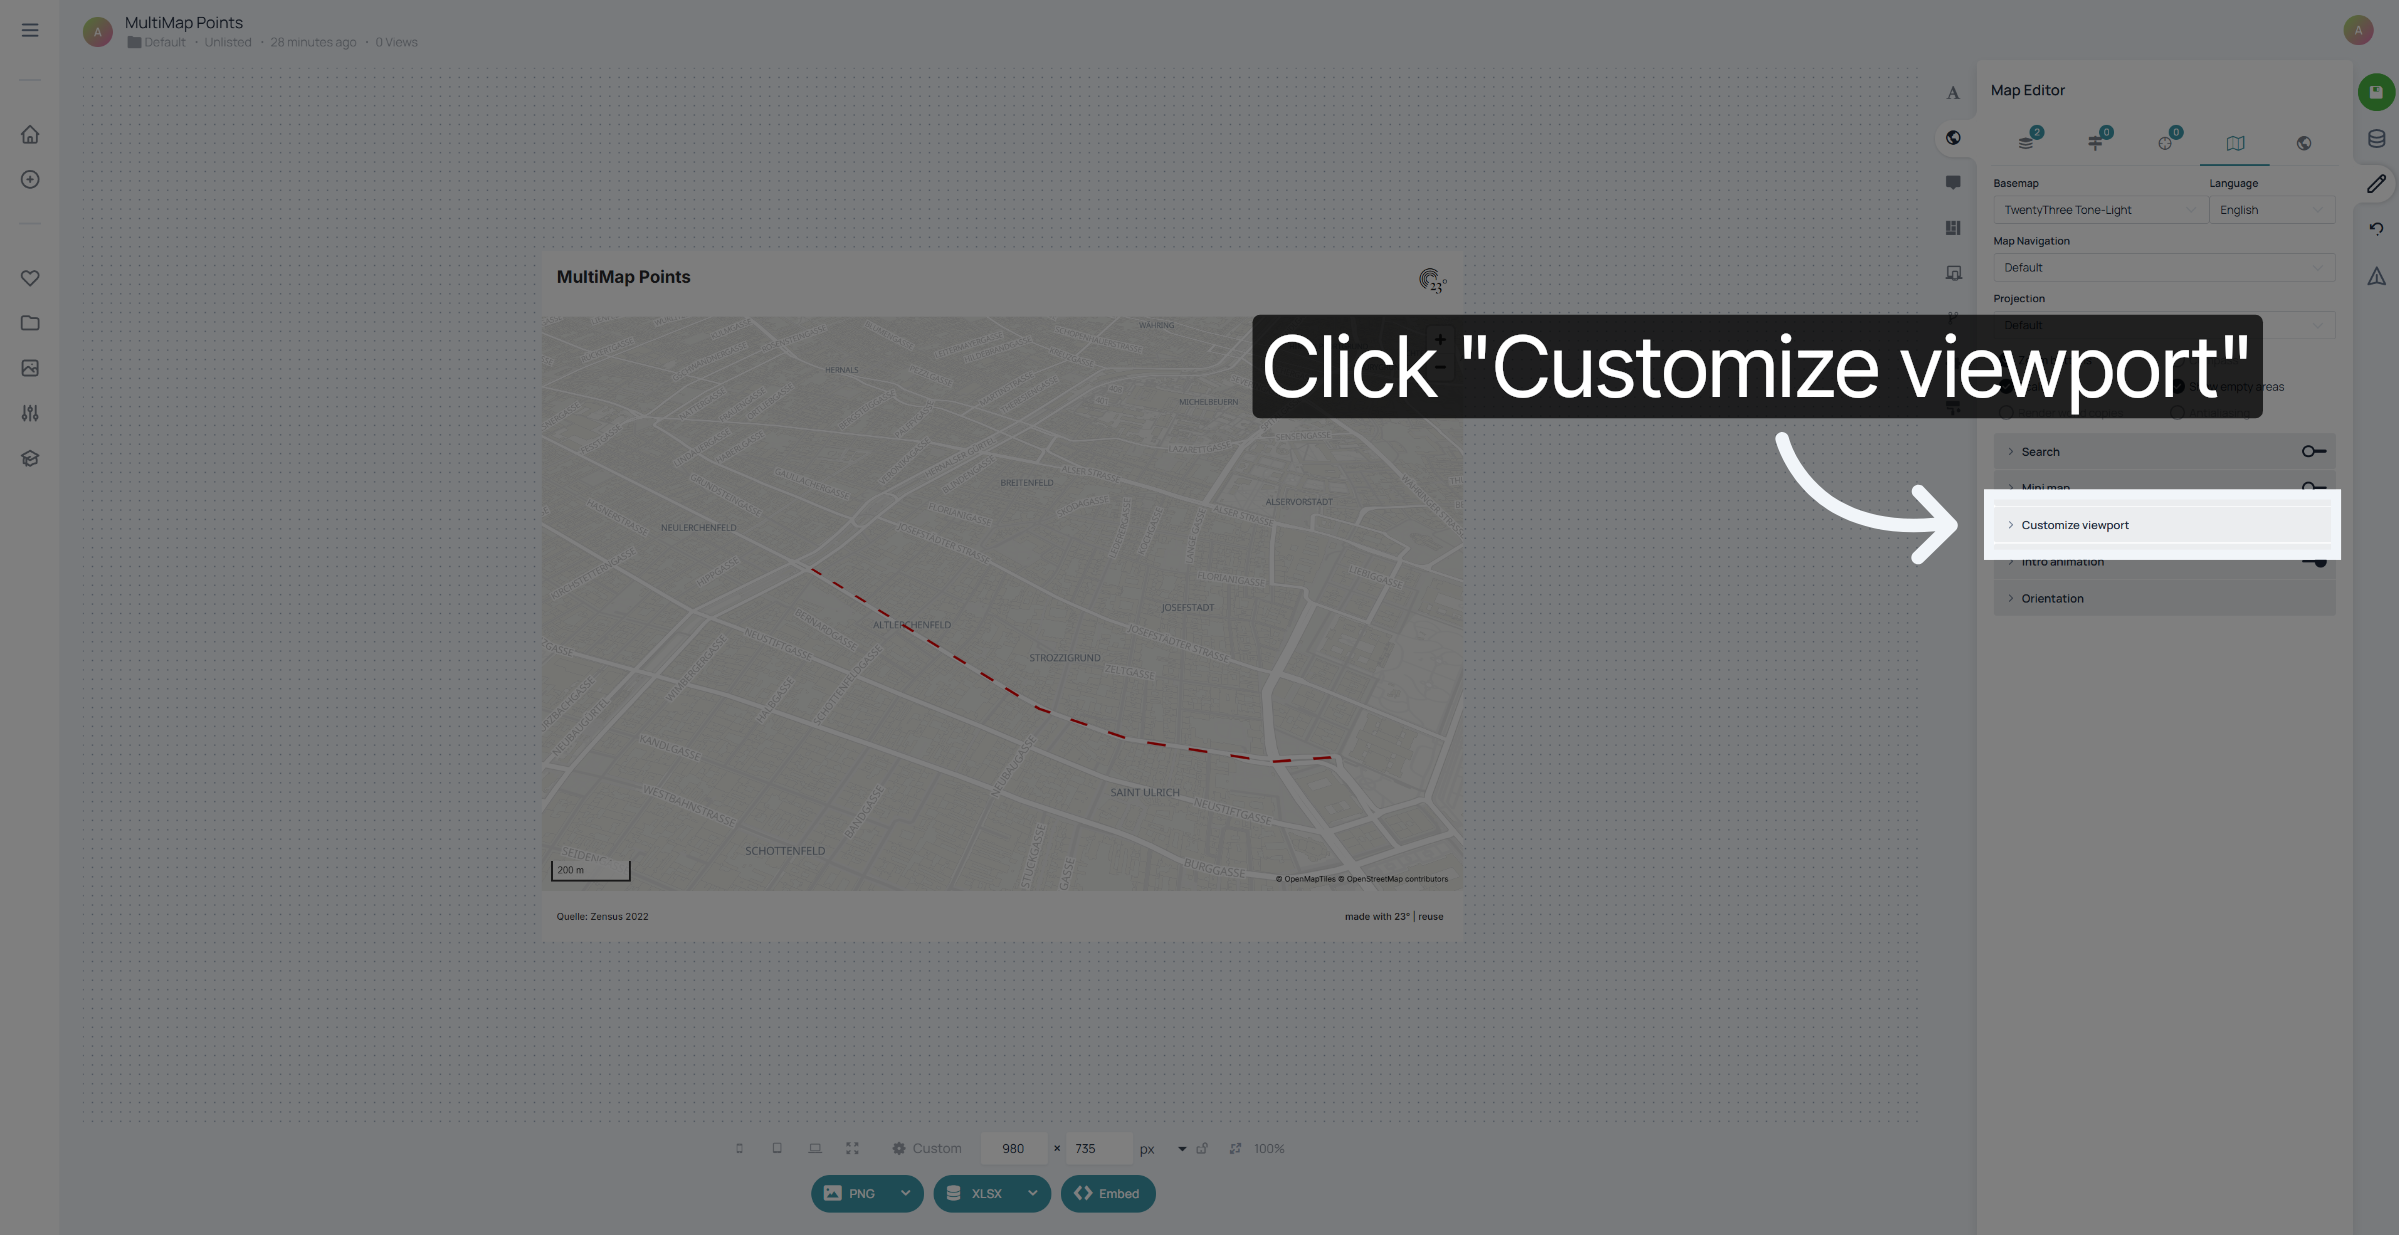
Click "Customize viewport" to open detailed map view settings.
Click "Manual zoom" to activate manual control over the map zoom level.
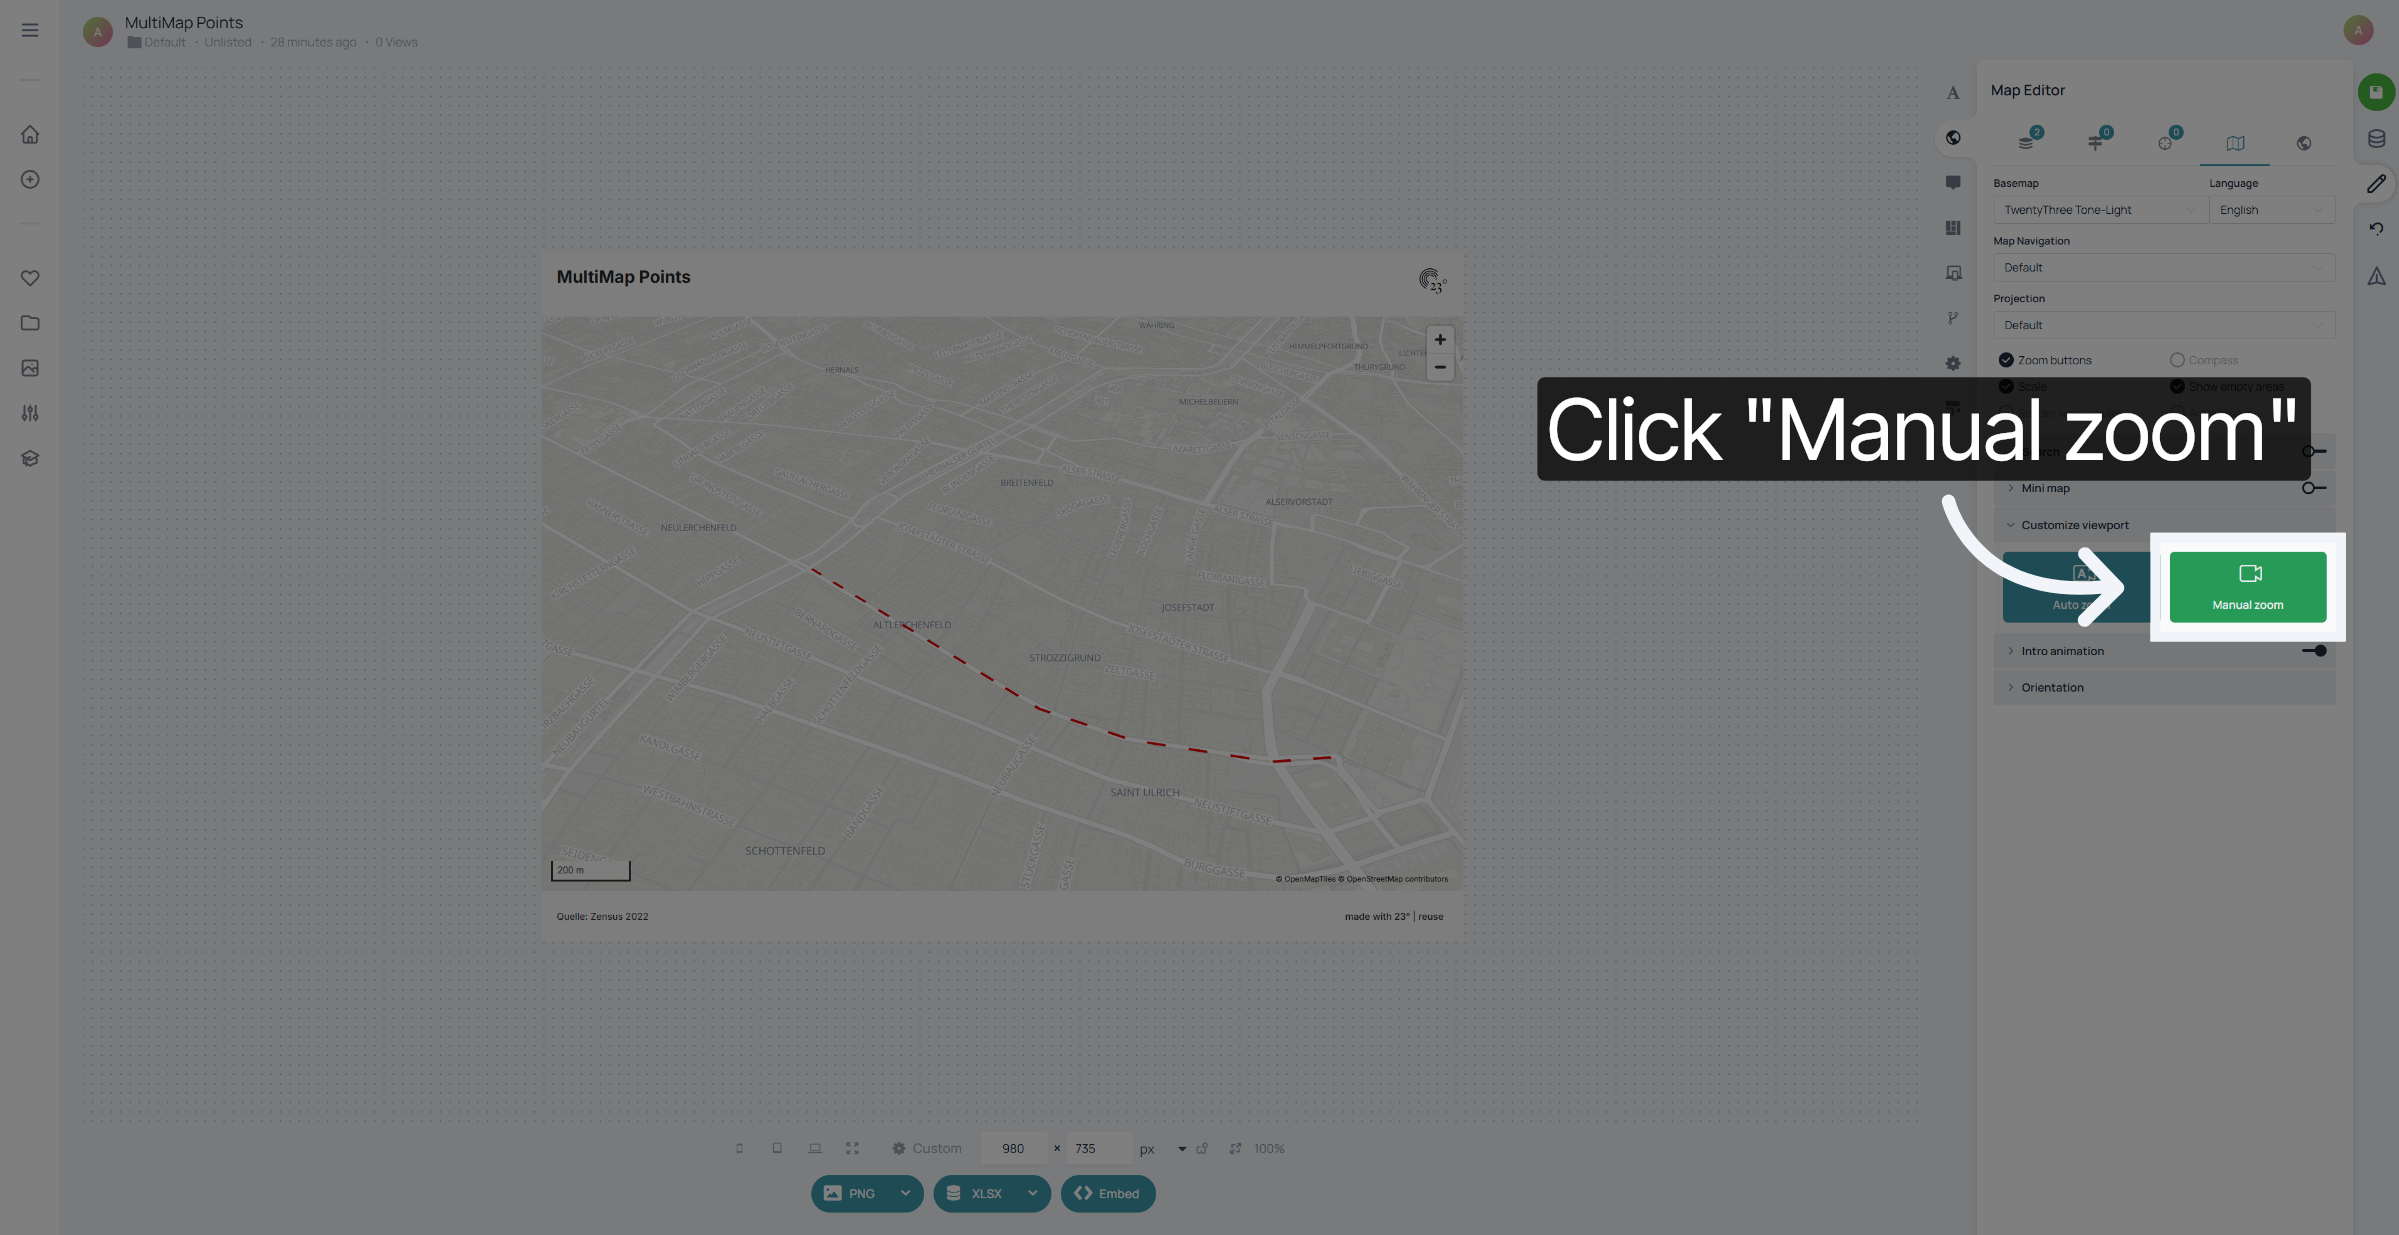
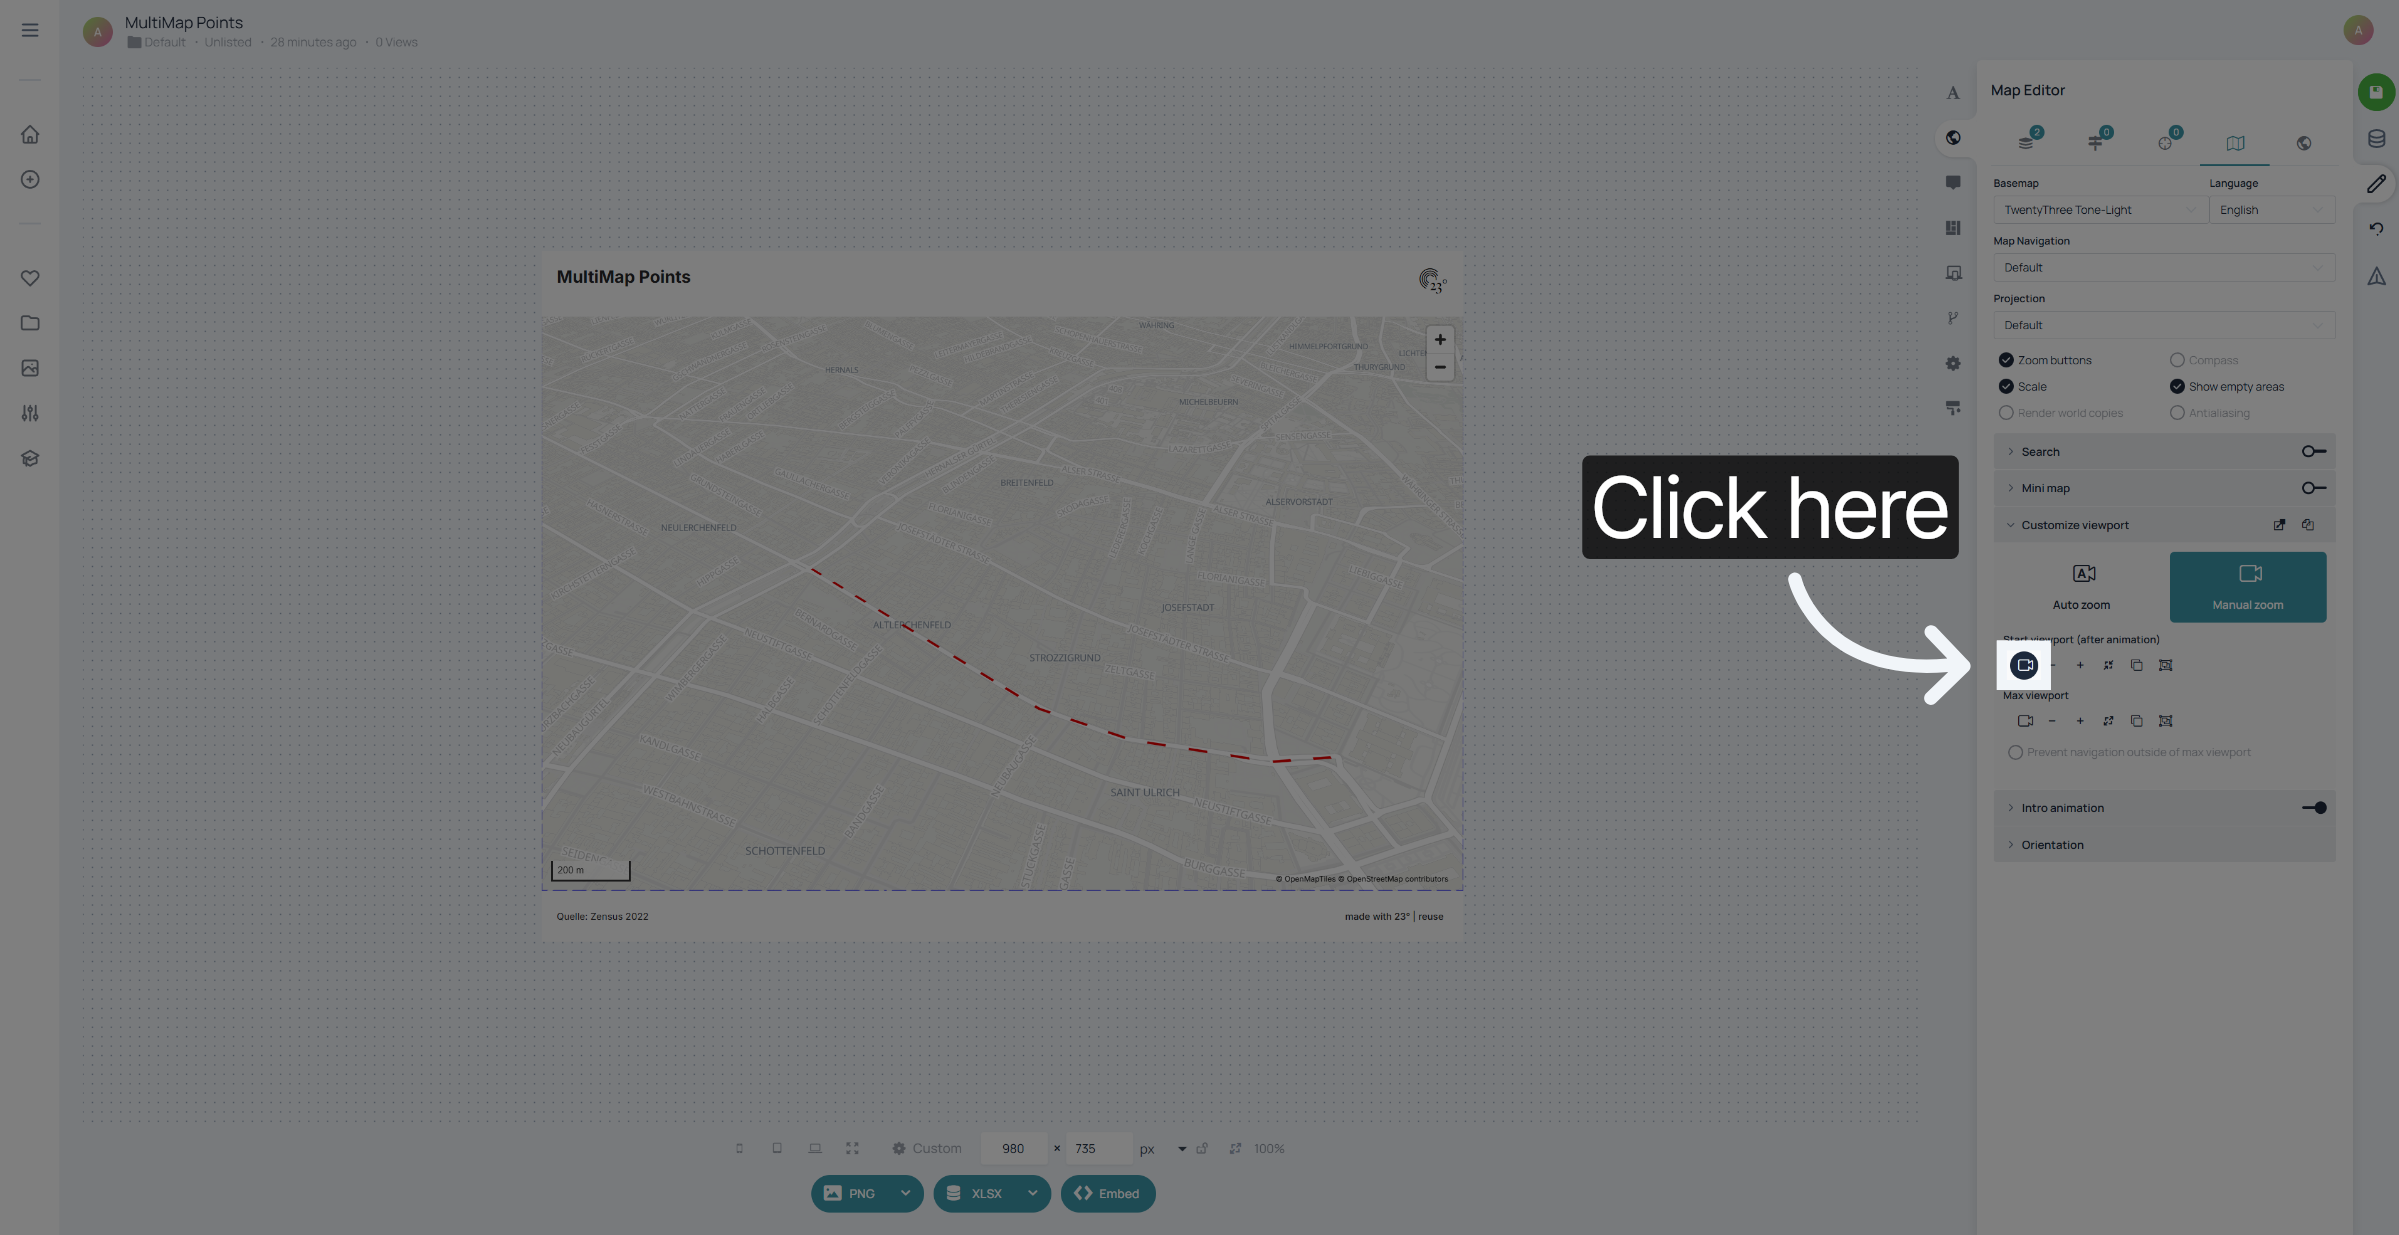
Define your viewport as the start viewport
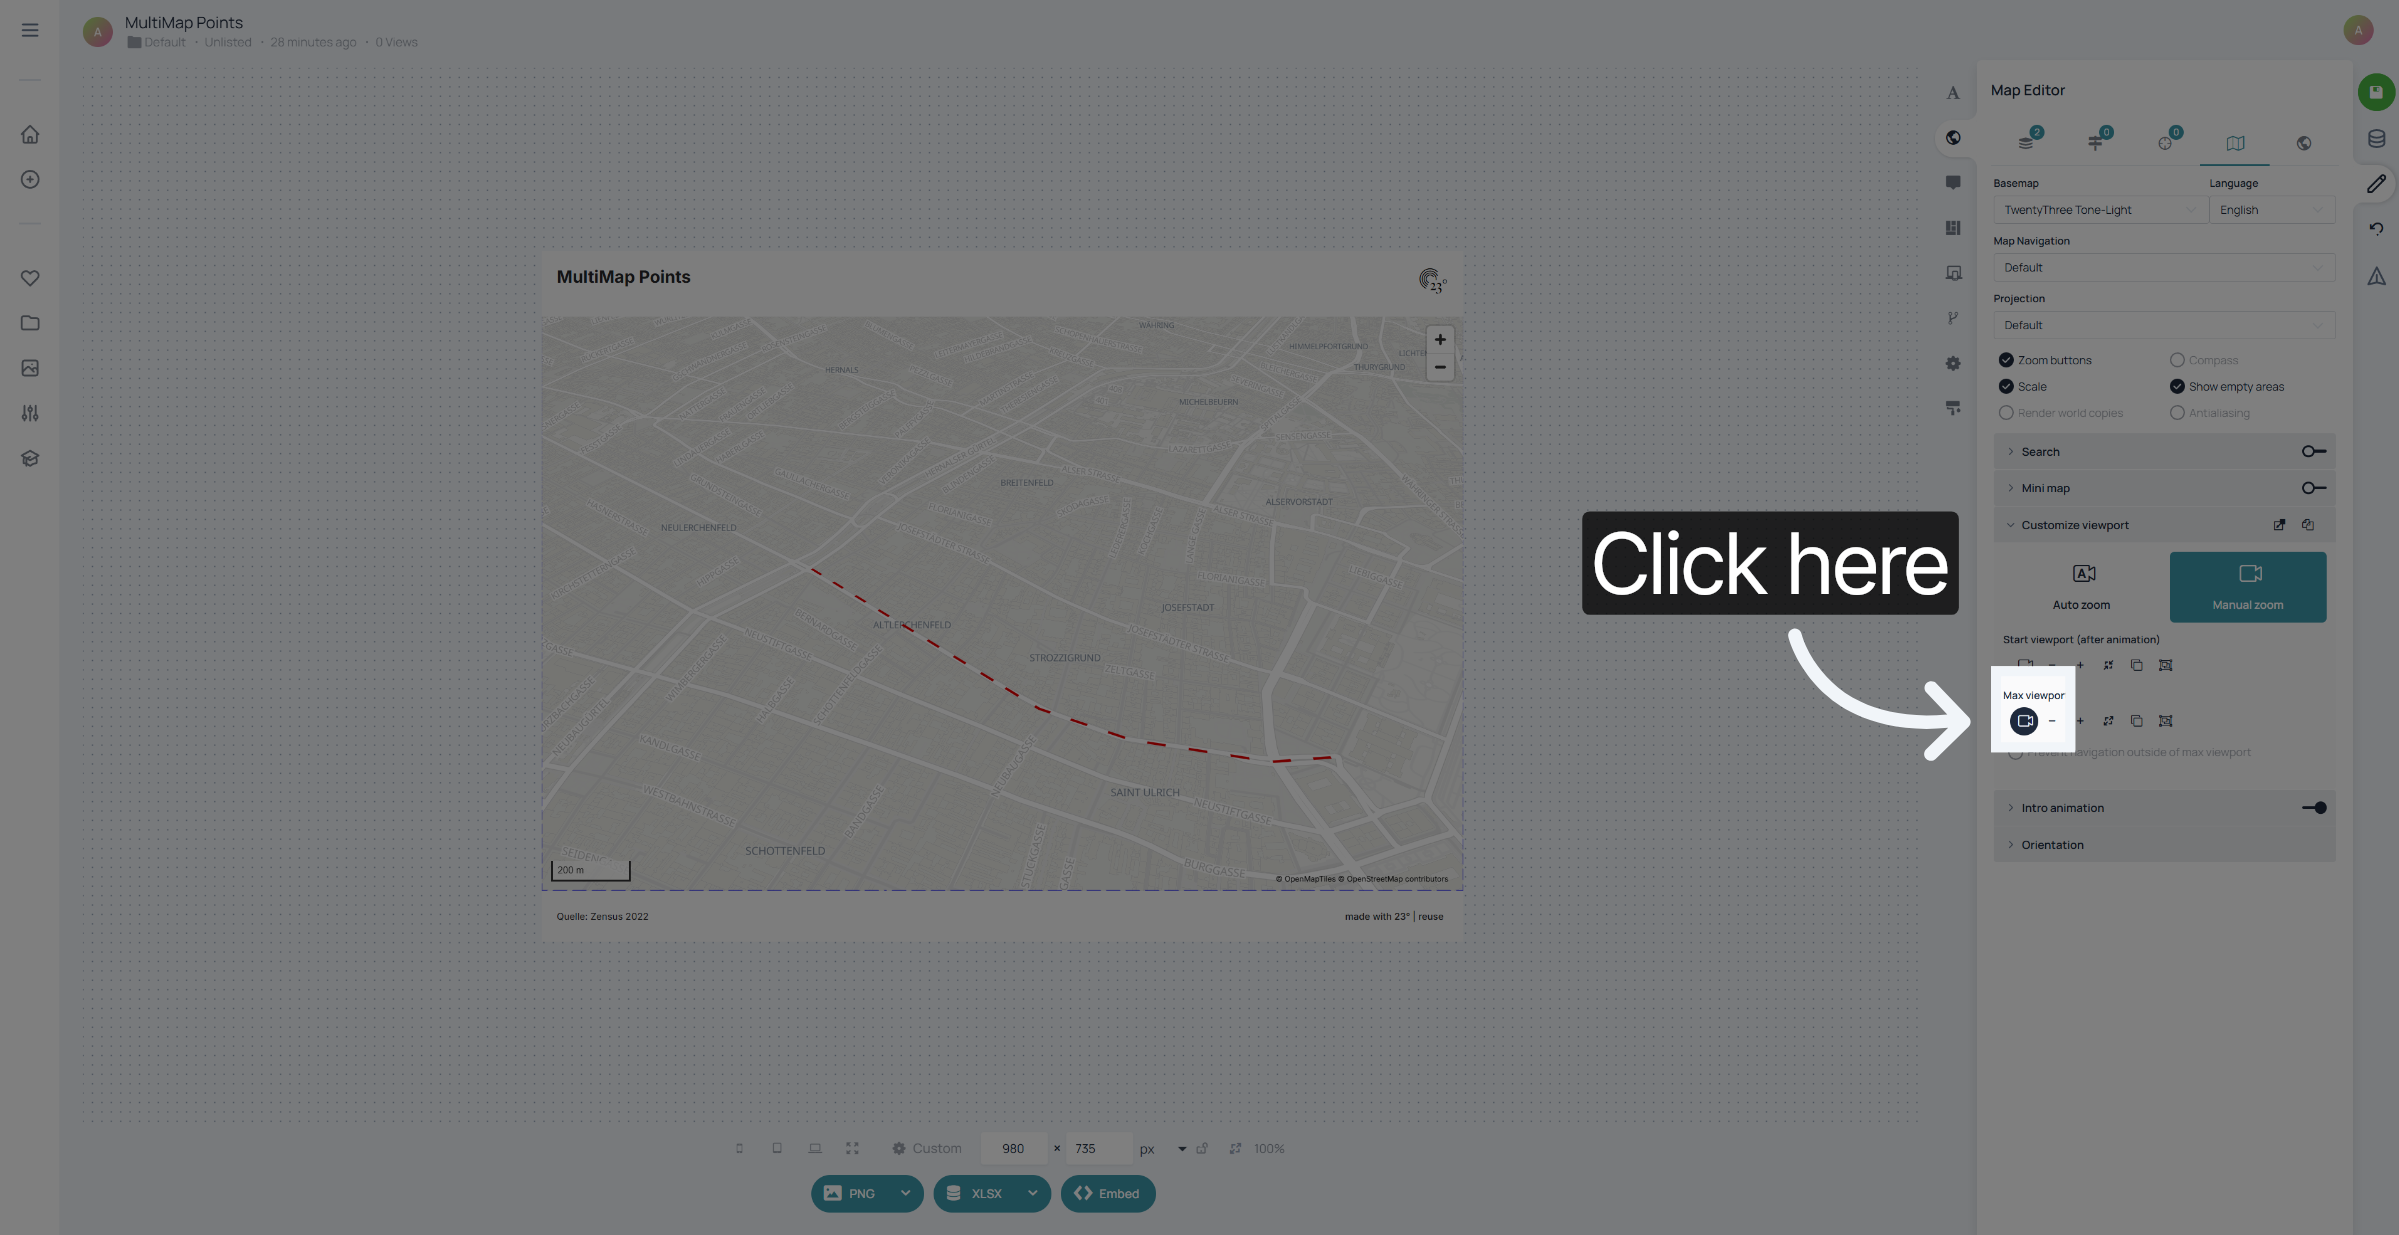
Do the same for the max viewport.
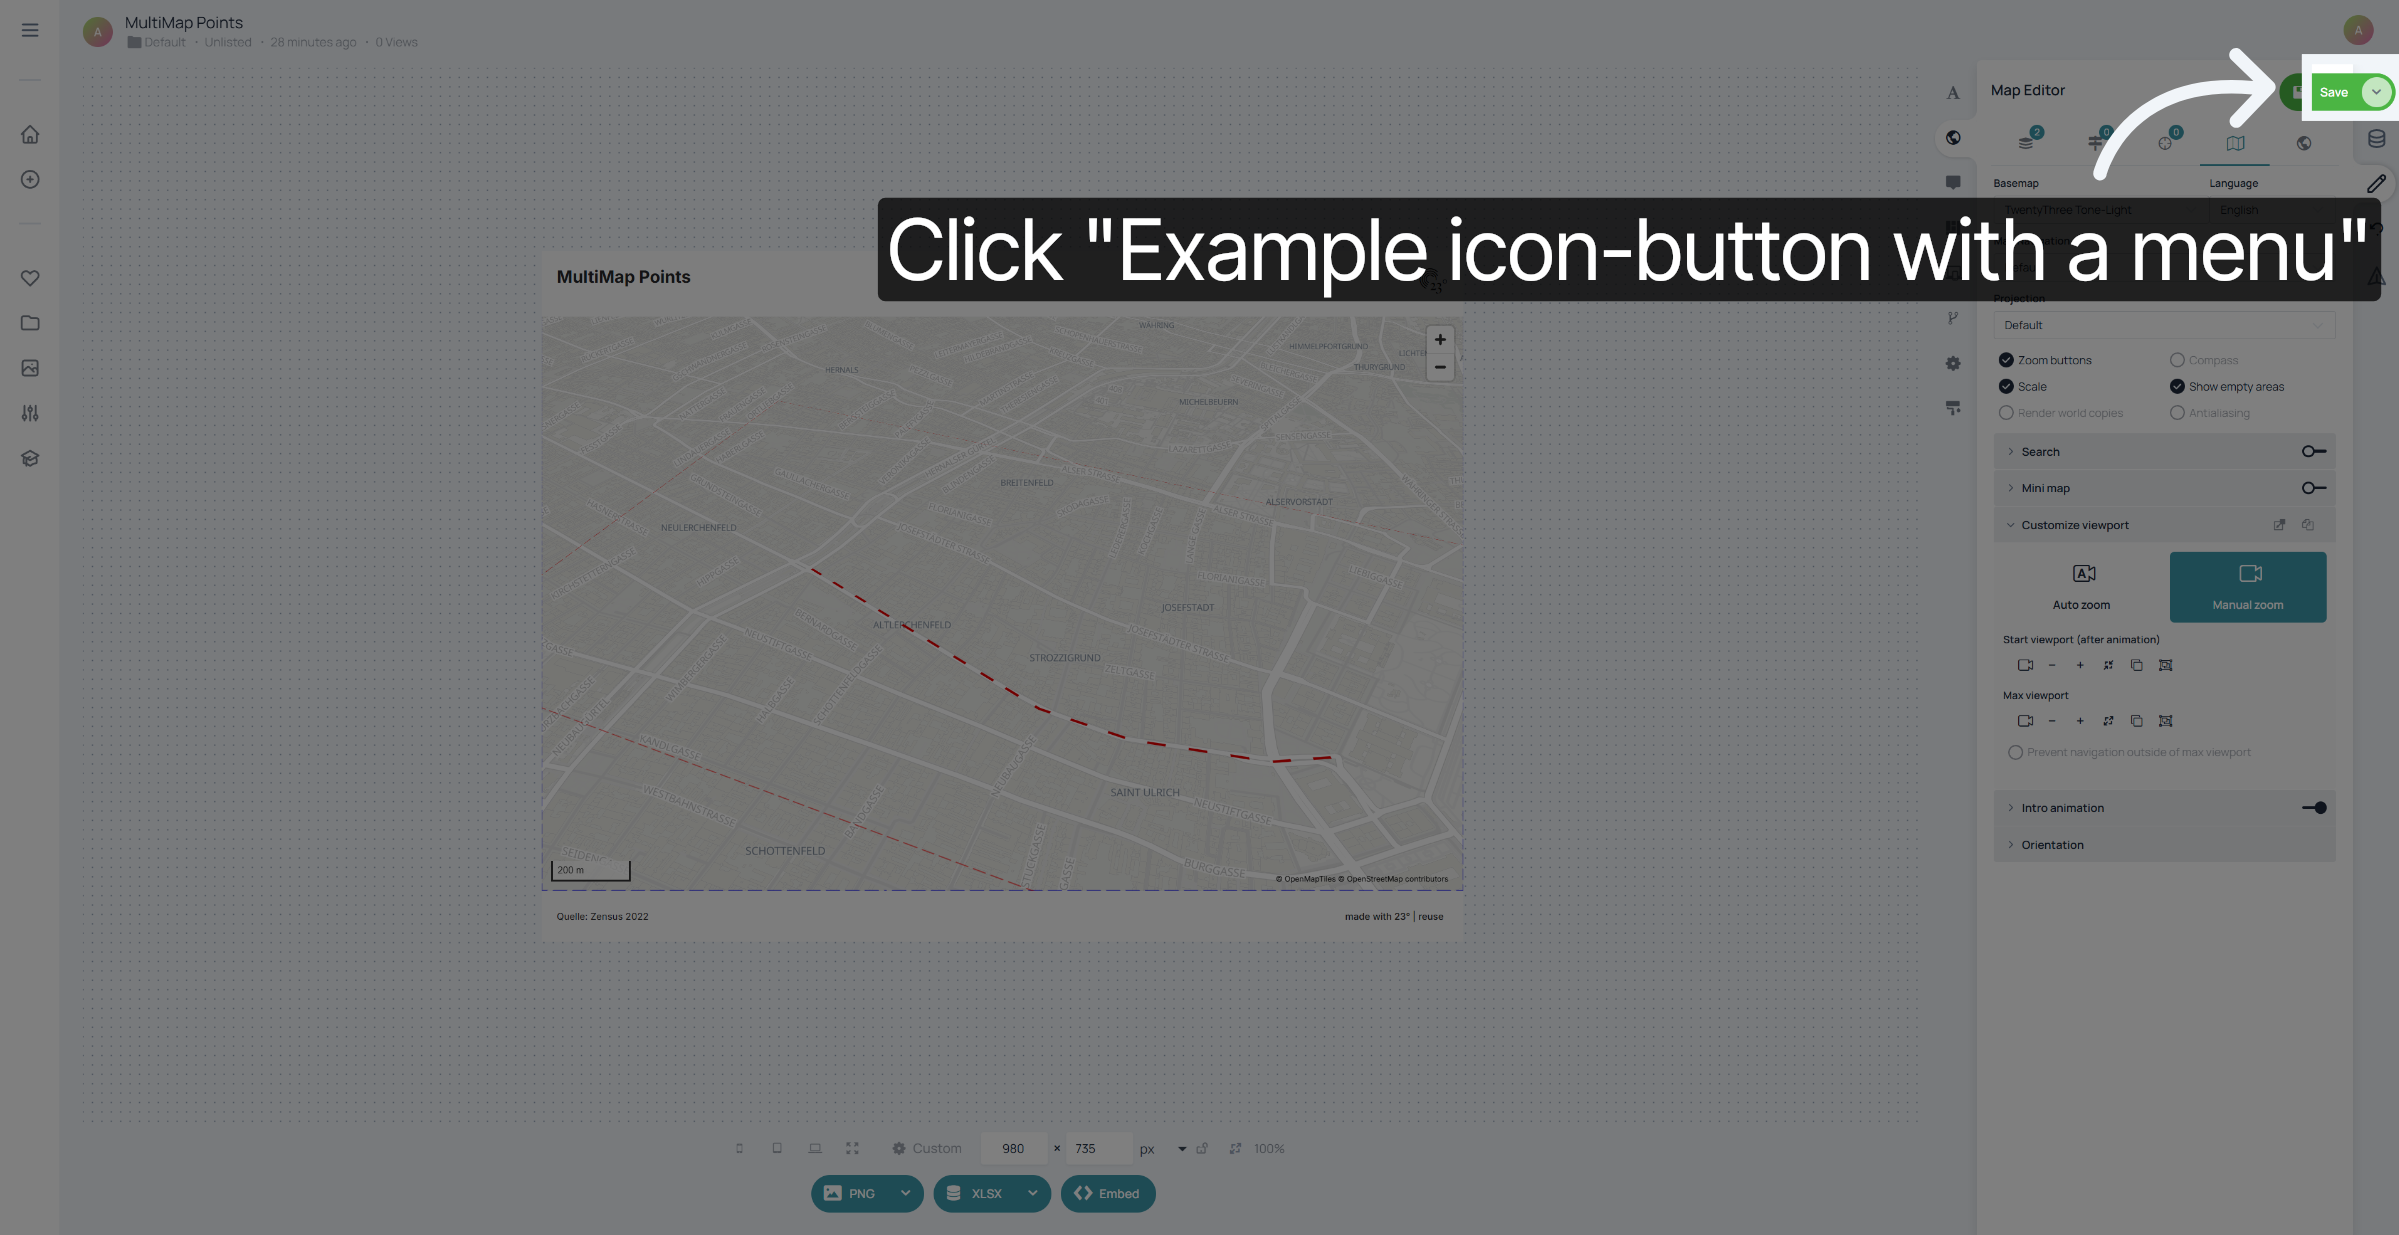
And that's it. Now when you save your chart. You will also initially the tilted viewport that you set
You have successfully created and customized a tilted map view in 23degrees by adjusting viewport settings and saving your configuration. Explore further customization options to enhance your map experience.