How to customize the viewport in maps
In this tutorial you will learn how to create a marker based on an address.
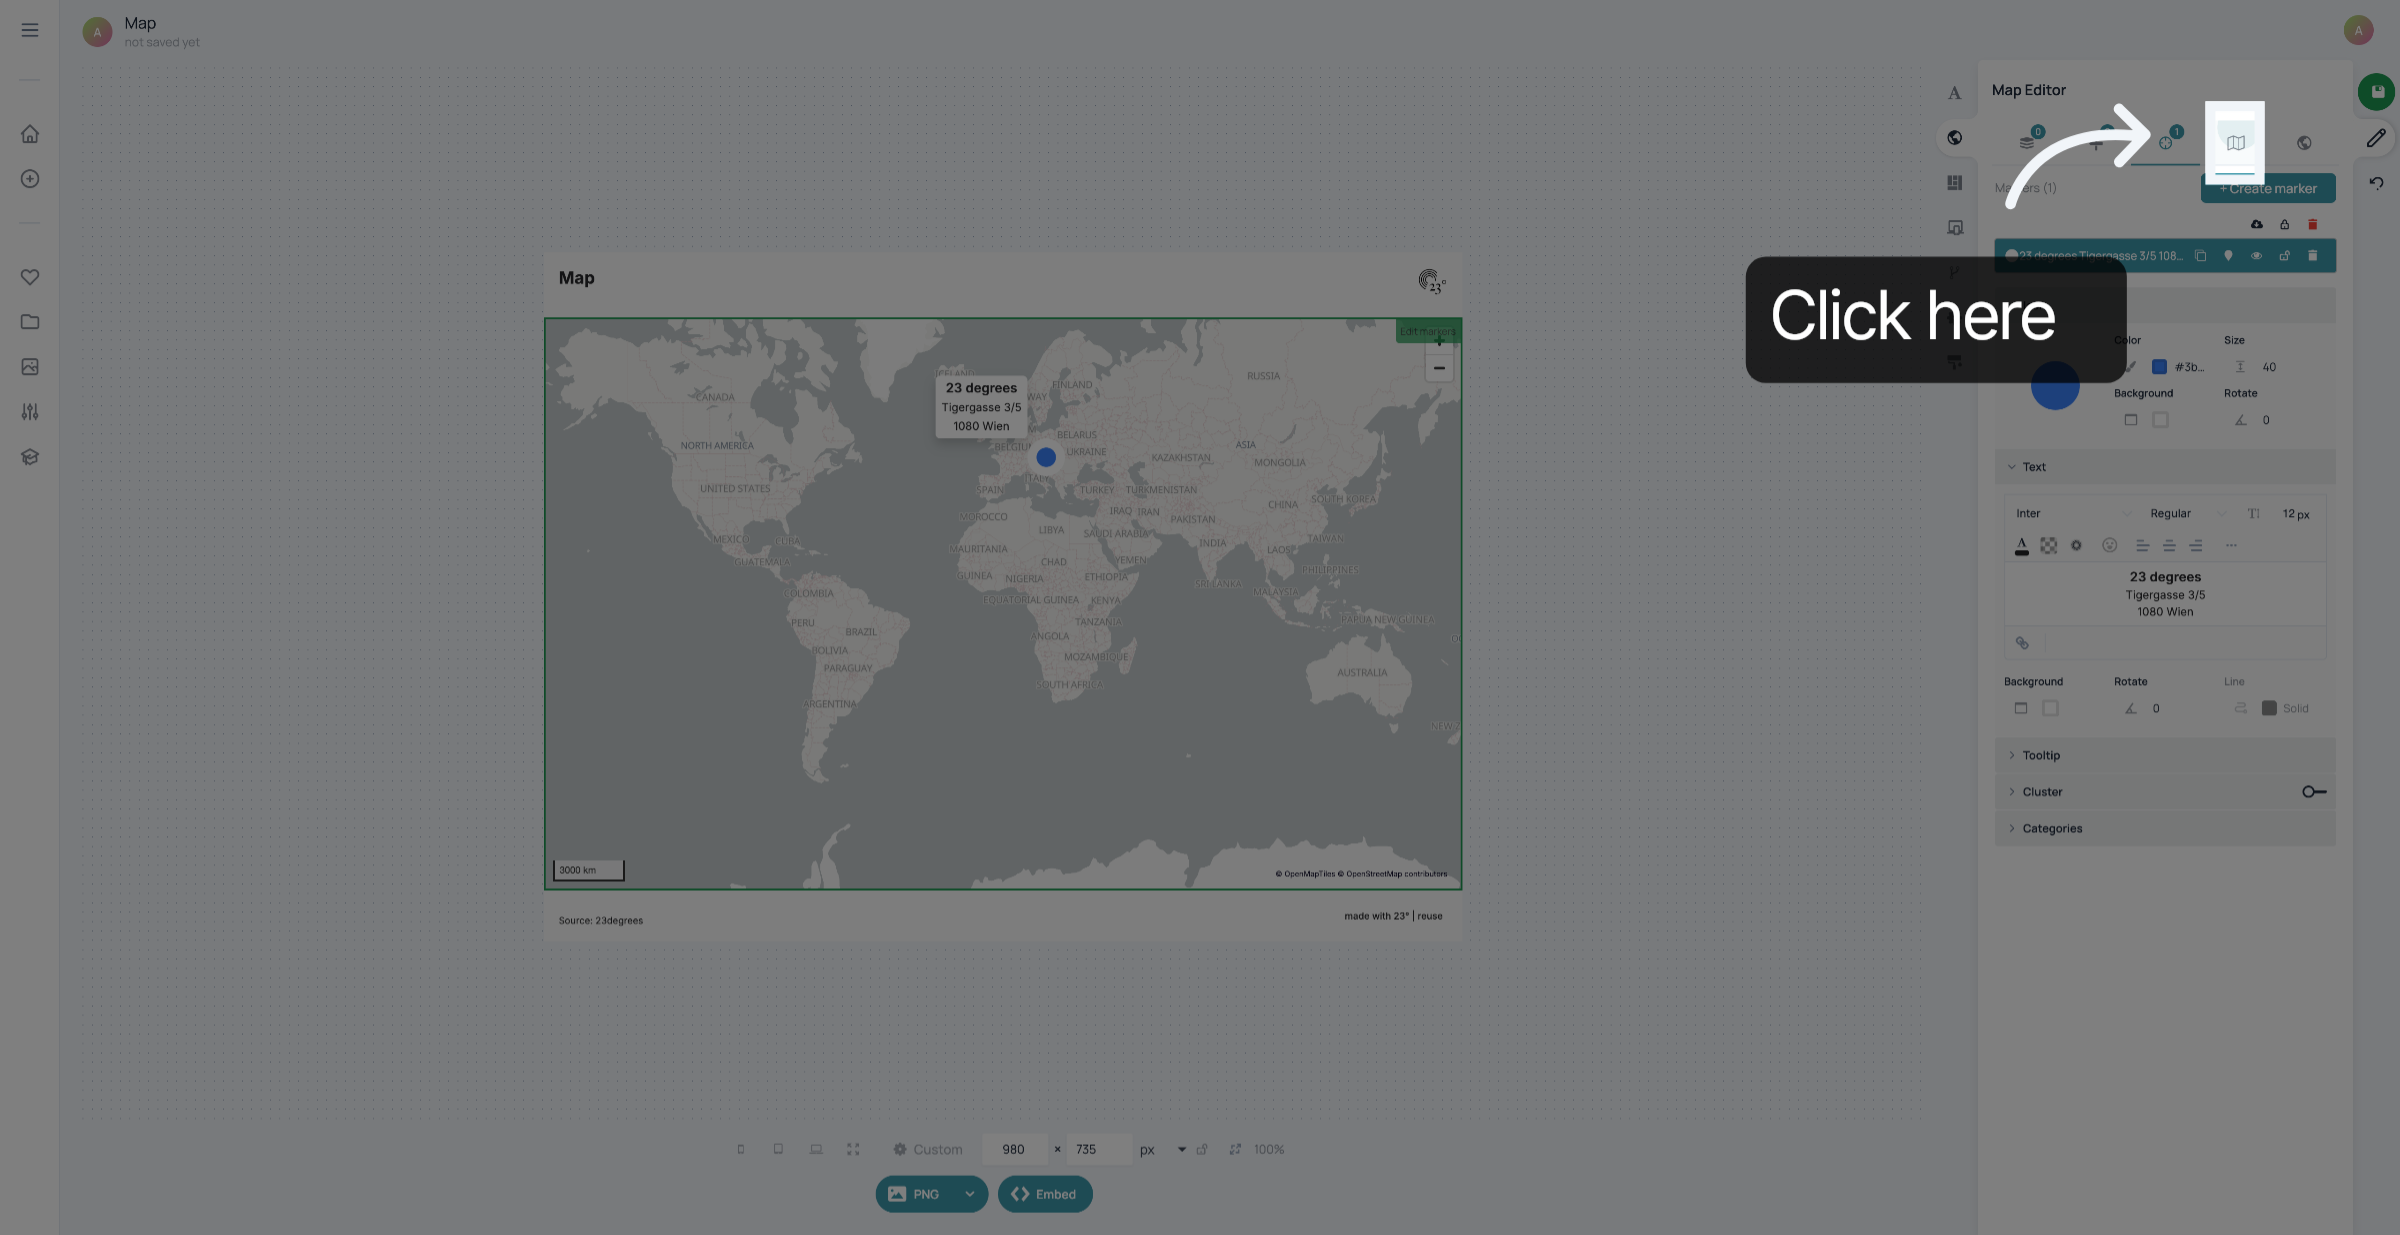
Click the map symbol to customize the viewport of your map
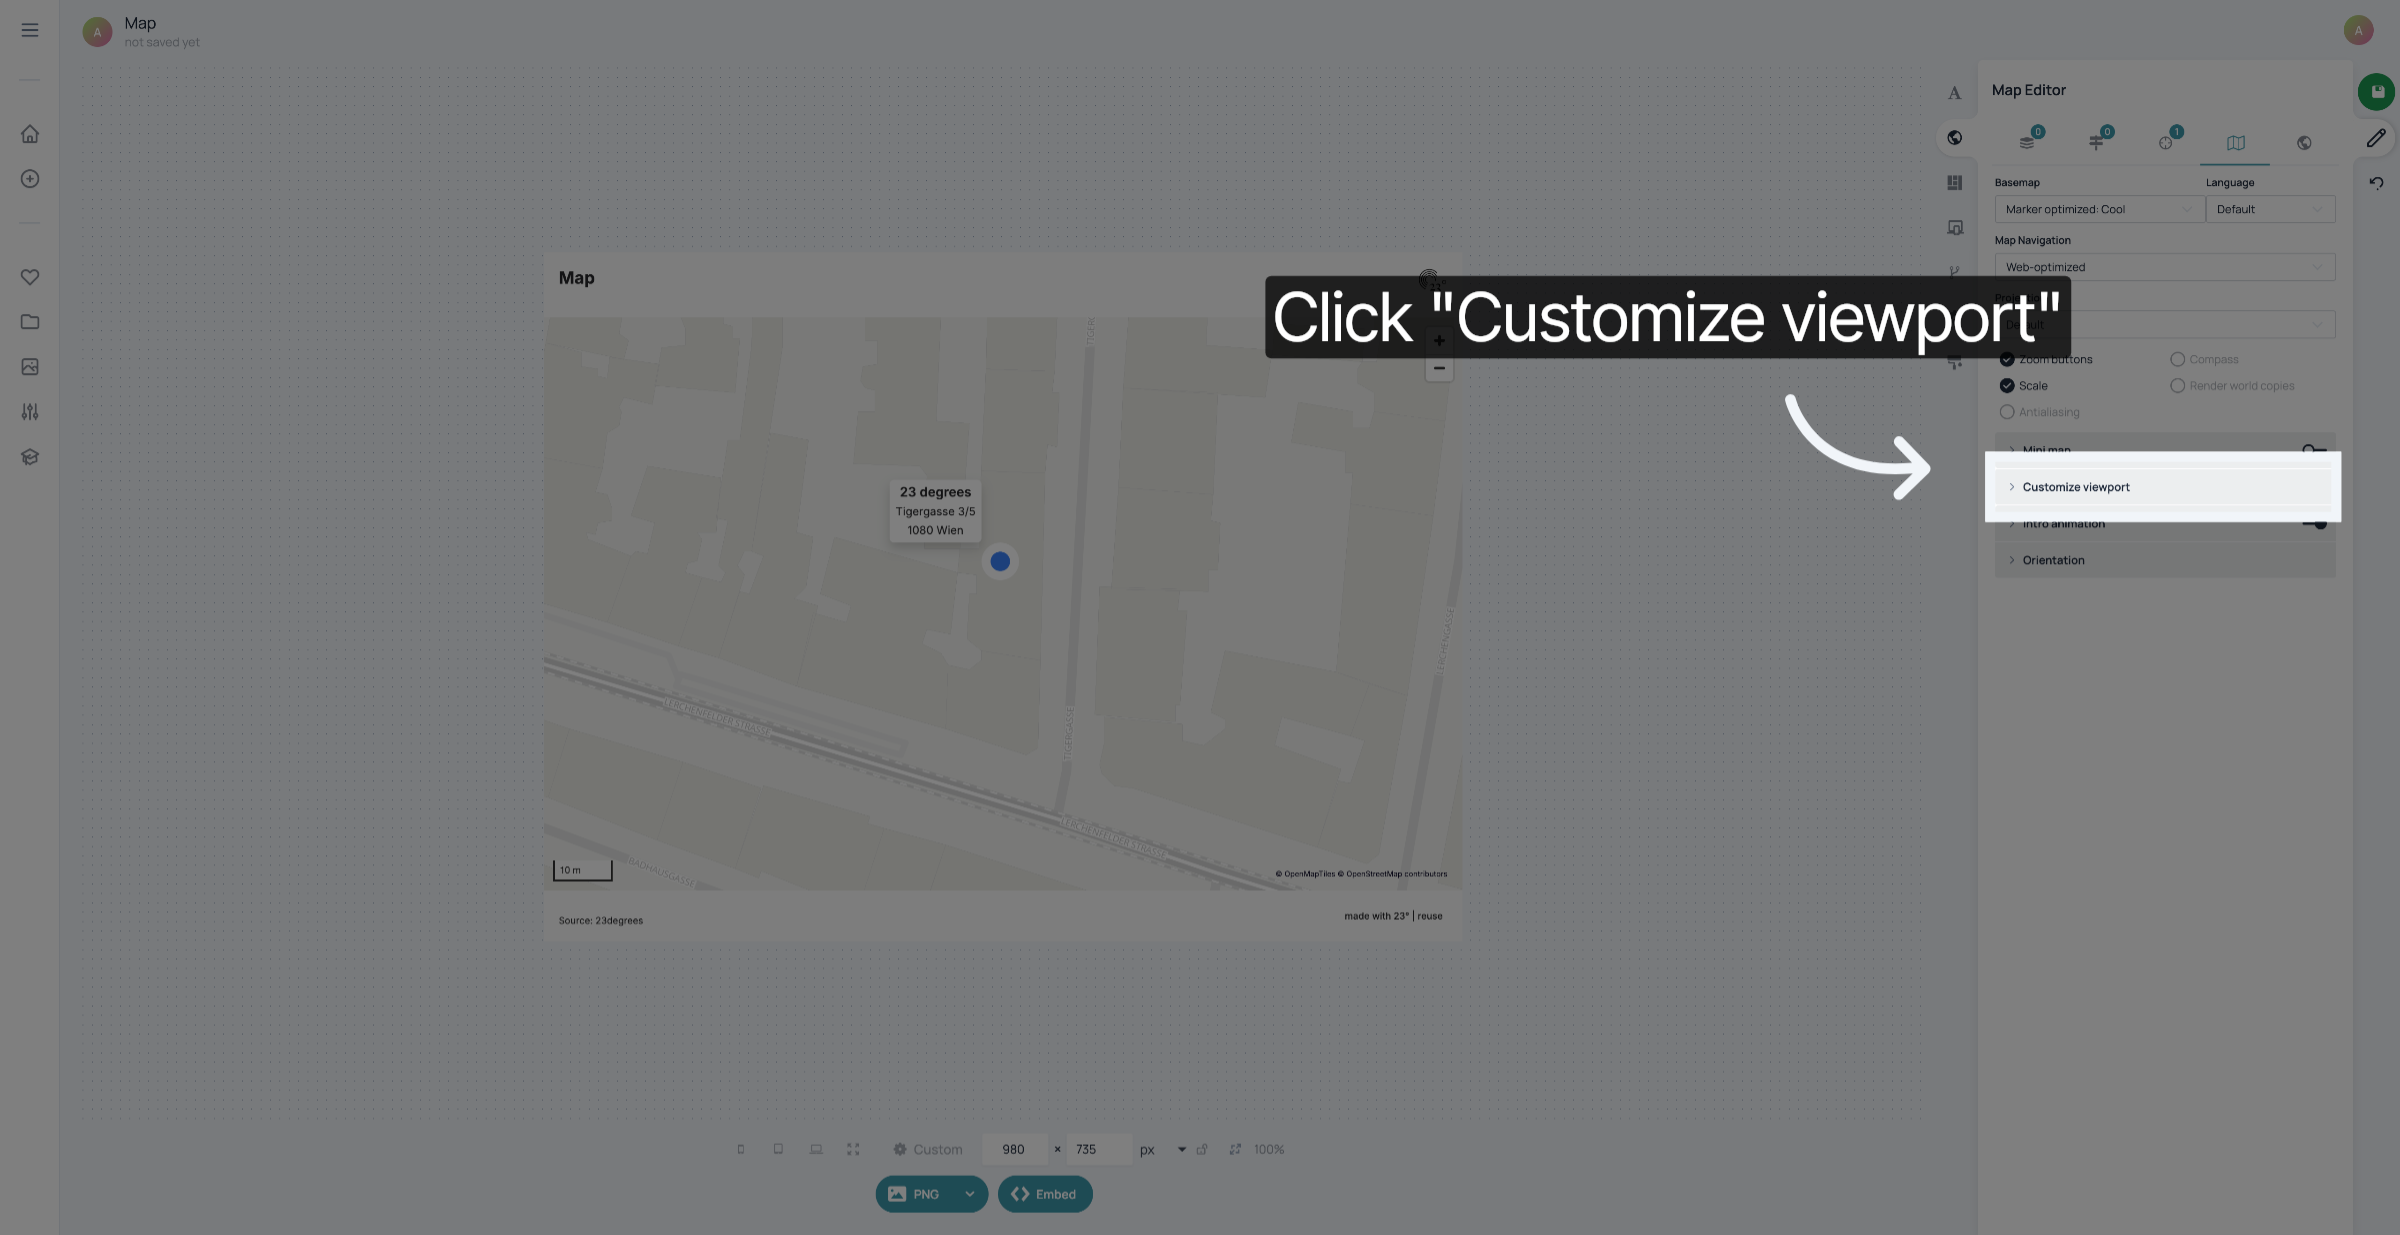
Click "Customize viewport"
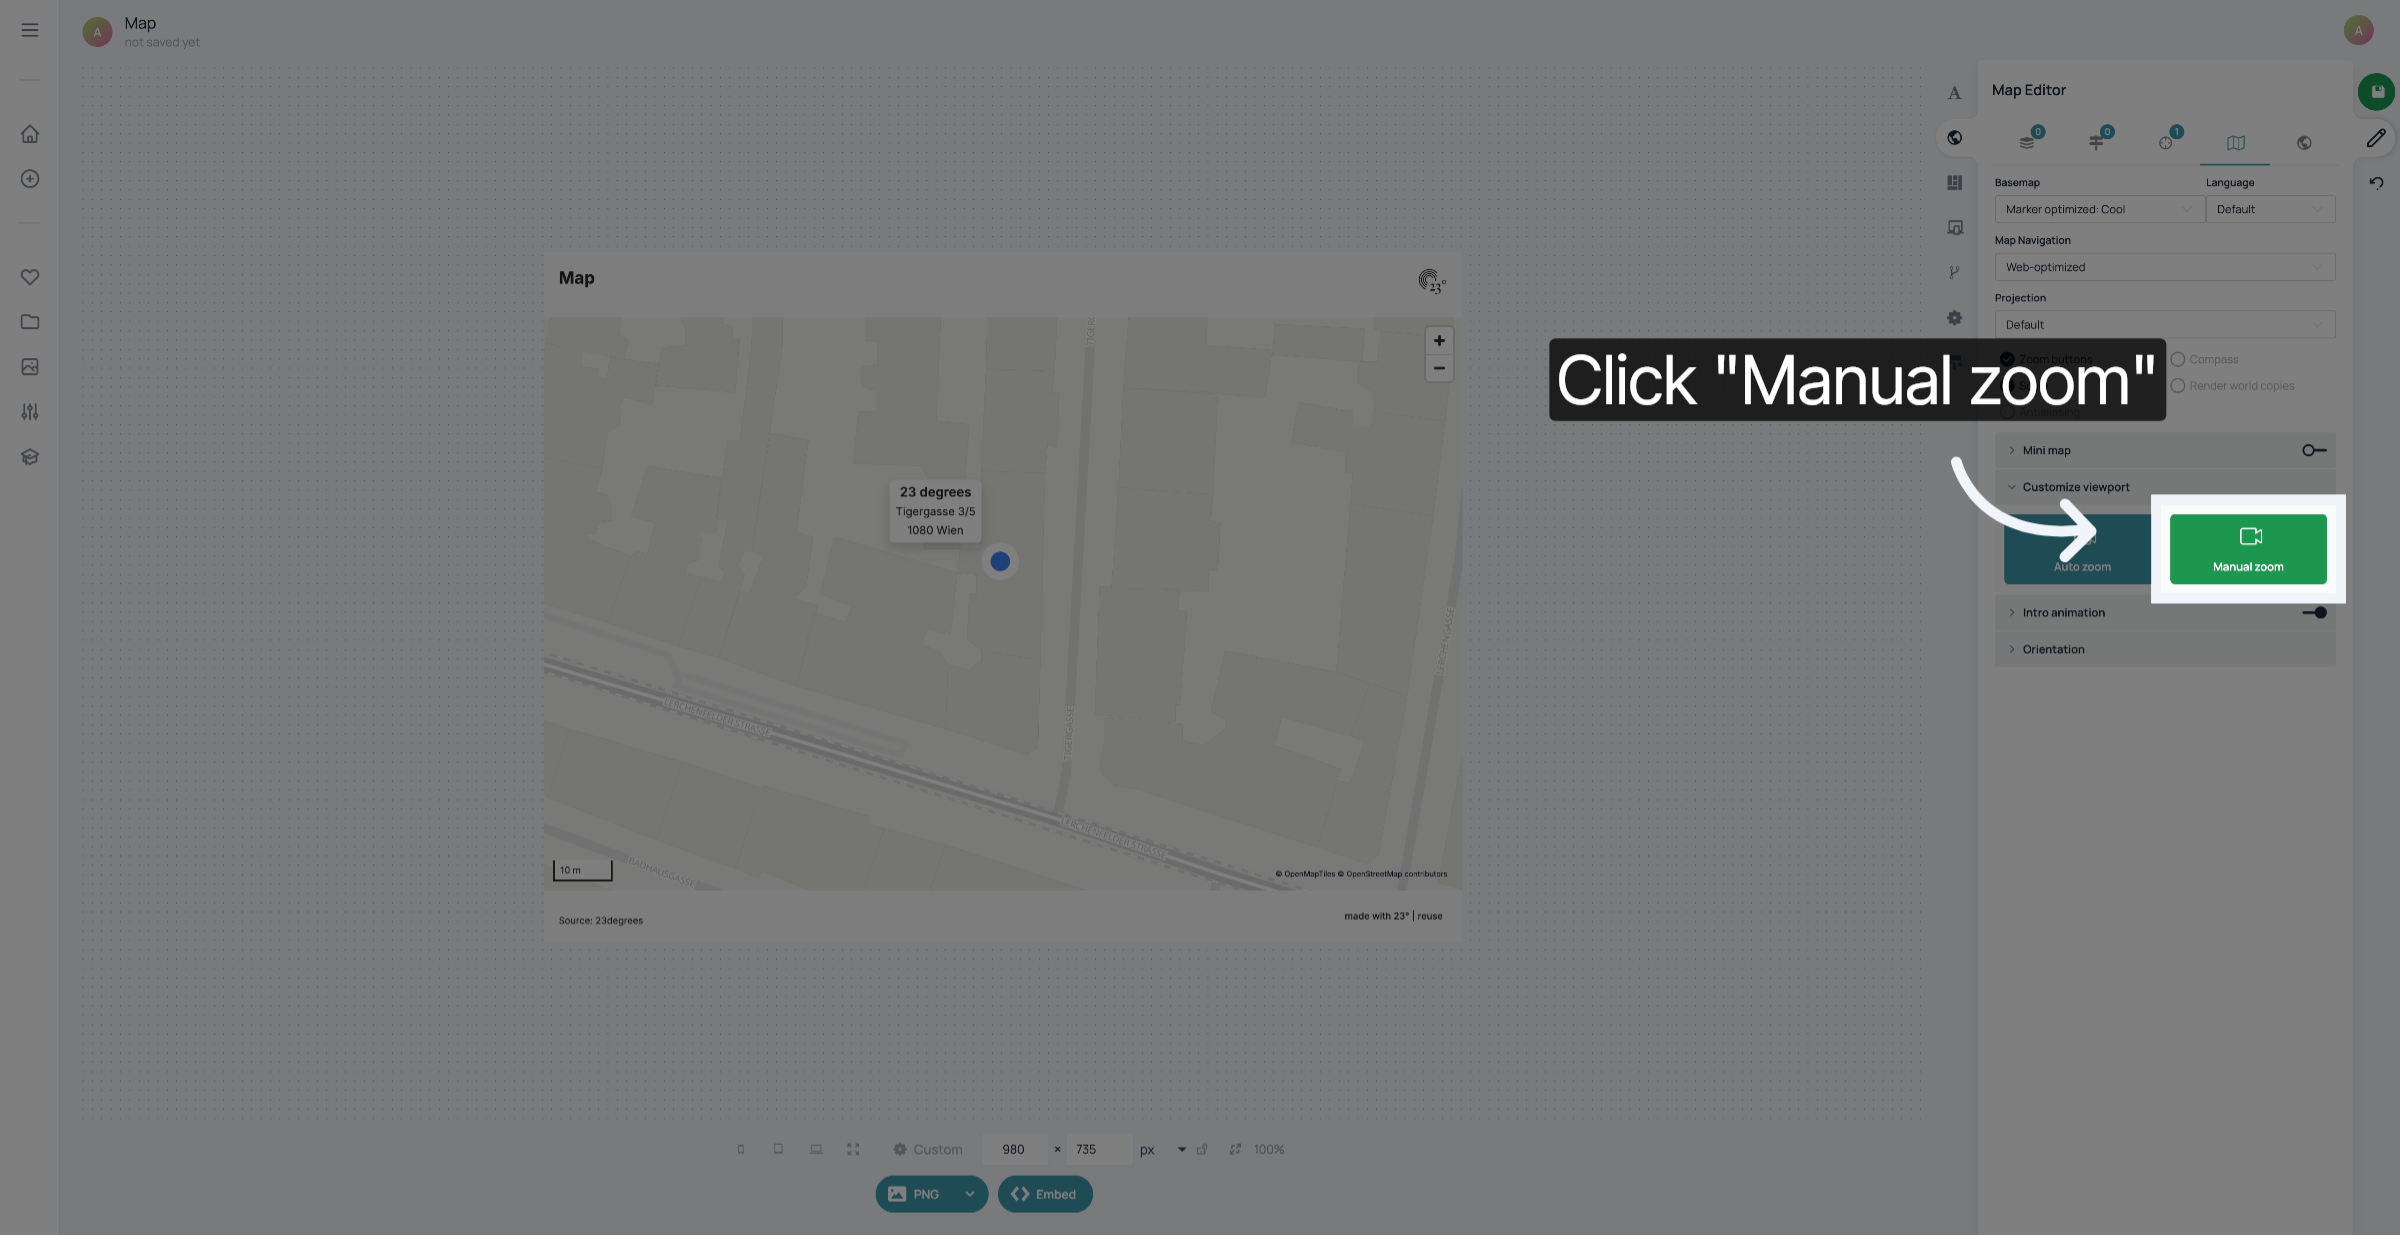
Click "Manual zoom".
Zoom until you reach the viewport you want to display before the animation.
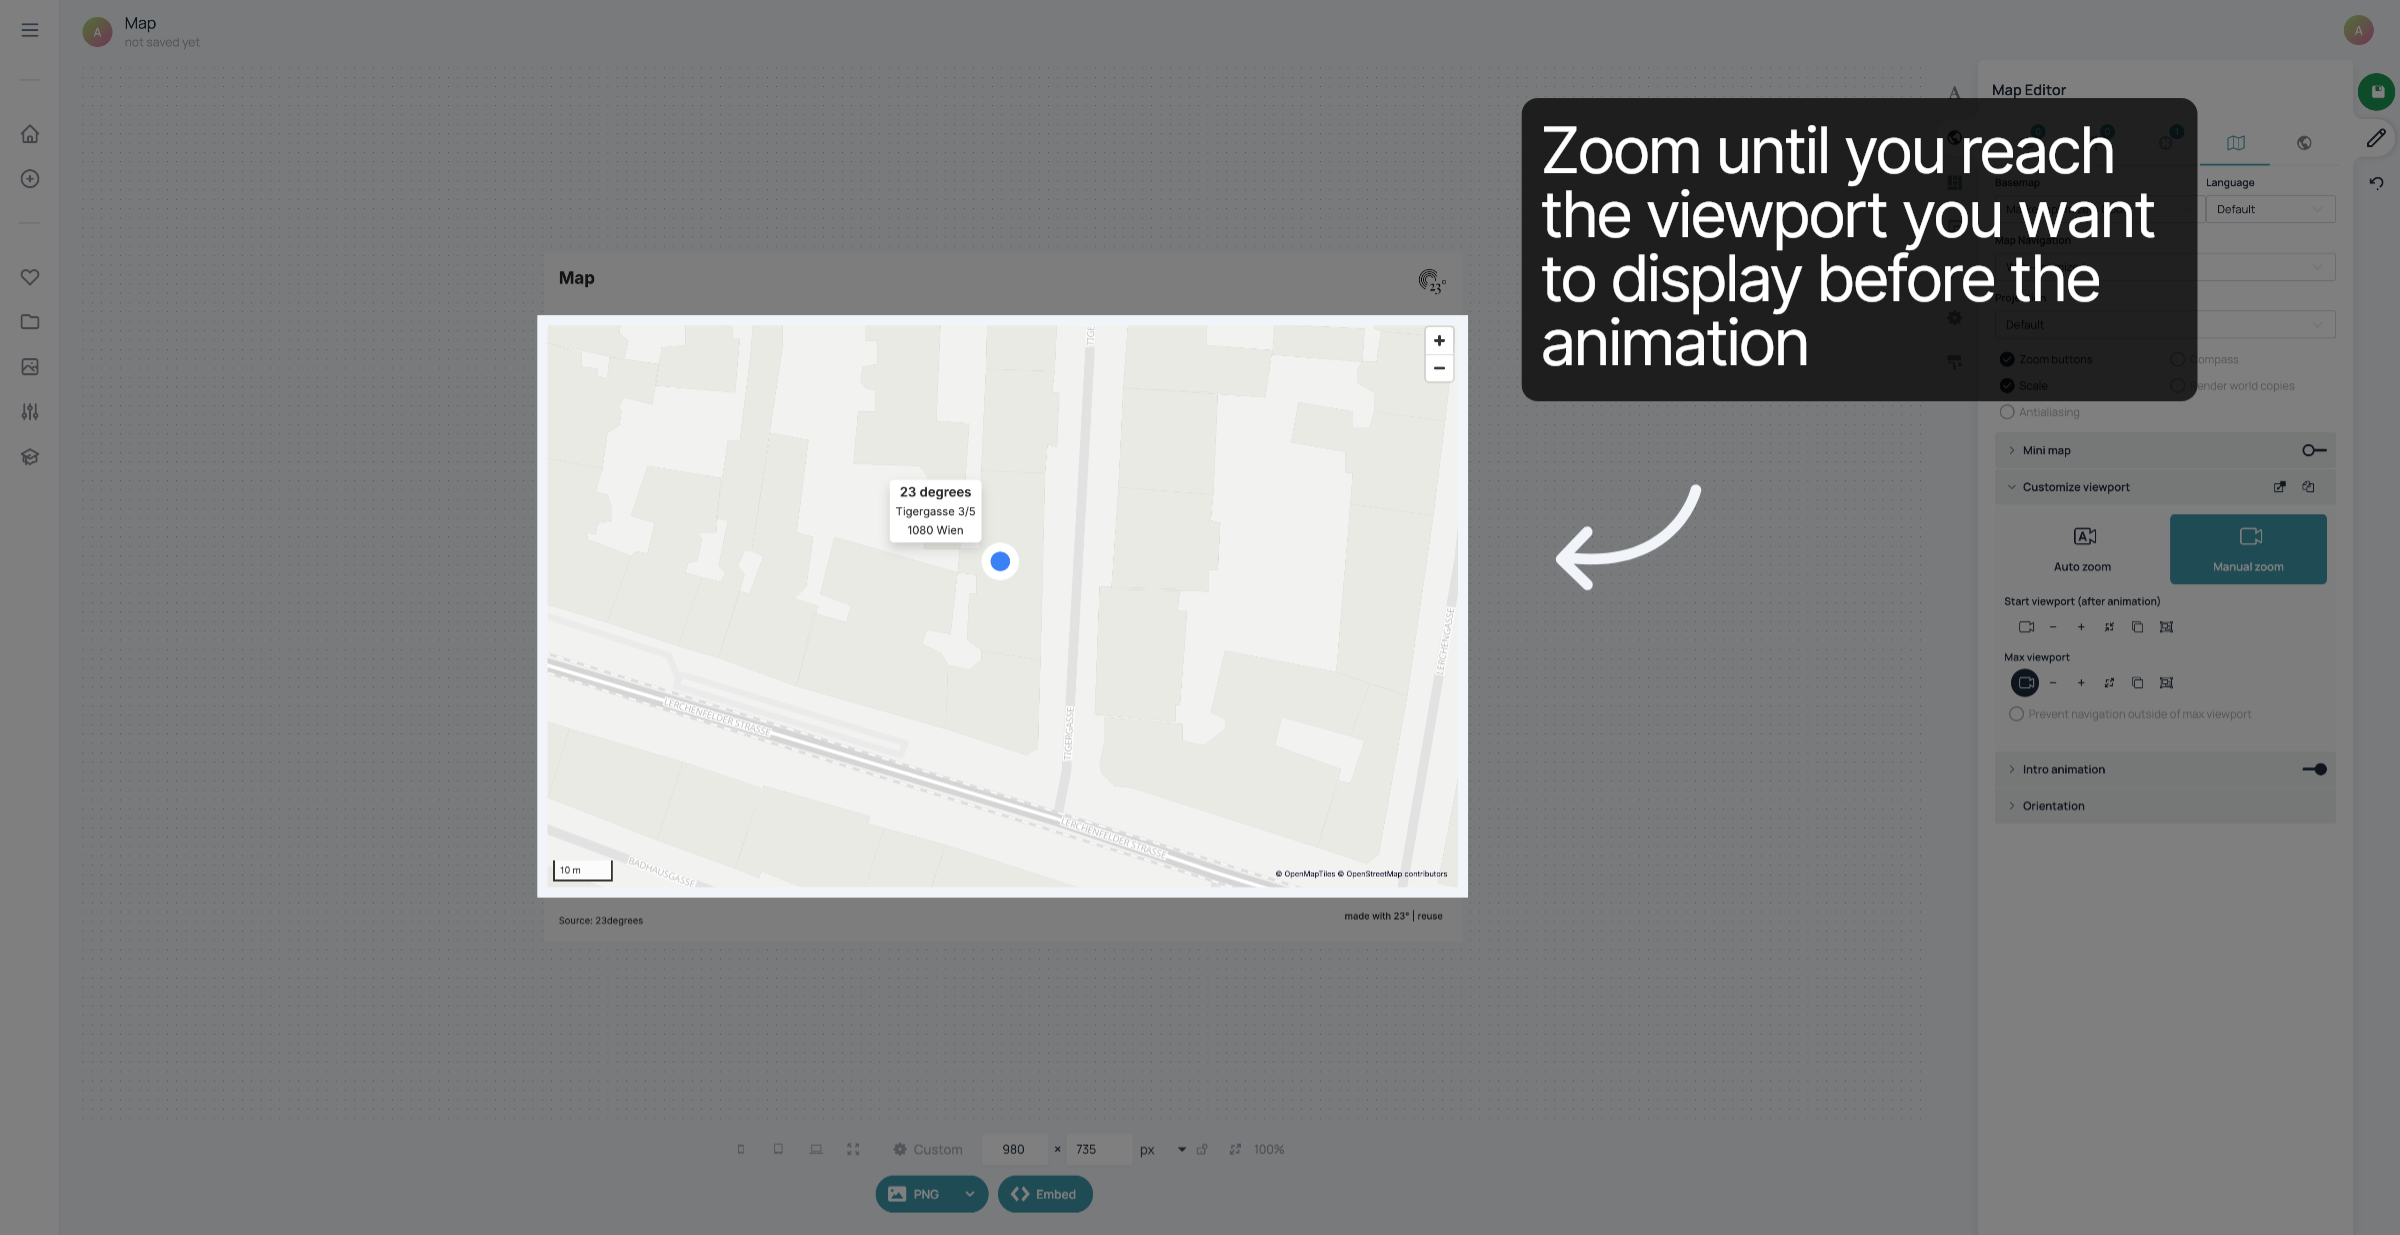
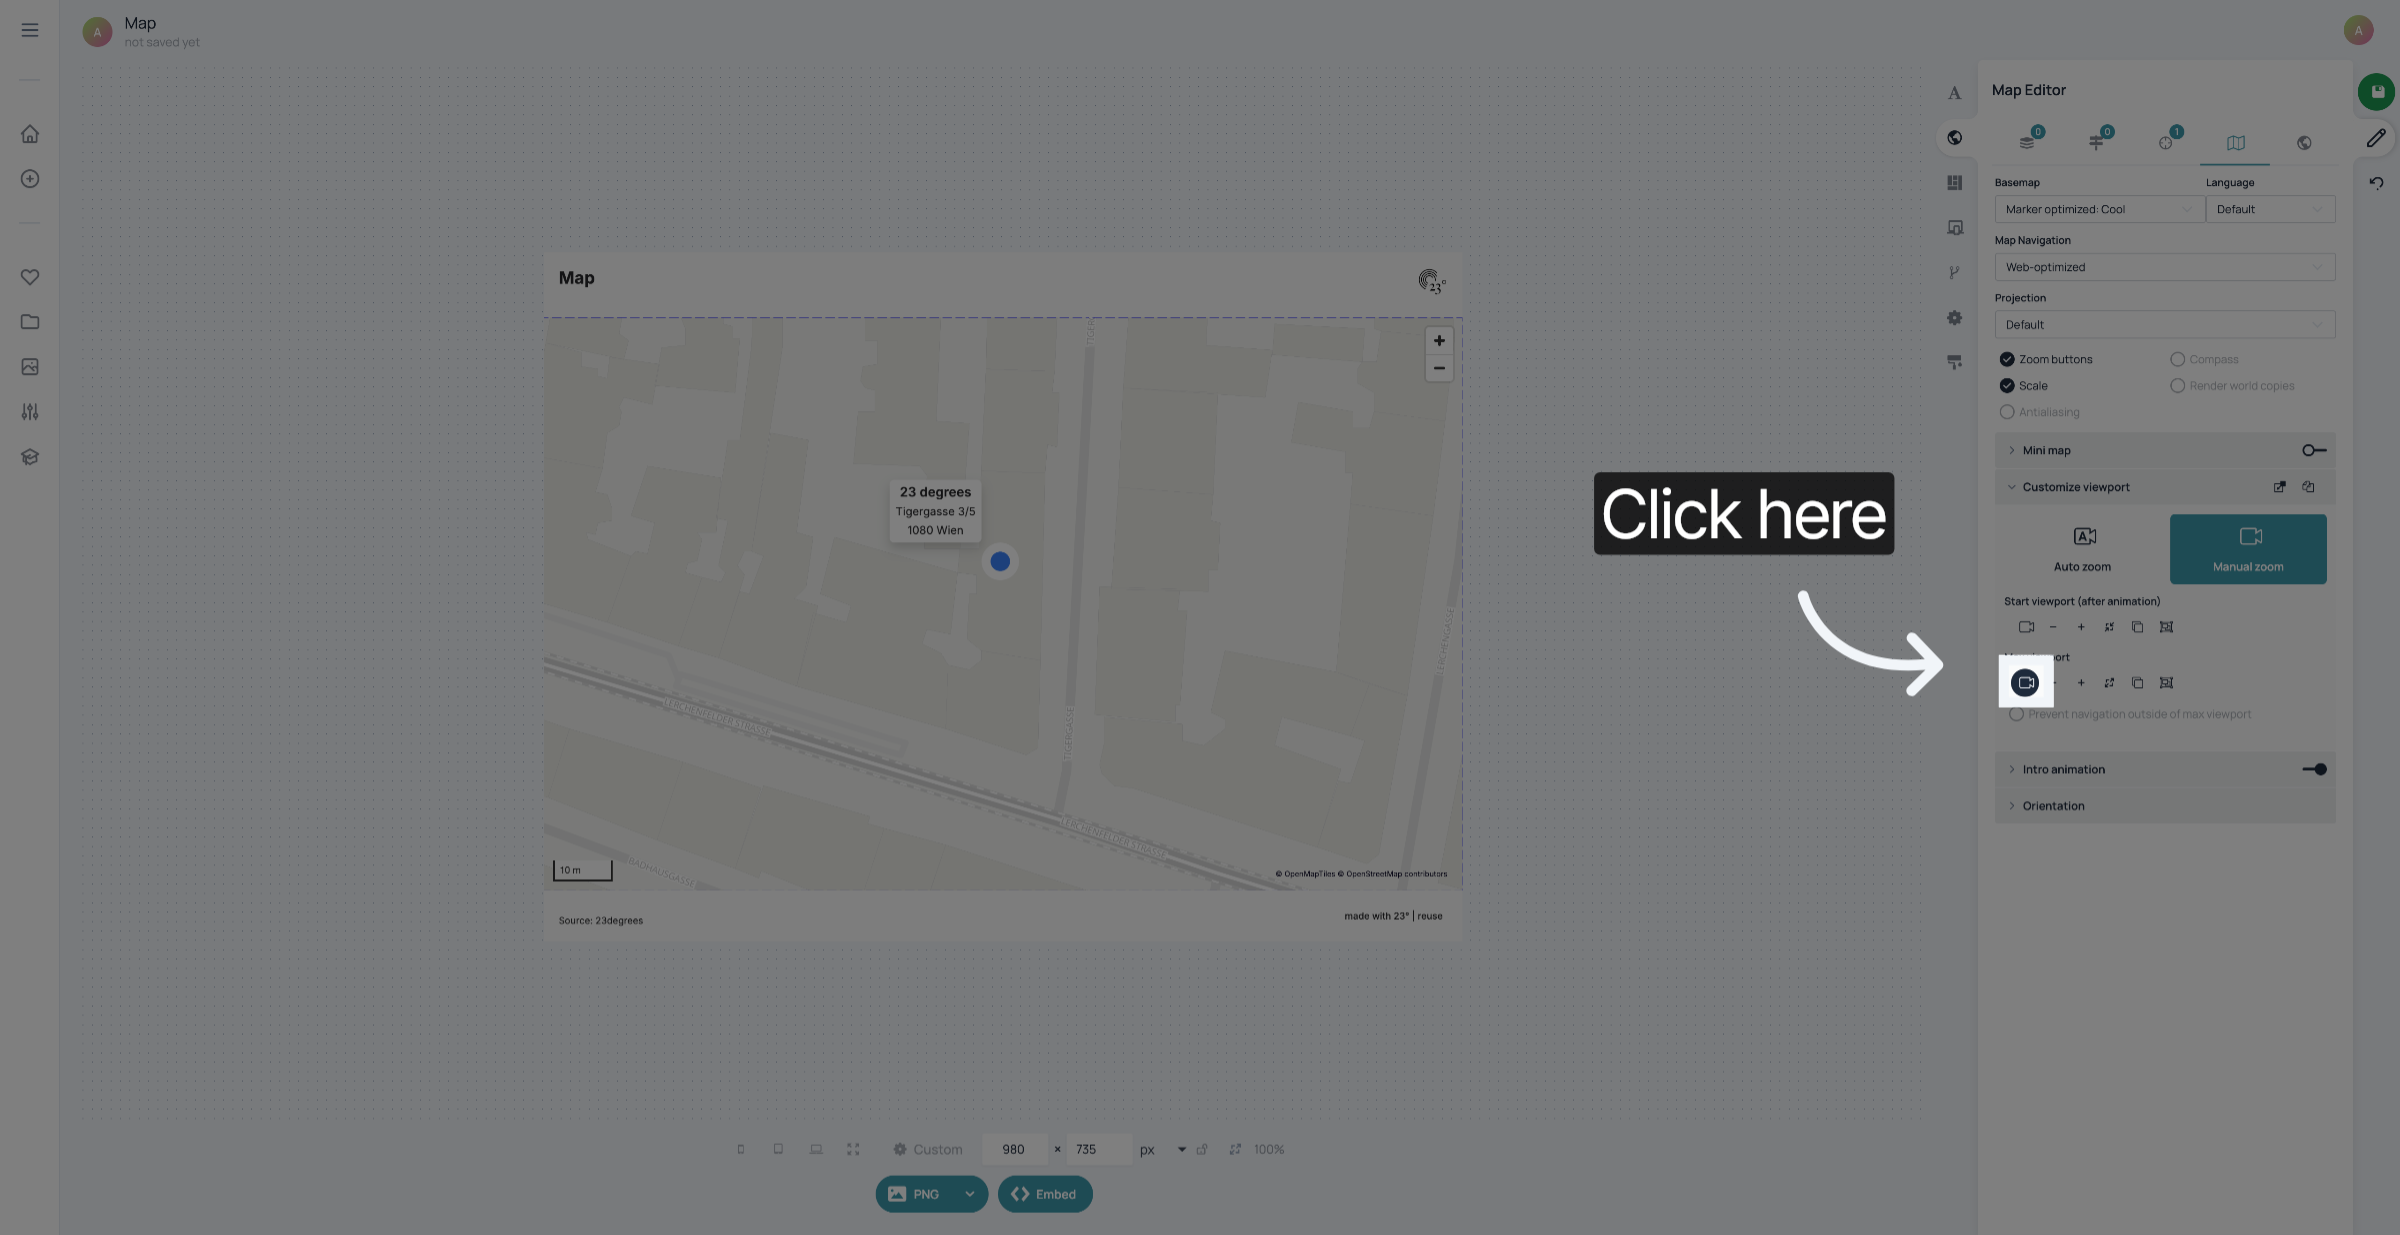
Click the camera symbol below "Max viewport" to set the viewport where you want the intro animation of your map to start.
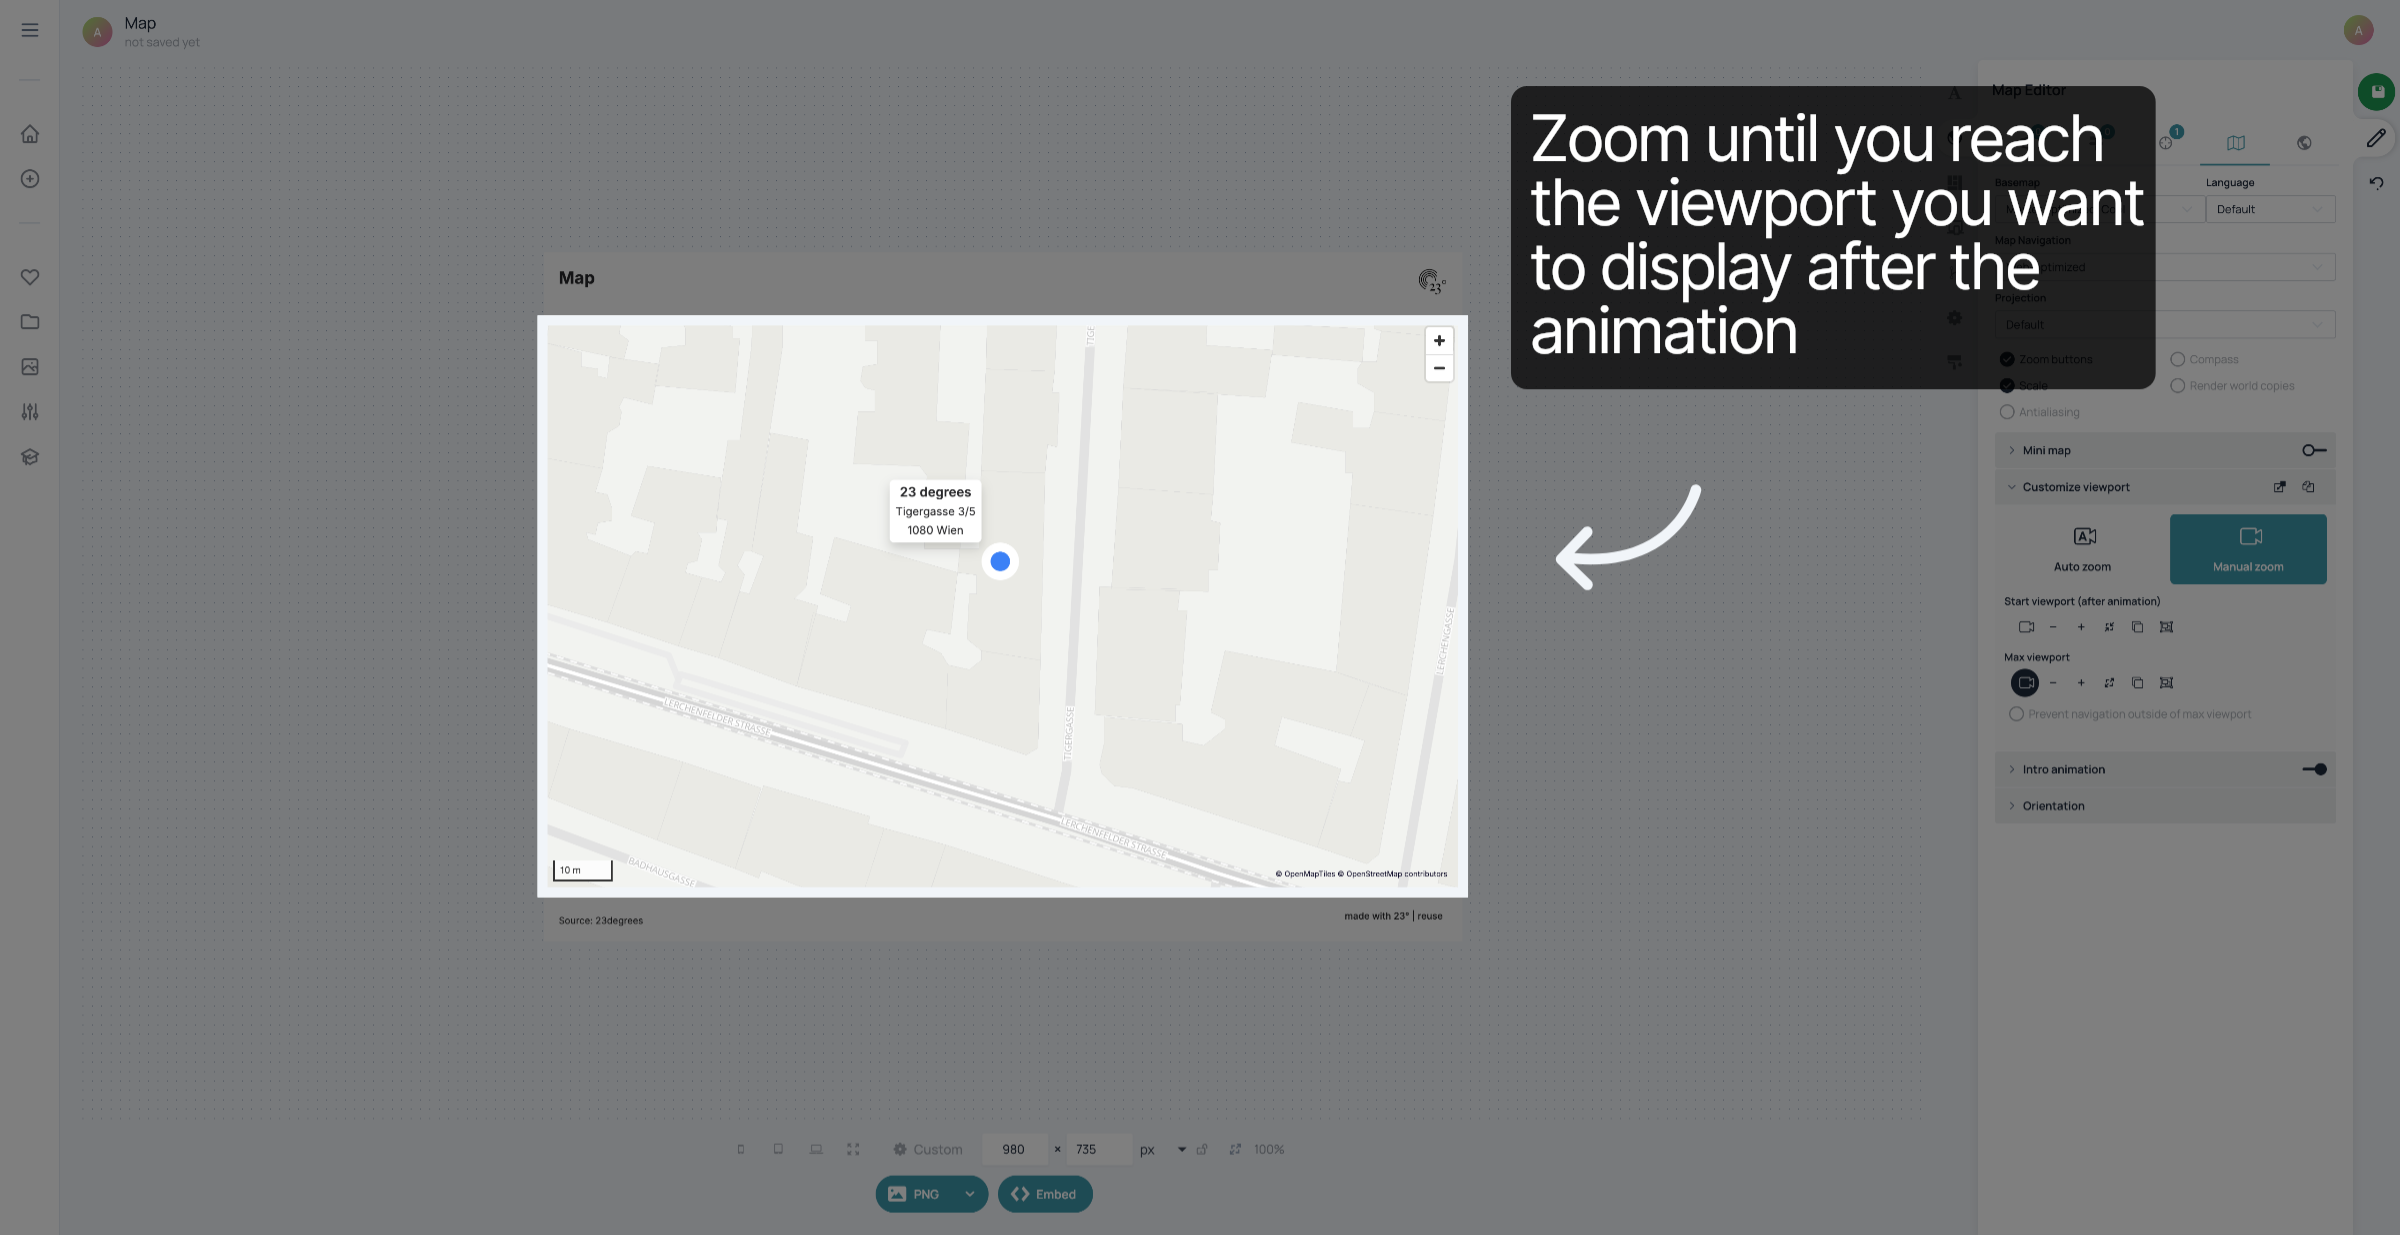
Zoom until you reach the viewport you want to display after the animation. This viewport can also be the same as the first one if you don't want an animation to take place.
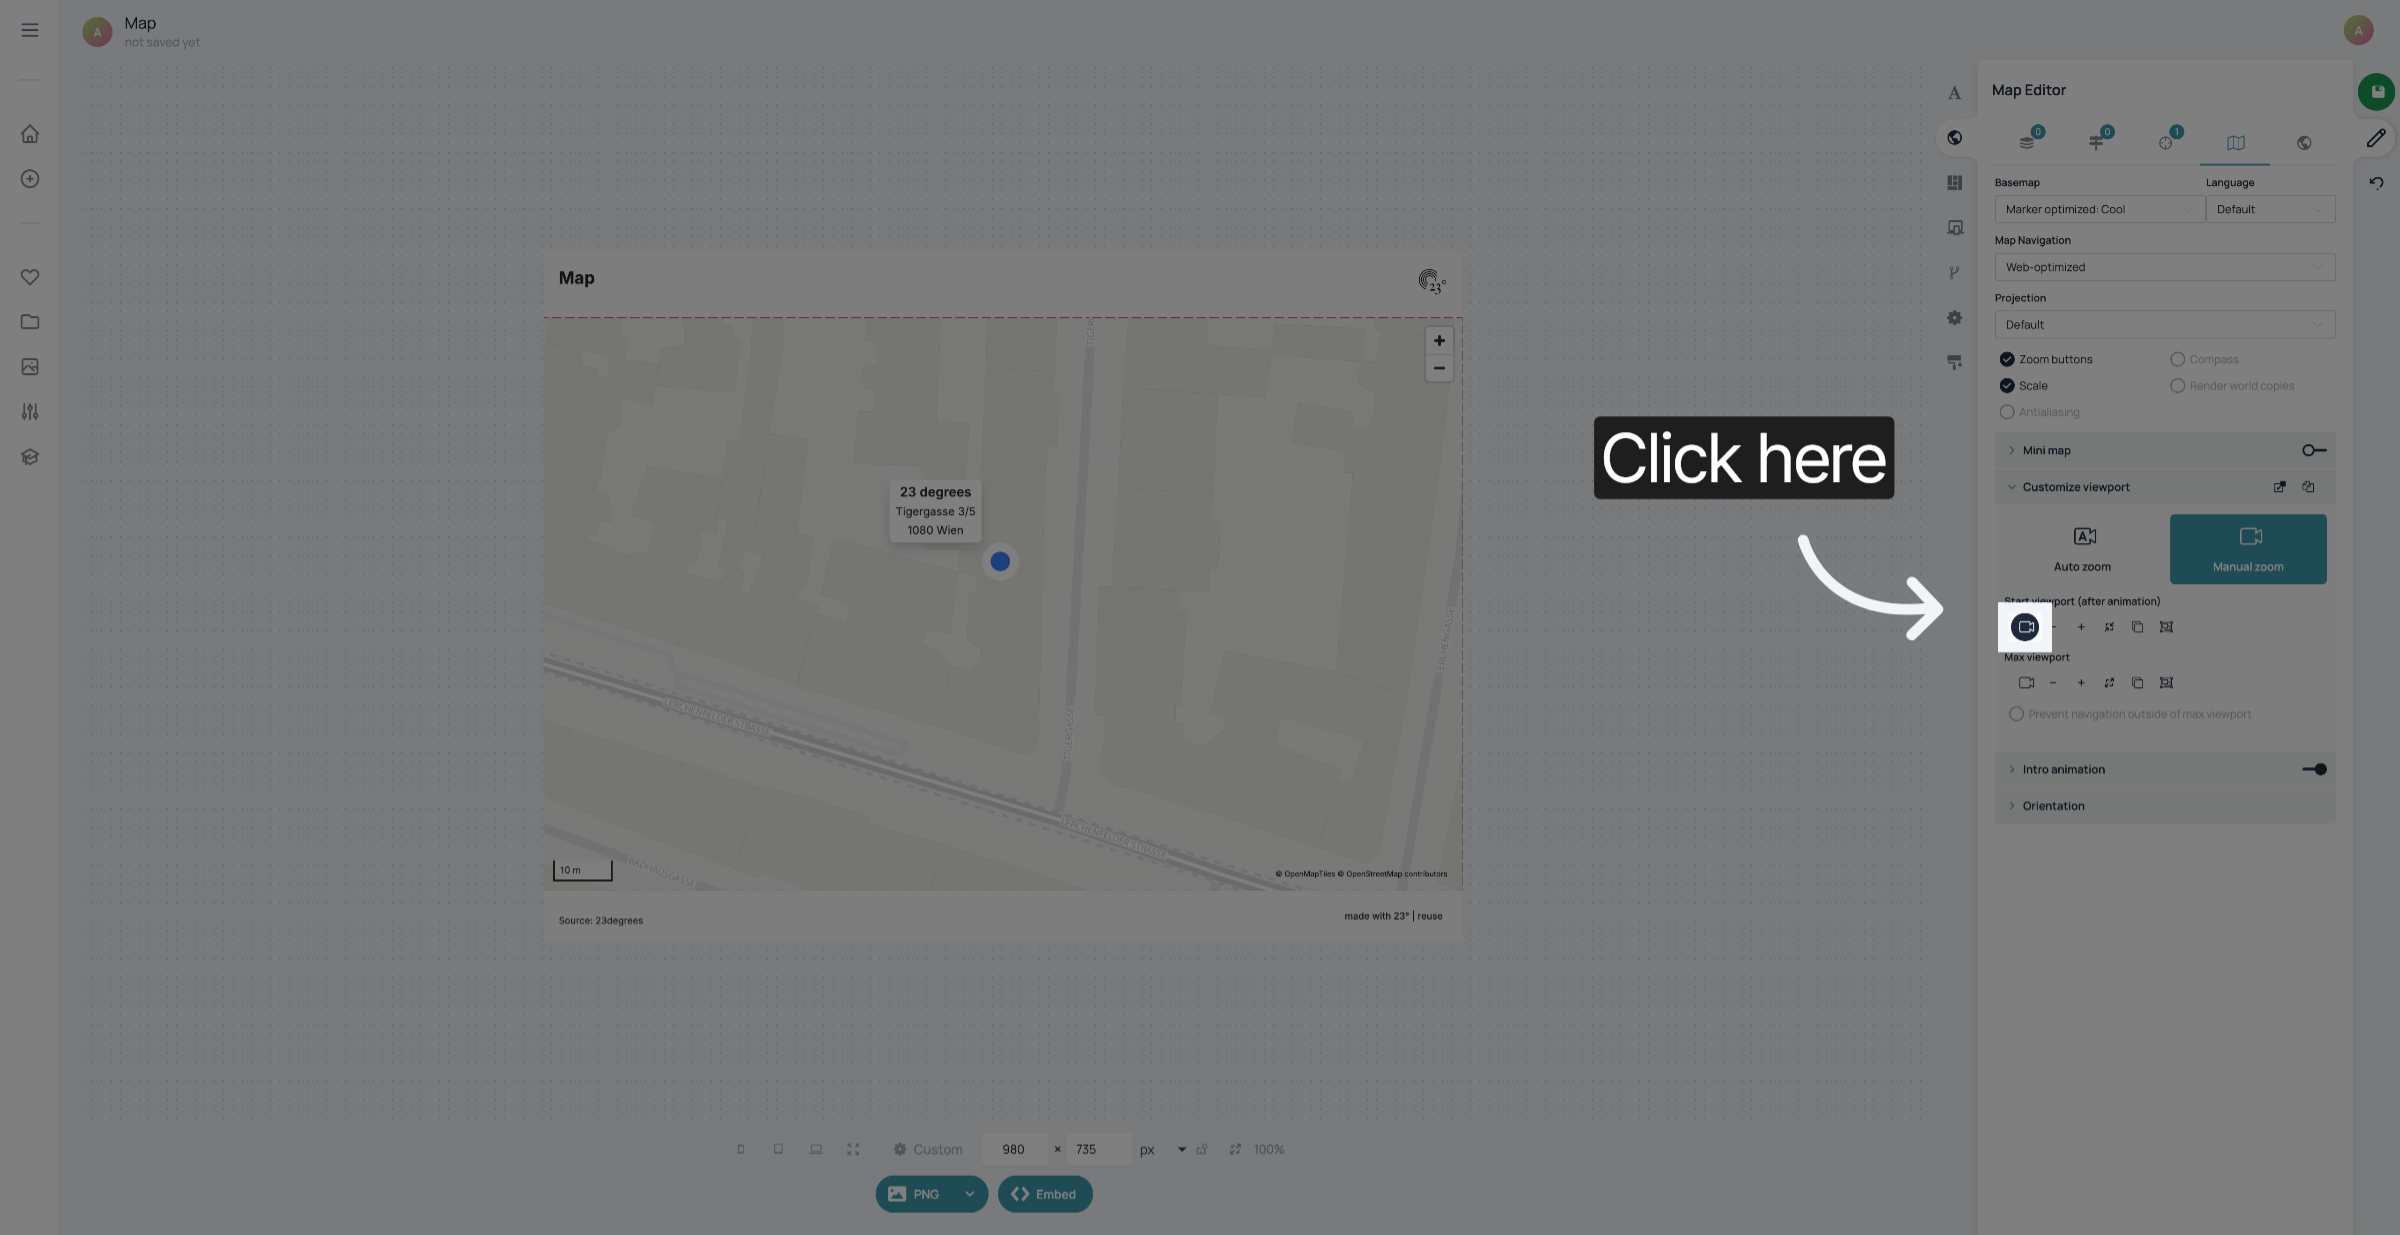
Click the camera symbol below "Start Viewport" to save the viewport where you want your intro animation to end.
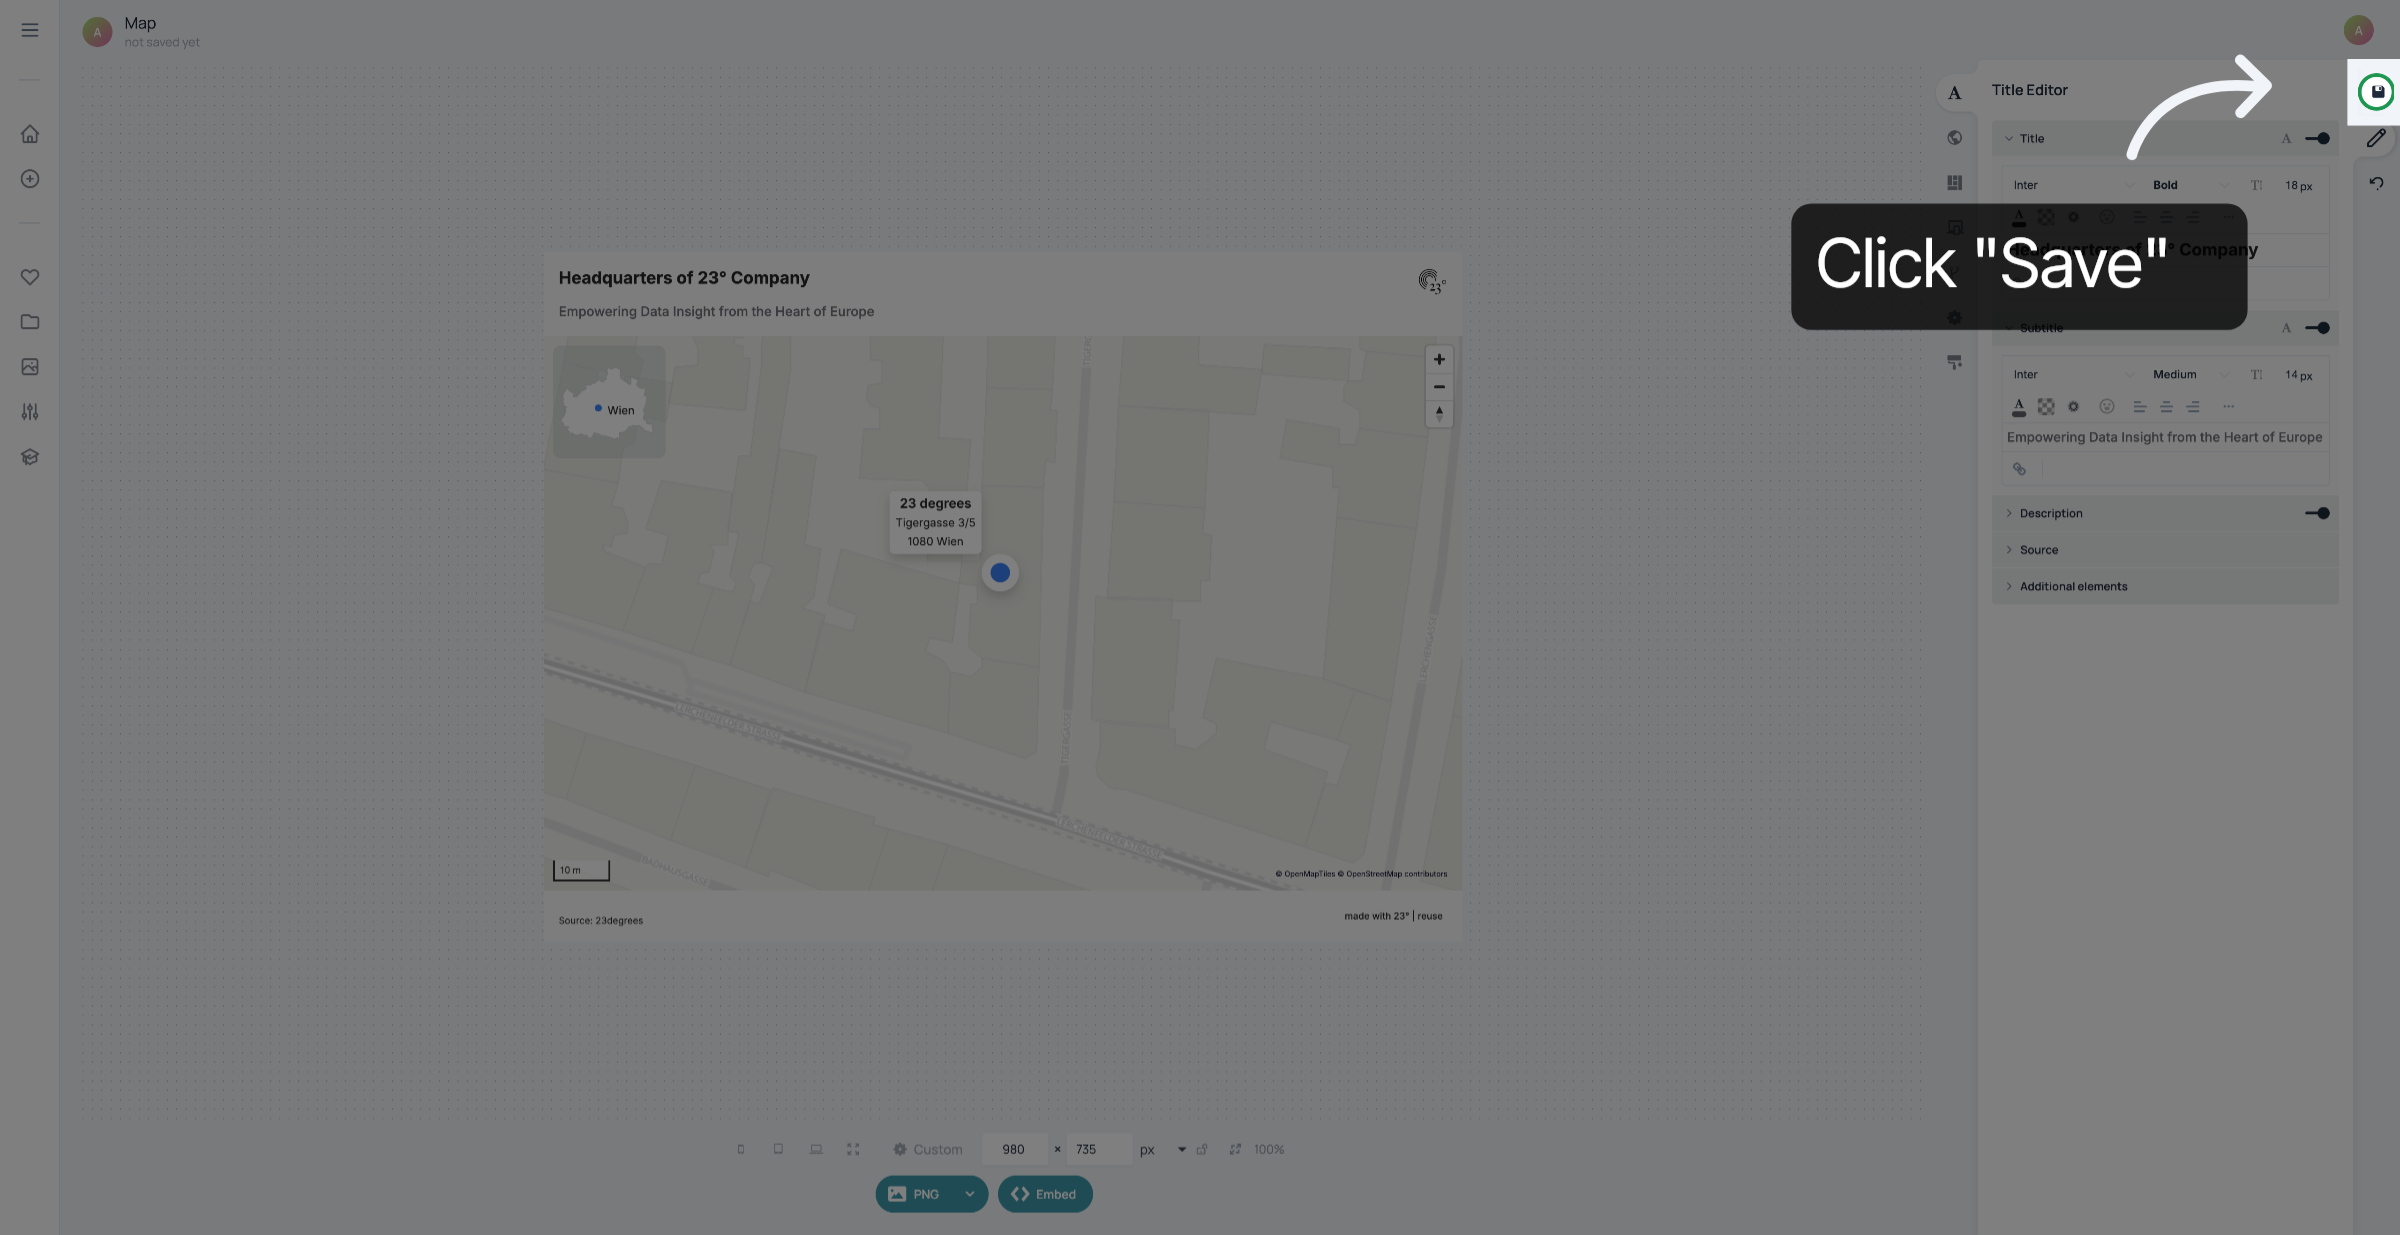
Don't forget to save your changes.
You have successfully created and customized a marker based on an address.